
Amazing Pumpkin Coaster Set Crochet Pattern Ultimate DIY
Follow our Pumpkin Coaster Set Crochet Pattern with clear, step-by-step instructions to make festive handmade coasters for your home this fall with ease.
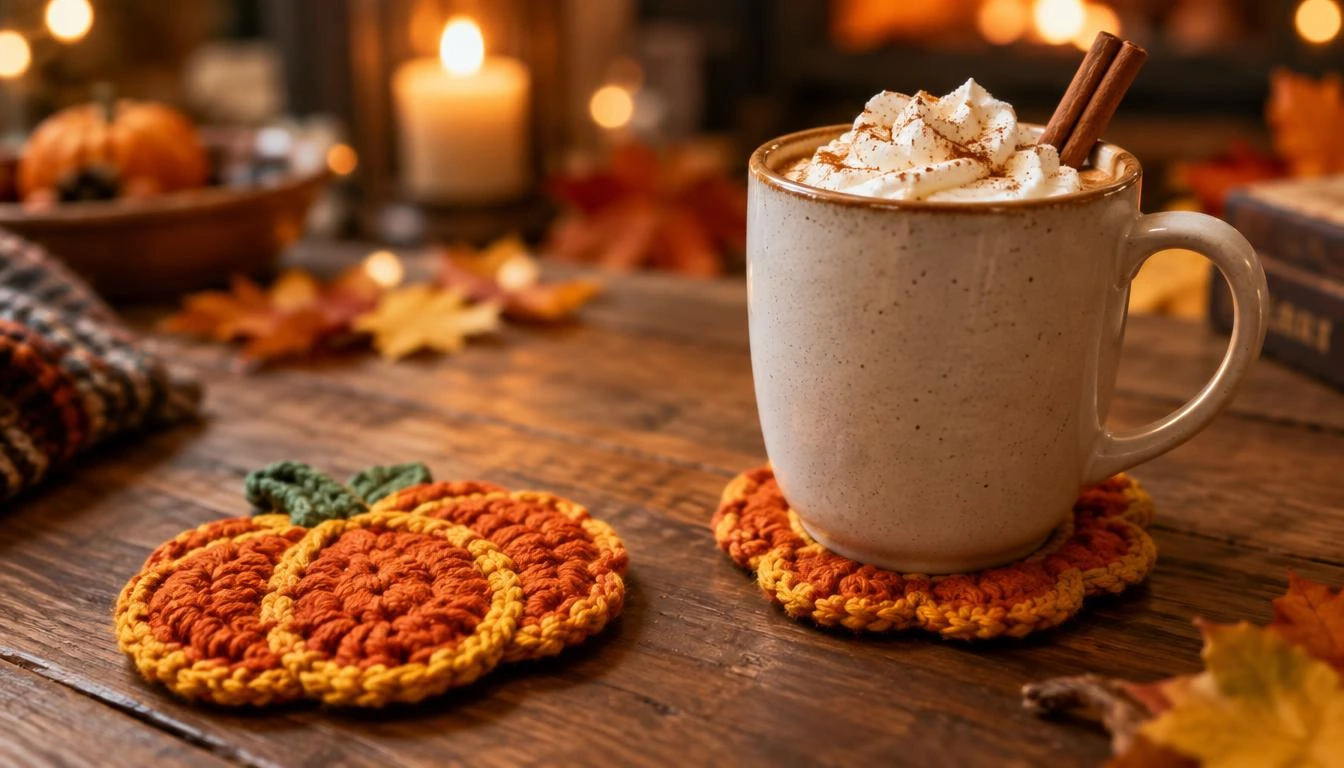
Table of Contents
A warm mug rests on a handmade pumpkin coaster beside a window streaked with fall rain. Could a few simple stitches bring that cozy seasonal touch to our home?
This Pumpkin Coaster Set Crochet Pattern gives us a circular pumpkin motif with a stem and leaf. We can make matching coasters for everyday drinks or arrange them as a small seasonal accent. The circle version uses basic crochet stitches, so we can repeat it as many times as we need.
Our finished pieces can add a handmade detail to a table, desk, or breakfast tray. We can follow the same construction and yarn choice for a consistent set, then decide whether to make the leaf separately or try another style. Choosing among the different construction styles is the first decision before gathering supplies.
Pumpkin Coaster Set Crochet Pattern: Materials and Size
The circle version finishes at approximately 4.5 inches wide. We can gather orange, brown, and green worsted weight yarn, then choose a hook that works well with that yarn.
A magic ring is an adjustable loop that lets us close the center of a crochet circle by pulling its yarn tail. We also need scissors and a yarn needle for trimming and weaving in the yarn ends.
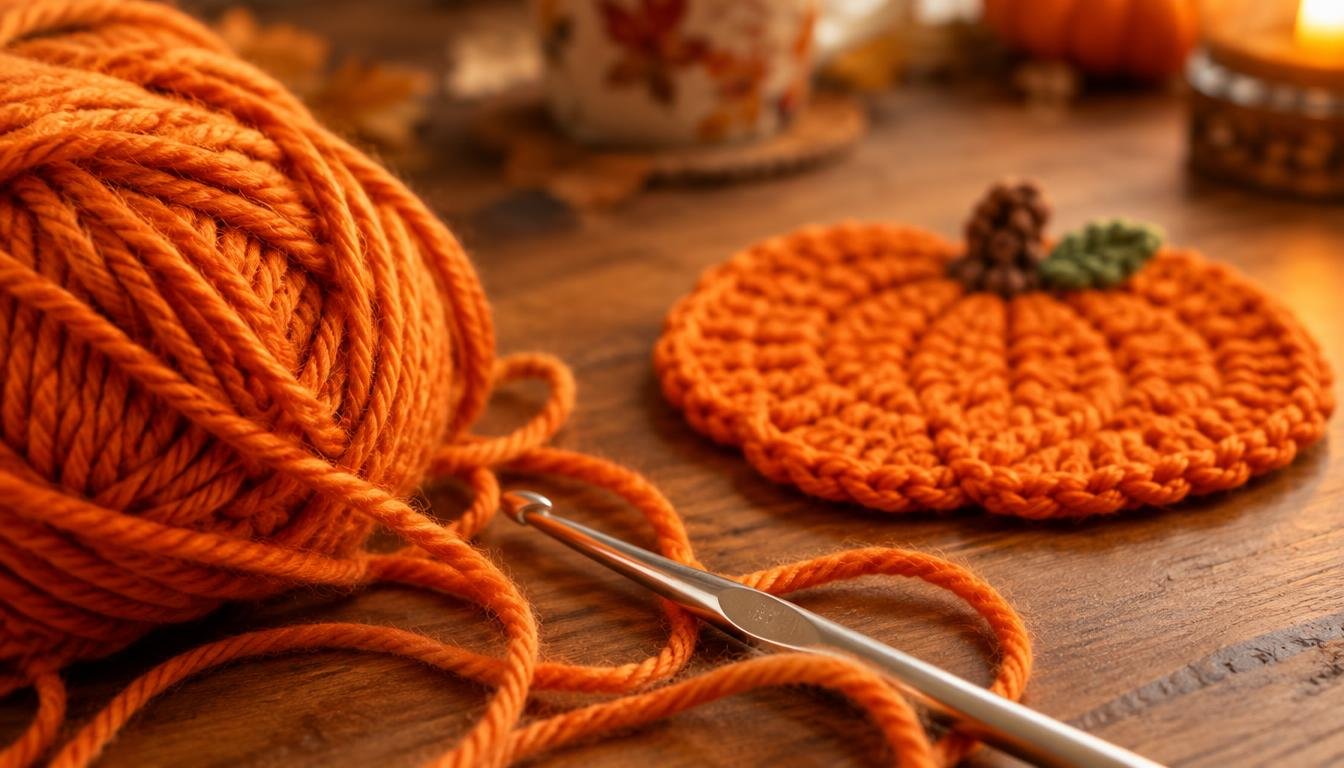
The pattern does not specify a hook size or gauge. Hook size affects how tightly the stitches sit, so we should check the fabric as we work instead of assuming one precise size.
A fabric that feels firm but still flexes is a useful practical check. If our stitches look loose, we can try a smaller hook; if they feel stiff, a larger one may help. The finished width gives us another point of comparison.
We can keep the three colors close at hand, but there is no need to measure a set amount of yarn for this version. Once our supplies are ready, the next choice is whether we want a flat motif or a construction that asks for other techniques.
Which Crochet Stitches and Construction Should We Use?
A flat motif and a ribbed, hollow pumpkin ask us to build shape in different ways. The circle version grows outward from a center, while the holder version forms a sewn tube.

Compare the circle, holder, and mosaic versions
The circle version starts with three double crochet rounds on a magic ring. Varied stitch heights shape its fourth row, and we work the stem onto the pumpkin. Its basic crochet stitches suit an easy pumpkin coaster set crochet pattern.
| Construction method | How the pumpkin is formed | Finished size | Stated skill level |
|---|---|---|---|
| Circle version | Expanding circle with shaped fourth row | About 4.5 inches wide | Basic stitches; level unstated |
| Holder version | 25-row back-loop-only fabric sewn into a gathered tube | Pumpkin: about 3.5 by 5.5 inches; coaster: about 4.25 inches across | Intermediate beginner |
| Mosaic version | 17-row overlay mosaic crochet panel with envelope border | About 5.5 by 5 inches | Intermediate |
The holder version uses back-loop-only stitches, then joins the fabric and gathers its base. The mosaic version builds a patterned panel through overlay mosaic crochet, a technique that uses layered stitches to create its design.
Choose a method that fits your experience
We can choose the circle version if we know basic crochet stitches and want a flat coaster with a simple center. The holder version adds sewing and gathering, while mosaic crochet calls for comfort with color and stitch placement.
Each construction changes both the look and the techniques we need. Readers who want the supplied round-by-round instructions can begin with the circle version and move straight into its expanding rounds.
How Do We Crochet the Pumpkin Circle?
The pumpkin base uses three expanding double crochet rounds followed by one shaping row. We can track the stitch count at each join to keep the circle even.

- Make a magic ring and keep its yarn tail loose enough to pull closed after working into it.
- R1: Chain 3 as the first double crochet, then work 11 double crochet into the ring. Slip stitch to join, for 12 stitches.
- R2: Chain 3, double crochet in the same stitch, then work 2 double crochet in every stitch around. Join with a slip stitch, for 24 stitches.
- R3: Chain 3. Alternate 1 double crochet and 2 double crochet in the next stitch around. Join with a slip stitch, for 36 stitches.
- R4: Chain 1. Repeat the full sequence twice: slip stitch in the next 2 stitches; half double crochet and double crochet in the next stitch; repeat 4 times, double crochet in the next 2 stitches, then 2 double crochet in the next stitch; double crochet in the next 2 stitches; double crochet and half double crochet in the next stitch. Slip stitch to the first slip stitch and change to brown.
The free pumpkin coaster set crochet pattern shapes the edge with a mix of stitch heights rather than another uniform increase round. That change creates the pumpkin outline without adding another full circle of double crochet.
After the final join, leave the yarn ready for the stem. We should not fasten off before working that attached brown detail.
How Do We Add the Stem and Leaf?
We crochet the stem directly onto the pumpkin before making the green leaf separately. The stem continues from the brown yarn left ready at the end of the shaping row.

Crochet the stem onto the pumpkin
- Continue in brown and chain 6. Starting in the third chain from the hook, work 1 half double crochet in that chain and in each of the next 3 chains.
- Slip stitch to the second slip stitch from row 4. Fasten off the brown and orange yarn, then weave those ends into the back of the pumpkin.
The stem forms a short raised piece along the pumpkin edge. We can use the yarn needle to tuck each tail through several nearby stitches, then trim it close without cutting into the fabric.
Make and attach the leaf
For the leaf, join green yarn by making a chain of 5 and joining it into a ring. Work the stitches around that small center, keeping the chain ring open enough for the yarn needle to pass through later.
- Chain 1, work 4 half double crochet into the ring, then make a picot with chain 2 and a slip stitch into the second chain from the hook.
- Work 4 half double crochet into the ring, chain 1, and slip stitch into the ring. Fasten off, then sew the leaf to the pumpkin.
We can place the leaf beside the stem and sew through its center stitches, taking care not to flatten the picot. After fastening off, weave in the green ends so they stay hidden at the back.
Once the stem and leaf sit securely, yarn choice becomes the next useful check. Matching yarn and construction helps repeated coasters keep a consistent size.
How Can We Change the Yarn or Finished Scale?
Changing yarn weight changes the finished scale, even when the stitch pattern stays the same. Worsted weight is the reference choice for the circle version, while lighter or bulkier yarn shifts its size.
| Yarn choice or method | How it is used | Stated size or gauge effect |
|---|---|---|
| Worsted weight yarn | Reference choice for the circle version | About 4.5 inches wide |
| DK-weight or thread-weight yarn | Use with the circle version | Smaller pumpkin than worsted weight |
| Bulky-weight yarn | Use with the circle version | Larger pumpkin than worsted weight |
The holder version offers another way to change the fabric. We can hold three strands of worsted weight yarn together or substitute bulky weight yarn.
That holder pattern lists size H, or 5.0 mm, and M/N, or 9.0 mm, hooks. It uses Mary Maxim Starlette Worsted, 100% acrylic at 180 yards per 100 grams. Its listed amounts are 125 yards per pumpkin and 120 yards for four leaves and the stem.
The mosaic version uses DK-weight 100% acrylic yarn. Its gauge is 18 stitches and 18 rows per 4 inches with a 4.5 mm hook. That example shows why we should not transfer one hook size across every construction.
The circle version has no stated hook size or gauge, so we should check its fabric and finished width as we work. With yarn and scale in mind, we can move on to final checks that help the pieces sit neatly.
What Should We Check Before Calling the Coasters Finished?
A missed increase can leave an uneven edge that will not lie flat. We can catch that problem by checking the stitch counts and joins before weaving in every end.
Check stitch counts and joins
The circle should have 12 stitches after the first round, 24 after the second, and 36 after the third. A missed increase can make the outer edge pucker or sit unevenly against a table.
We should also check that the shaping row joins at the intended slip stitch. A join in the wrong spot can shift the edge and make the pumpkin outline look less balanced.
Inspect the edges and loose ends
Look over the stem and leaf attachment, then weave in any loose ends that remain. If the leaf curls or folds, we can block that small piece only if needed.
- Set the coaster on a flat surface and check for rocking.
- Look for gaps where the center ring should close.
- Check that the stem and leaf do not lift away from the motif.
- Turn the coaster over and trim any exposed yarn tails.
These checks help us finish a neat set without promising that every yarn or construction will handle the same use. Yarn type and construction vary across designs, so we should not assume every crochet coaster is suitable for very hot dishes.
A coaster that lies flat and has secure joins is ready for its intended place at home. After checking the finished pieces, we can consider other projects that use the pumpkin motif.
How Else Can We Use the Pumpkin Motif?
We can sew the finished circle motif onto another fall decoration, such as a fabric bag or a table runner. Used this way, it becomes a pumpkin applique rather than a coaster.
Turn the motif into another fall decoration
A motif made for a blanket may look similar, but it can follow different stitch-count and color instructions. We should use the directions for that construction instead of substituting the coaster motif stitch for stitch.
That distinction matters when a blanket pattern relies on a set number of stitches to connect motifs. A free crochet pattern for a separate project may use its own color sequence or edge, even when the finished pumpkin shape looks familiar.
Pair it with other seasonal designs
The circle version shares its initial rounds with a related apple coaster design. That apple uses a longer stem and a different leaf, or we can make its sliced-apple variation with small brown seeds.
We can also pair pumpkin, mushroom, acorn, and leaf designs in a fall coaster set. Repeating a shared yarn palette can help different shapes look like part of one collection.
Other crochet patterns may use the pumpkin as a small accent among larger seasonal motifs. A mosaic pumpkin motif, for example, also appears in a fall blanket pattern, where the stitch and color directions suit that design.
We can choose one adaptation that fits the yarn and project we already have. That keeps the next piece manageable while giving the pumpkin a new place in our fall home decor.
Conclusion
The simplest route to a matching set is to repeat the same construction and yarn choice. Consistent stitch counts help each circle lie evenly, while changing yarn weight changes its scale.
For a practical start, gather orange, brown, and green yarn, then make a small gauge check before beginning the magic ring. We can compare the fabric and width with the intended coaster before making more pieces.
Start the first circle and check its shape before making the rest.
FAQ
What hook size should we use for the circle version?
The circle version does not specify a hook size or gauge, so we should choose a hook that makes a firm, flexible fabric. The finished width is approximately 4.5 inches, which gives us a useful check as we work. If the stitches feel stiff or the fabric ripples, we can adjust the hook before making the remaining coasters.
How much yarn does a pumpkin coaster set need?
The circle version does not list a yarn amount, so the total depends on the yarn and how many coasters we make. A separate holder version lists 125 yards per pumpkin and 120 yards for four leaves and the stem. Those amounts apply to that construction only, so we should not use them to estimate the circle version.
Can we use acrylic yarn for crochet pumpkin coasters?
Yes, acrylic yarn is used in the holder and mosaic versions, but that does not make every acrylic yarn heatproof. We should follow the intended use of the yarn and construction we choose. A crochet coaster can be a useful place for a drink, but we should not assume it is suitable for very hot dishes.
How long does it take to crochet a pumpkin coaster?
No time is stated for the circle version, and our pace will depend on our experience and how often we pause. The mosaic version is estimated at 1.5 to 2.5 hours, depending on pace. That estimate applies to the mosaic construction, not automatically to a simpler circle or the holder version.
Can we use a pumpkin motif in a blanket?
Yes, a separate mosaic pumpkin motif is used in a fall blanket design. We should follow that design’s stitch counts and color sequence rather than swapping in the coaster motif stitch for stitch. Blanket motifs may need specific edges or joins to fit their surrounding pieces, so the coaster instructions may not match.
Do we need to make a gauge swatch for the circle version?
A gauge swatch is not specified for the circle version, but a short check can help us judge the fabric before making a set. We can test our hook and yarn, then compare the circle’s fabric and approximate 4.5-inch width. That check is especially useful if we want several coasters to match.