Elegant Crochet Bracelet with Pearls: Easy DIY Pattern
Make an elegant crochet bracelet with pearls using this easy DIY pattern. Learn the materials, measurements, stitch steps, pearl placement, and finishing.
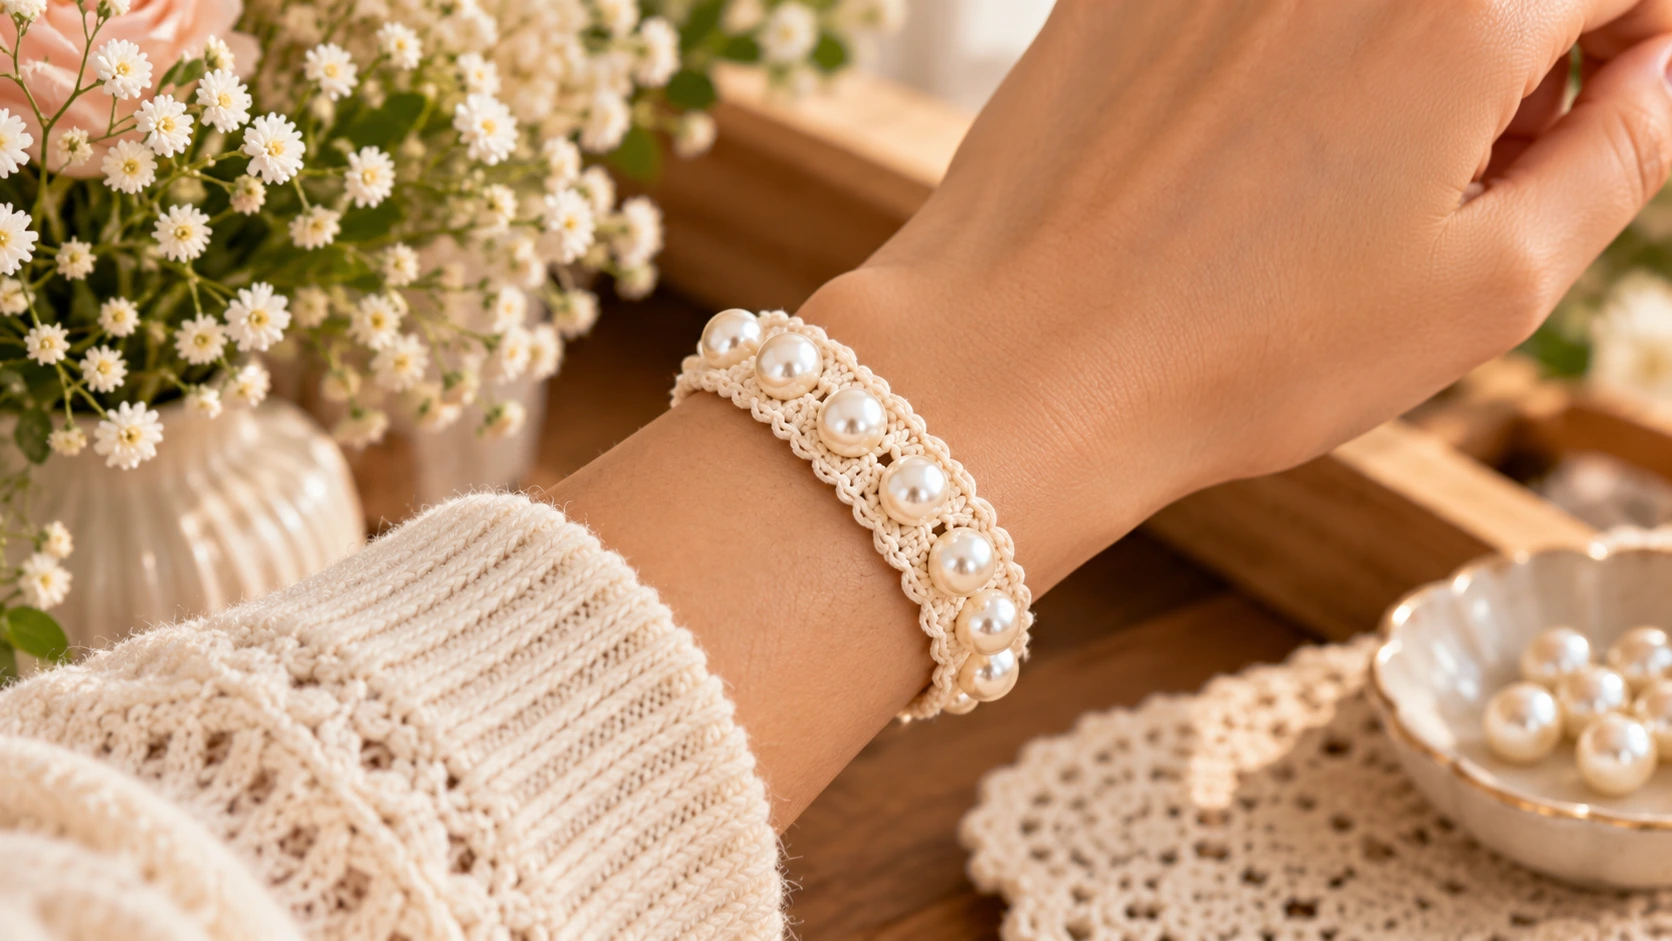
Table of Contents
A crochet bracelet with pearls is a simple way to turn basic crochet into something that feels polished and special. The combination of soft cotton thread and smooth pearls gives this little accessory a delicate finish without requiring advanced crochet skills.
This design uses a narrow crochet band, a simple button-and-loop closure, and seven decorative pearls sewn along the center. The construction is intentionally straightforward, so you can adjust the length for a smaller or larger wrist without changing the basic stitch pattern.
The finished bracelet is light enough for everyday wear and can also make a thoughtful handmade gift.
Crochet Bracelet With Pearls at a Glance
Skill level: Easy
Project type: Crochet jewelry
Finished length: Approximately 7.25 inches
Recommended wrist size: About 6.5–7 inches
Main stitch: Single crochet
Hook: 2.0 mm (US 0)
Yarn: Fine crochet cotton, approximately 15–20 yards
Pearls: 7 faux pearls, approximately 6–8 mm
Closure: 1 small shank or flat button with crocheted loop
The finished measurements are a starting point. Measure the intended wrist before finishing the closure because yarn, hook size, and personal tension can change the final length.
Materials You Will Need
Gather the following before you begin:
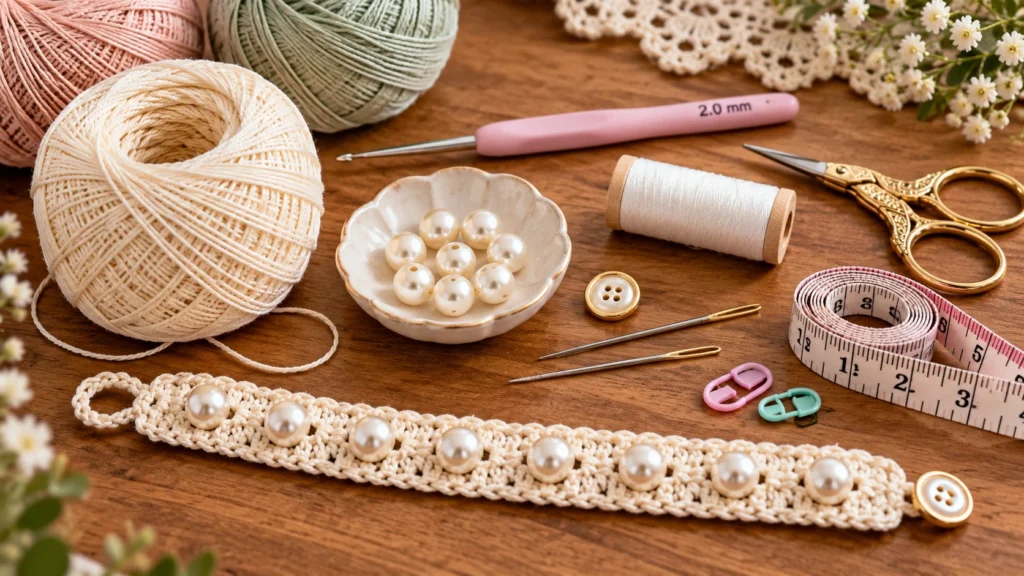
- Fine cotton crochet thread or light fingering-weight cotton yarn
- 2.0 mm crochet hook
- 7 smooth faux pearls with holes large enough for your needle
- 1 small button
- Tapestry needle
- Sewing needle suitable for the pearl holes
- Matching sewing thread
- Scissors
- Measuring tape
- Stitch marker, optional
Choose a smooth yarn rather than a fuzzy or highly textured fiber. A clean, compact yarn lets the pearls remain the visual focus.
Choosing the Pearls
For a delicate bracelet, 6 mm pearls work particularly well. Use 8 mm pearls when you want a bolder accessory.
Keep the pearls relatively lightweight. Very large or heavy beads can pull on a narrow crochet band and make the bracelet less comfortable.
For a soft classic look, cream or ivory pearls are an easy pairing with white, beige, taupe, blush, or black crochet thread.
Size and Fit
This base pattern is designed for approximately a 7-inch wrist.
Before adding the closure, wrap the unfinished band around the intended wrist.
A useful starting point is:
Wrist circumference + approximately 0.25 inch = bracelet body length
For example:
6.75-inch wrist + 0.25 inch = approximately 7 inches
The small amount of additional length allows the bracelet to sit comfortably without being overly tight.
You will also need room for the button loop, so do not make the crocheted band exactly the same length as the wrist circumference.
Crochet Abbreviations
The pattern uses US crochet terminology.
- ch = chain
- sc = single crochet
- sl st = slip stitch
- st = stitch
Gauge
Gauge is not critical for this small accessory because you can measure the bracelet as you work.
For a consistent starting point, aim for approximately:
5 sc per inch across the bracelet
More important than exact gauge is achieving a band that feels flexible but firm.
Notes Before Starting
The bracelet is worked as a narrow strip of single crochet.
The pearls are not crocheted directly into the stitches. Instead, they are sewn onto the finished band. This makes the pattern easier to adjust and allows you to replace a pearl later if needed.
If you are making the bracelet for a young child, avoid loose pearls and other small detachable components. Small beads can present a choking hazard.
Step 1: Crochet the Bracelet Band
For the base 7-inch bracelet, start with:
Foundation: Ch 36
This should produce a narrow starting strip at the recommended gauge.
Row 1
Sc in the second chain from the hook and in each chain across.
Stitch count: 35 sc
Ch 1 and turn.
Row 2
Sc in each stitch across.
Stitch count: 35 sc
Ch 1 and turn.
Row 3
Repeat Row 2.
Fasten off, leaving a yarn tail for weaving in.
Your finished band should be approximately 7 inches long before the closure is added.
Do not worry if yours is slightly longer or shorter. Measure it against the wrist and adjust before moving to the finishing stage.
How to Adjust the Bracelet Length
If you need a smaller bracelet, remove foundation chains.
If you need a larger bracelet, add foundation chains.
A useful adjustment method is:
Desired finished band length × stitches per inch = approximate starting stitches
For example, at about 5 sc per inch:
7 inches × 5 = approximately 35 stitches
Because Row 1 has one fewer stitch than the original foundation chain, begin with approximately 36 chains for a 35-stitch row.
This is only a starting point. Always measure your actual crochet band before sewing the pearls.
Step 2: Position the Pearls
For this design, use seven pearls.
Seven pearls create a balanced center line across the bracelet without making the band look overcrowded.
Lay the bracelet flat.
Place the first pearl approximately 0.5 inch from one end.
Place the remaining pearls at roughly 1-inch intervals.
The final pearl should sit approximately 0.5 inch from the opposite end.
The exact spacing does not need to be mathematically perfect. What matters most is that the pearls appear visually centered and evenly distributed.
Pearl Placement Tip
Before sewing anything, place all seven pearls on the bracelet and step back to look at the spacing.
This is much easier than sewing the first few pearls and discovering that the remaining space is uneven.
Step 3: Sew the Pearls Onto the Crochet Band
Thread a sewing needle with matching sewing thread.
Insert the needle from the back of the bracelet so the knot remains hidden.
Pass the needle through the pearl hole and return through the crochet fabric.
Repeat the pass through the pearl several times.
Secure the thread on the back with two or three small stitches.
Move to the next pearl.
Continue until all seven pearls are attached.
Keep the Pearls Secure
Do not pull so tightly that the crochet band puckers.
The pearl should sit securely on top of the fabric while the surrounding stitches remain flat.
If your pearl holes are larger, use an additional securing pass.
Step 4: Create the Button Closure
A simple button closure keeps the bracelet easy to put on and remove.
Choose a small button that contrasts gently with the pearl rather than competing with it.
Sew the button to one end of the bracelet.
For a centered look, attach the button near the middle of the final end section.
Make sure it is firmly sewn because the closure receives more movement than the decorative pearls.
Create the Crochet Button Loop
Return to the opposite end of the bracelet.
Attach your crochet yarn near the center of the edge with a slip stitch.
Chain approximately 8 stitches.
Check the loop around the button.
If the loop is too loose, remove a chain. If it is too tight, add one or two chains.
Slip stitch back into the starting point.
Fasten off and weave in the yarn tail securely.
Your bracelet now has an adjustable-feeling button closure without requiring a metal clasp.
Step 5: Finish the Bracelet
Use a tapestry needle to weave in the crochet ends on the underside.
Trim the tails only after they are securely woven through several stitches.
Lay the bracelet flat and inspect the edges.
The band should remain straight rather than curling significantly.
If the bracelet feels slightly stiff, gently handle the fabric between your fingers to soften it.
Avoid aggressively stretching the band because the pearl stitches may pull against the crochet fabric.
Optional Variation: Add a Scalloped Edge
A simple scalloped edge can give the bracelet a more decorative appearance.
After completing the two main rows, attach matching yarn to one long edge.
Work:
Sl st in first stitch, skip 1 stitch, 5 dc in next stitch, skip 1 stitch.
Repeat across the edge.
This option creates a more decorative bracelet, but it also makes the accessory wider and more ornate.
For a minimalist pearl bracelet, leave the original straight edge.
Optional Variation: Use a Double Strand
For a fuller bracelet, make two identical crochet bands.
Place them side by side and secure them together at each end.
Instead of seven pearls, you can position pearls alternately across the two rows.
This gives the bracelet more visual depth without requiring a complicated stitch pattern.
Choosing Colors for Your Crochet Bracelet
The same pattern can look completely different depending on the yarn and pearl combination.
Classic Cream and Pearl
Cream crochet thread with ivory pearls gives the bracelet a soft, traditional appearance.
Black and Pearl
Black crochet thread with ivory pearls creates stronger contrast and a slightly more dramatic accessory.
Blush Pink and Pearl
A muted pink base makes the bracelet feel softer and more playful.
Sage and Pearl
Sage green paired with cream pearls works well when you want a more natural, understated color combination.
Metallic Accent
You can add a small metallic bead between every second pearl, but keep the accents limited so the bracelet does not become visually crowded.
How to Make a Crochet Bracelet With Pearls Look More Professional
The biggest difference between a quick craft project and a polished handmade accessory often comes down to small finishing details.
Keep your edges straight.
Make the pearl spacing deliberate.
Hide all yarn and thread tails on the underside.
Choose pearls that are similar in size and shape.
Most importantly, avoid overloading the design with too many decorative elements.
The narrow crochet band is meant to provide structure while the pearls provide the decorative focal point.
Troubleshooting
The bracelet curls
Your tension may be too tight.
Try using a slightly larger hook or loosening your tension.
The pearls make the fabric pucker
The sewing thread is probably too tight.
Secure each pearl firmly without pulling the surrounding crochet stitches together.
The bracelet is too short
Add a small additional crochet section before attaching the closure, or remake the band with a longer foundation chain.
The bracelet is too loose
Shorten the band before adding the button closure.
Because the pearls are sewn on afterward, you can adjust the crochet length without having to redo the decorative work.
The button loop keeps slipping off
Reduce the number of chains in the loop by one or two stitches and test it again.
The loop should pass comfortably over the button but remain secure during normal movement.
How to Care for a Pearl Crochet Bracelet
Crochet jewelry needs gentler handling than metal or plastic accessories.
Keep the bracelet away from excessive moisture, perfume, hairspray, and cosmetics.
When you are not wearing it, store it flat in a small fabric pouch or jewelry box.
Avoid placing heavy objects on top of it because the pearls may press into the crochet fabric.
If the bracelet becomes dusty, gently wipe the crochet surface with a soft, dry cloth.
Do not soak the finished bracelet unless you know that both the yarn and pearls are suitable for washing.
Can You Make This Bracelet as a Gift?
Absolutely.
Because the pattern is easy to resize, it works well for handmade gifts.
Measure the recipient’s wrist when possible. If you cannot measure it, make the bracelet slightly adjustable by using a longer chain loop or adding a second button position.
For gifting, neutral yarn colors such as cream, black, soft gray, or beige are practical choices, while pearl colors can be coordinated with the recipient’s style.
Final Thoughts
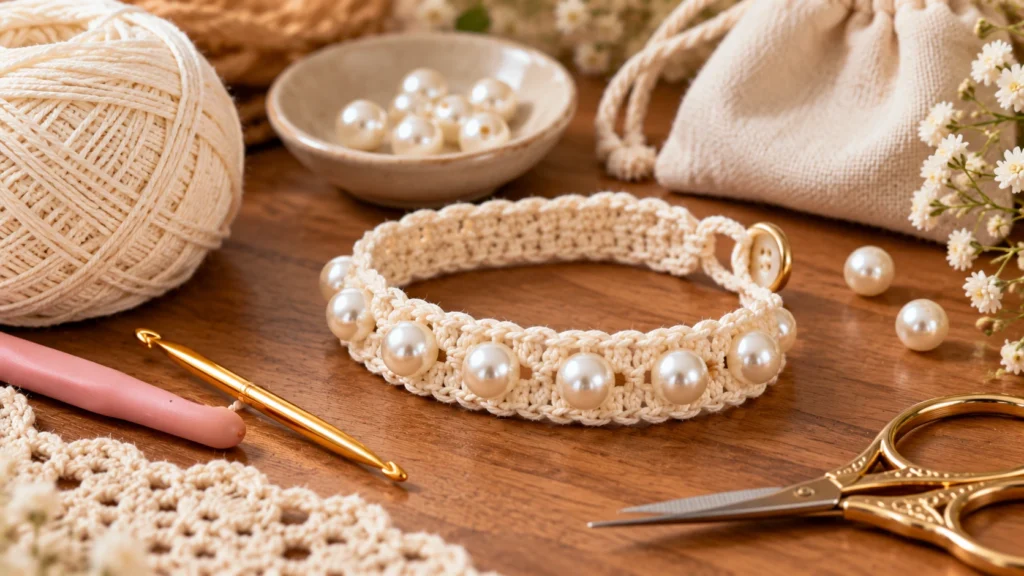
This crochet bracelet with pearls is a small project, but it gives you plenty of room to experiment with color, pearl size, and finishing details.
The basic construction is intentionally simple: crochet a narrow band, sew seven pearls in an even arrangement, and finish it with a button-and-loop closure.
Once you have made the first bracelet, you can easily create variations with different colors, pearl sizes, or decorative edges.
It is also a useful project for practicing accurate crochet tension, neat sewing, and small-scale finishing. A simple design often looks more elegant when the stitches, spacing, and finishing are carefully controlled.
FAQ
How many pearls do I need for this crochet bracelet?
The base pattern uses seven pearls. You can add more for a denser look or fewer for a minimalist design.
What yarn is best for a crochet bracelet with pearls?
Fine cotton crochet thread or a smooth light fingering-weight cotton works well because it creates a compact, clean band.
Can I make the bracelet larger or smaller?
Yes. Adjust the starting chain according to the desired length, then measure the finished band before adding the pearls.
Can I crochet the pearls directly into the bracelet?
You can use a different beaded-crochet technique, but this beginner-friendly version sews the pearls onto the finished band. That makes positioning and resizing easier.
How do I stop the pearls from making the crochet fabric pucker?
Sew each pearl firmly but avoid pulling the thread too tightly. The pearl should sit securely while the crochet fabric stays flat.
Is this bracelet suitable for young children?
Because the design contains small pearls and a button, it is better treated as jewelry for older children or adults. Keep small detachable components away from young children.