
How to Make Your Own Crochet Bat Pattern Free Amigurumi
Learn how to make your own crochet bat pattern free amigurumi with this step-by-step guide for a spooky, handmade project you can enjoy from start to finish.
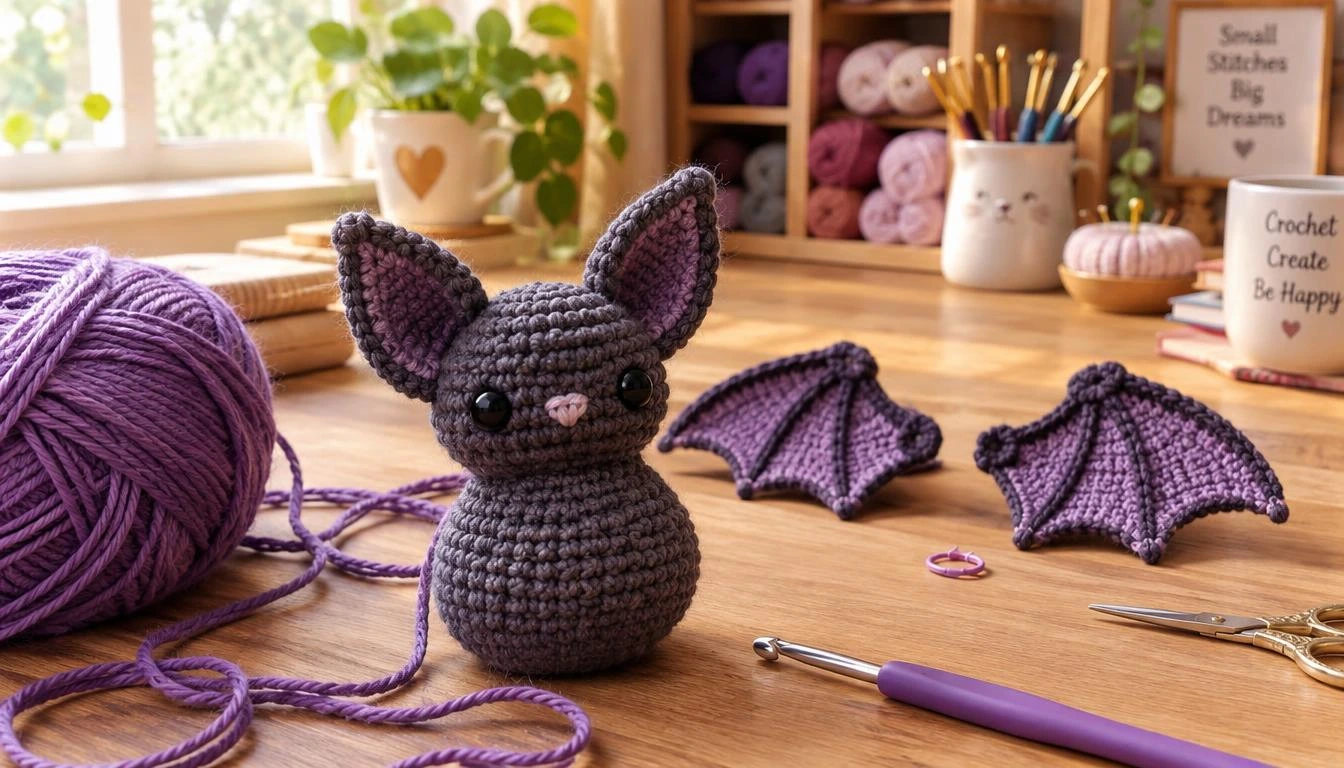
Table of Contents
Can a few crocheted pieces become a tiny bat? Yes: you can crochet a stuffed shape, then add separate wings and ears. Amigurumi is a small stuffed toy made by crocheting or knitting.
This Halloween project turns yarn into a handmade toy with a clear silhouette and embroidered face. You can personalize its colors and size, whether you want a subtle decoration or a playful spooky-season project.
This practical pattern-making guide takes you from yarn choices through the finishing details. You will work the head and body as one continuous body, then make the bat’s smaller parts separately. The pattern uses counted rounds to help you shape the toy evenly.
Before you begin, decide how large you want the finished bat to be. First choose yarn and a hook that suit the finished size you want.
What Materials and Size Fit Your Crochet Bat Pattern Free Amigurumi?
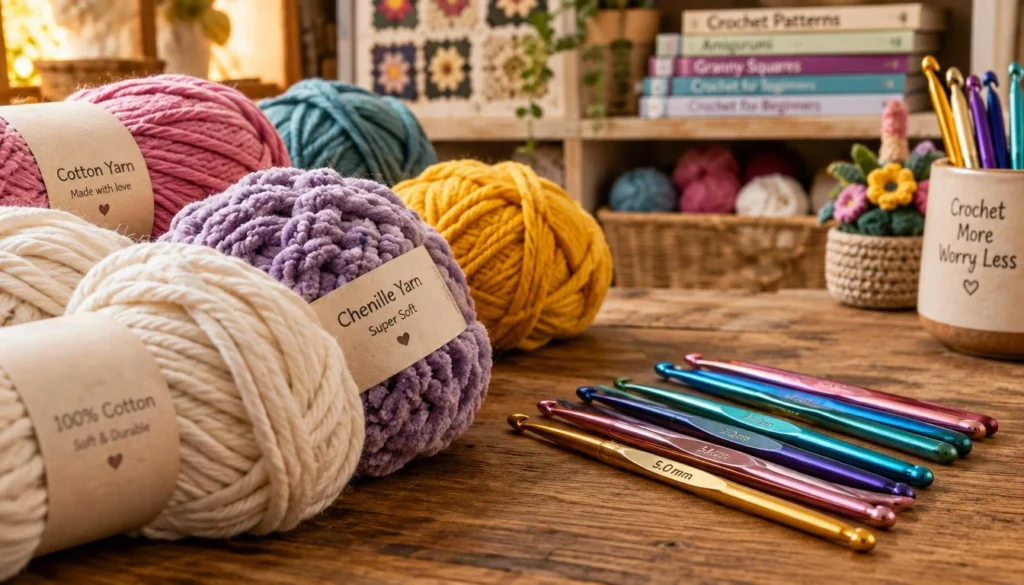
The sport-weight cotton mini and super bulky chenille plush are two clear scale choices: about 3 inches and 7 inches tall. A medium-weight yarn gives you a 4-inch garland bat.
Changing yarn weight and hook size changes the finished size. The examples below show the scale you can expect, but your tension also affects the result.
Pick a yarn and hook size
Choose the version that suits your project, then use its listed hook as your starting point. A smaller hook creates tighter stitches, which helps keep stuffing from showing through the fabric.
| Version | Yarn | Finished height | Hook |
| Sport-weight cotton mini | Sport-weight cotton | 3 inches | 2.5 mm |
| Super bulky chenille plush | Super bulky chenille | 7 inches | 5 mm |
| Medium-weight garland bat | Medium-weight yarn | 4 inches | 4 mm |
The garland version uses 8 mm safety eyes. The pattern in this guide uses embroidered facial details instead, so you will not need safety eyes for this design.
Gather the finishing supplies
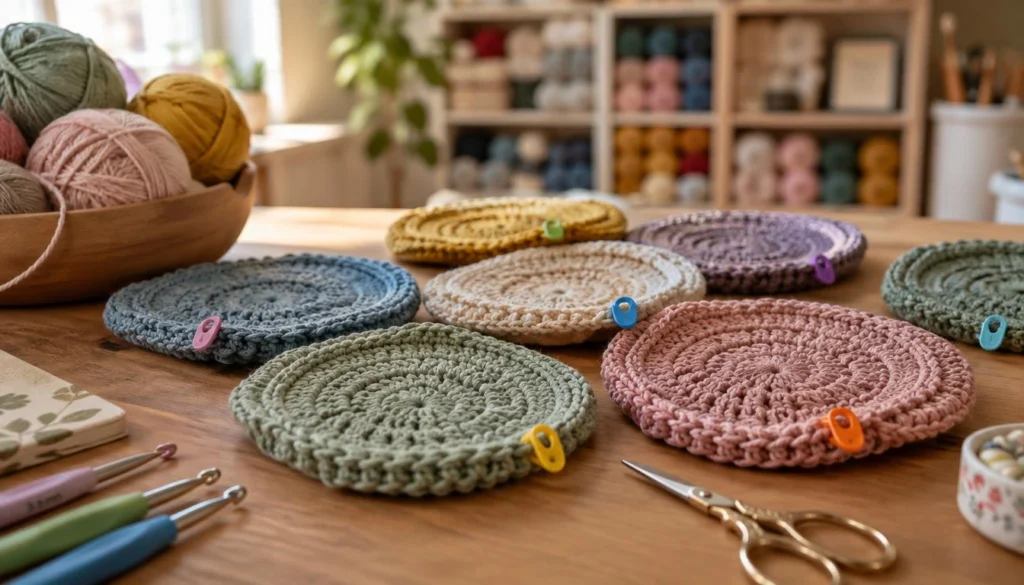
Set out polyester fiberfill, scissors, a tapestry needle, stitch markers, and yarn for embroidery. You will use the marker to track round starts and the needle to sew parts and weave in ends.
No yarn yardage is provided, so do not rely on an invented estimate. The amount you need depends on your yarn, hook, tension, and finished size. Once you have your materials, use the stitch shorthand and body instructions to begin.
How Do You Crochet the Bat’s Body?
The head and body form one continuous stuffed shape, worked from the top down in counted rounds. You will increase to shape the head, pause for facial embroidery, then decrease through the lower body.
In the pattern, sc means single crochet, sl st means slip stitch, inc means two sc in one st, and dec means sc2tog. The number in parentheses gives the stitch count at the end of that rnd.
Work the continuous body in counted rounds
Use a magic ring to begin. Keep the marker in the first st of each rnd, moving it up as you work. Follow the stitch counts, since a missed inc can change the body’s width.
- Rnd 1: work 6 sc in a magic ring (6). Rnd 2: inc around (12). Rnd 3: repeat sc, inc six times (18). Rnd 4: repeat 2 sc, inc six times (24).
- Rnd 5: work 24 sc (24). Rnd 6: increase evenly to 30 sts (30). Rnds 7-8: work 30 sts in each rnd (30).
- Rnd 9: increase evenly to 36 sts (36). Rnds 10-12: work 36 sts in each rnd (36).
- Rnds 13-15: decrease evenly to 18 sts. Rnd 16: work 18 sts. Rnd 17: increase evenly to 24 sts.
- Rnds 18-21: work 24 sts in each rnd. Rnd 22: decrease evenly to 16 sts. Rnd 23: work 8 dec (8). Stuff, then work rnd 24 to finish with 6 sts.
For a count-based decrease sequence, work [4 sc, dec] six times in rnd 13, [3 sc, dec] six times in rnd 14, and [2 sc, dec] six times in rnd 15. Work rnd 16 even, then repeat [2 sc, inc] six times in rnd 17.
Add the face before closing the shape
Embroider the eyes over rnds 10 and 11, with 6 sts between them. Place the nose between rnds 11 and 12. Make it 2 sts wide and 2 sts from the eyes.
To shape the lower end, decrease evenly to 16 sts in rnd 22. Work 8 dec in rnd 23, then add stuffing before you continue. In rnd 24, repeat 2 sc and dec twice to reach 6 sts. After placing the face and completing the shape, move on to the separate ears and wings.
How Do You Make the Ears and Wings?
The ears and wings are separate pieces that you sew onto the body. Make two of each, and keep the same yarn tension so the pairs look balanced.
Use the same stitch shorthand as for the body. Flatten each piece gently as you finish it, without stretching the outer edge or twisting the stitches.
Crochet and shape two ears
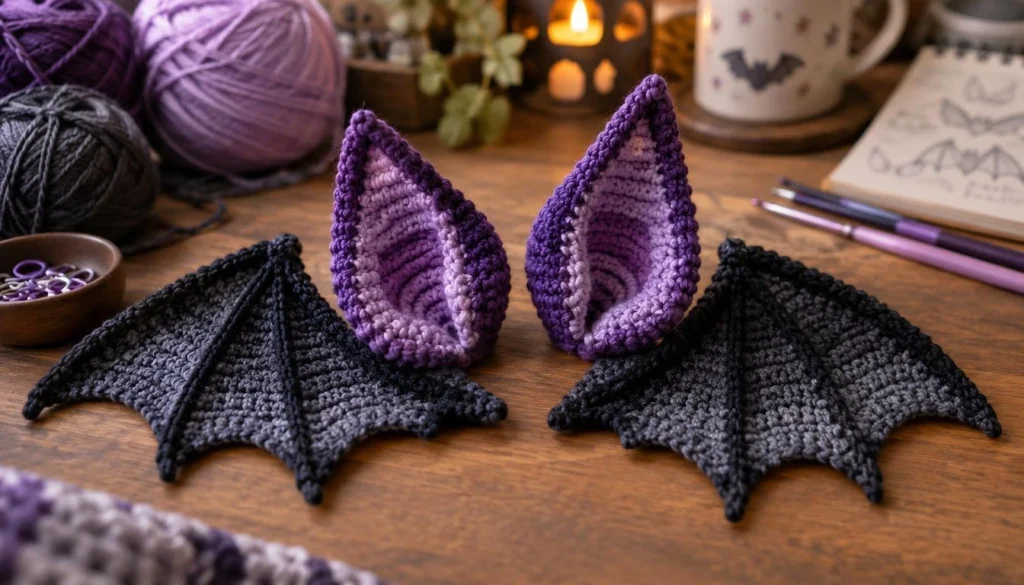
Make two ears in purple yarn. Work 4 sc in a magic ring for rnd 1 (4). For rnd 2, inc around (6). For rnd 3, repeat sc, inc around (8). For rnd 4, repeat 2 sc, inc around (10). Work sc around for rnd 5 (10).
Fasten off each ear with a long sewing tail. Flatten the piece so its base sits neatly against the body. Keep the tails long enough to sew through the body fabric securely.
Make a mirrored pair of wings
Make two wings in dark purple yarn. Rnd 1 begins with 4 sc in a magic ring (4). Increase around in rnd 2 (8), then work rnd 3 even (8). Increase evenly in rnd 4 to 12 sts, rnd 5 to 18 sts, and rnd 6 to 24 sts.
For rnd 7, shape the outer edge with sc, hdc, and grouped hdc-dc-hdc stitches. Place increases along that edge to reach 36 sts. For rnd 8, work one sc and one sl st, then leave the remaining stitches unworked.
Fasten off both wings with long sewing tails and fold them flat. Lay both pairs out and check their orientation before sewing.
How Do You Attach and Finish the Amigurumi?
Position each piece against the body before making permanent stitches. Check that the parts sit evenly from the front and back, then pin or hold them in place as you work.
Use the long yarn tail and a tapestry needle to sew each piece securely. Keep the needle passes small so the seams hold without pulling the body out of shape.
- Embroider the eyes and nose in the positions given for the body. Secure the embroidery on the inside with a firm knot.
- Sew the ears between body rnds 2 and 6. Use matching stitches on both sides so the ears sit at a similar angle.
- Sew the wings onto the back over rnds 18 and 19. Check that they point outward on opposite sides.
- Make the feet from chains at rnd 18. Chain 3, sc in the second chain from the hook, then sc in the next chain.
- Finish stuffing and close the remaining opening. Place the feet over rnds 20 and 21, with 2 sts between them.
To finish each foot, flatten the opening so the stitches on opposite sides align. Use sl sts to join the aligned edges, then sew the foot onto the body.
Add or adjust the stuffing before closing the final opening. Use the long tail and needle to sew the opening shut, then weave in every loose end. Check that both wings and ears sit evenly, then consider your personalization and design choices.
How Can You Customize the Design Without Losing Its Shape?
A one-piece shape keeps the head and body connected, while another design joins a separately crocheted head and body. Construction choices affect the amount of sewing and how you shape the finished toy.
Neither approach is right for every project. Compare how each handles the body, wings, and feet before changing a pattern’s yarn or hook.
Change the silhouette with construction choices
| Design approach | Body construction | Wing construction | Useful trade-off |
| Continuous body with separate parts | One stuffed shape; separate ears | Round-based wings | Simpler body assembly; size changes affect the main shape |
| Joined head and body with flat wings | Separate head and body sewn together | Flat-row wings | More separate sewing and shaping work |
| One-piece head and body with integrated feet | Legs formed while working the body | Shaped wings attached separately | Fewer separate leg pieces; more body shaping |
A separate medium-weight bat pattern is rated intermediate. It uses a 5 mm hook, measures 5.75 inches tall, 5.5 inches wide, and 2.5 inches deep, and has a gauge of 18 sc by 21 rows over 4 inches.
Scale the finished toy carefully
An easy garland bat measures 4 inches tall and uses medium-weight yarn, a 4 mm hook, and 8 mm safety eyes. These details describe that design, not a required change to your current pattern.
Changing yarn weight or hook size changes the finished size. The stitches also need to stay dense enough to hold the stuffing. If a close size match matters, make a small gauge swatch using the yarn and hook you plan to use.
A swatch can show whether your stitches are looser or tighter than the pattern’s fabric. Adjust the hook before making the whole toy, rather than trying to correct its scale after assembly. Next, check for common mistakes that can spoil the fit or finish.
What Common Mistakes Should You Check Before Calling It Done?
Use a final stitch-count check to catch a small error before it changes the toy’s shape. Count the sts at the end of each rnd, especially after increases and decreases.
A marker helps you find the start of a joined round, where the first st can otherwise be easy to miss. Keep increases and decreases in their stated locations; moving them can shift the body’s shaping.
Compare the two wings before sewing them down. Flatten them the same way and check that they face in opposite directions. If one wing looks wider, check its stitch count and shaping before attaching it.
Stuffing too early can make later decreases harder to work. Wait until the stated point, then add fiberfill in small amounts so you can shape the body evenly. Stuffing too loosely can leave the body limp, while tight stuffing can distort the stitches.
Check the embroidery knots, seams, and yarn tail. Secure each tail and weave it into several stitches so embroidery and seams do not loosen with handling. Trim only after the ends are held in place inside the toy.
No specific yarn yardage is supplied, so an estimate is not guaranteed. The amount varies with yarn weight, tension, and size. If you are short on yarn, a small color change can work, but keep the body and matching parts consistent.
Correct uneven stitches or loose ends before you call the bat finished. Then use it as a handmade decoration or give it as a gift.
Conclusion
A well-counted body and securely attached parts are the essentials for a finished bat. Consistent stitch counts help preserve its shape, while changing yarn or hook size can alter the final dimensions.
Choose a yarn and hook that suit your project, then make the first magic ring. That first round gives you a steady start for the rest of the pattern, so count its stitches before moving on.
Keep your marker close and follow each increase and decrease as written. When you are ready, start the first rnd with your chosen materials.
FAQ
How much yarn do I need to crochet a bat?
No specific yardage is given for these bat designs, so the amount depends on your yarn, tension, and finished size. Make a small swatch with your chosen yarn and hook, then allow extra yarn for sewing the parts and embroidering details. Avoid relying on an unsupported estimate, especially if you need the bat to match a particular color lot.
Can I use chenille yarn for a crochet bat?
Yes, you can use chenille yarn for a plush crochet bat. The plush version uses super bulky chenille yarn with a 5 mm hook and measures about 7 inches tall. Chenille can make stitches harder to see, so use a marker and count carefully as you work. Check the fabric for gaps before adding stuffing.
What size crochet hook should I use for amigurumi?
Match the hook to your yarn and the finished size you want. The listed examples range from a 2.5 mm hook for sport-weight cotton to a 5 mm hook for super bulky chenille. Your tension also affects the result. If stuffing shows between stitches, try a smaller hook while keeping the same yarn.
Can I use safety eyes instead of embroidered eyes?
Yes, if the chosen design supports them and they suit the intended recipient. The mini pattern here uses embroidered facial details, while other listed designs use 8 mm safety eyes. Another design may call for 10 mm eyes. Follow that pattern’s placement, and consider whether safety eyes are suitable for the toy’s user.
Do I have to use a magic ring to start the body?
For this mini pattern, start the body with a magic ring. Another bat pattern allows you to chain 2 and work the first round into the second chain. Use the starting method specified by your chosen design, since it affects how the beginning closes and how the first stitches sit.
How do I make the two crochet wings look even?
Make two matching wing pieces and flatten them the same way. Compare their shape and stitch count, then pin them in place before sewing. From the back, the wings should point outward on opposite sides. Adjust their position before you make permanent stitches, since even placement helps the bat look balanced.