
Easy Crochet Barbie Patterns for Beginners to Try Today
I gathered crochet barbie patterns for beginners, with easy outfit ideas and helpful details to inspire my next handmade Barbie look and accessories today.
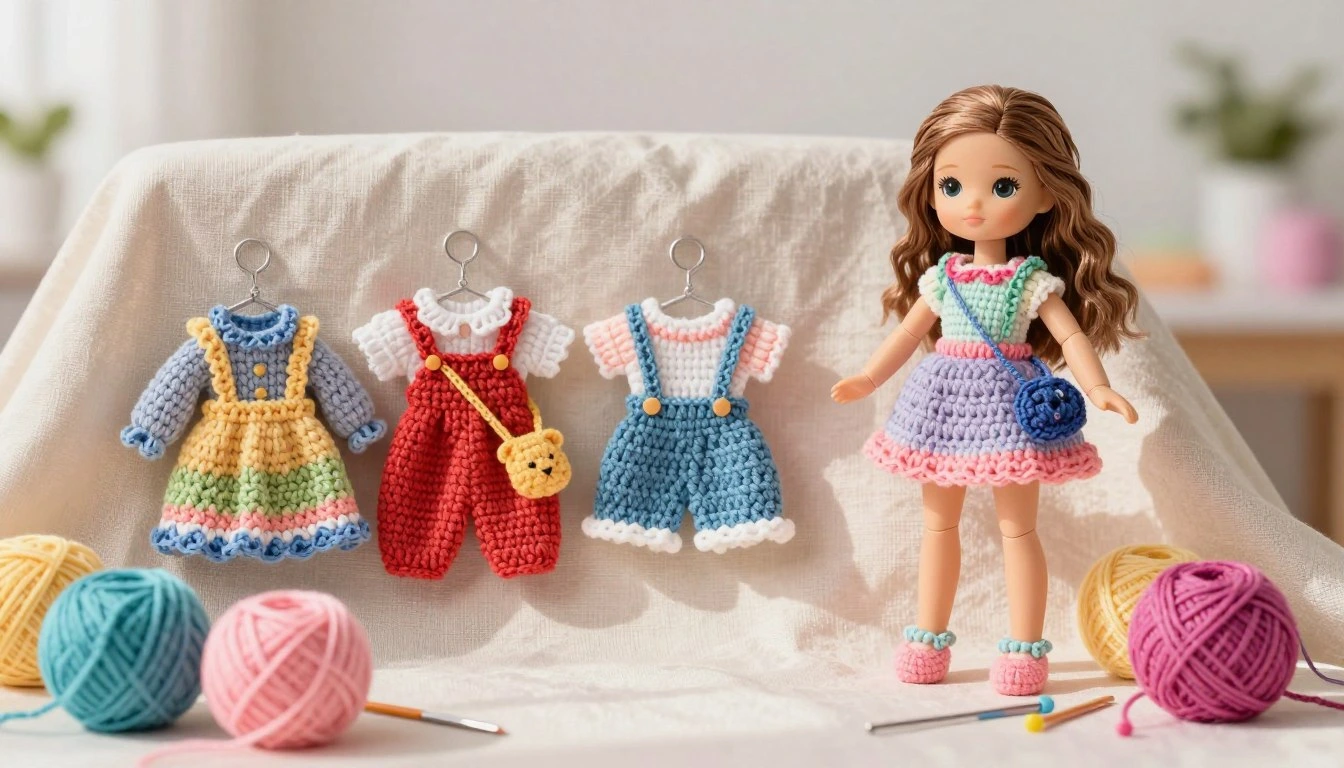
Table of Contents
A Barbie outfit can be a satisfying first crochet project because a small garment lets a beginner focus on a few stitches and a clear shape. Could a few careful rounds really make a tiny outfit feel wearable? Yes, when I treat small scale as a reason to slow down, not a reason to skip checking the fit.
Even a simple skirt or dress needs steady stitches. A small difference in tension can change how the garment sits, so I check the shape as I work instead of waiting until the end.
Handmade fashion ideas can begin with just a single piece a dress, a top and skirt set, or even a small accessory. These options allow beginners to explore the Crochet Barbie Patterns aesthetic in various ways, without the need to commit to large, complex projects.
I will share practical examples of projects you can create, explain how to evaluate the accompanying instructions, and show you how to determine whether a specific pattern suits your skill level.
What Makes a Barbie Crochet Project Beginner-Friendly?
A simple shape with a repeated stitch is usually easier to follow than a garment that changes construction every round. I look for instructions that build a top, skirt, or dress with a steady sequence and only a little shaping.
A repeated stitch makes it easier to learn the rhythm and spot a missed stitch. A basic skirt, for example, may be easier to follow than a fitted bodice with several changes in the same round.
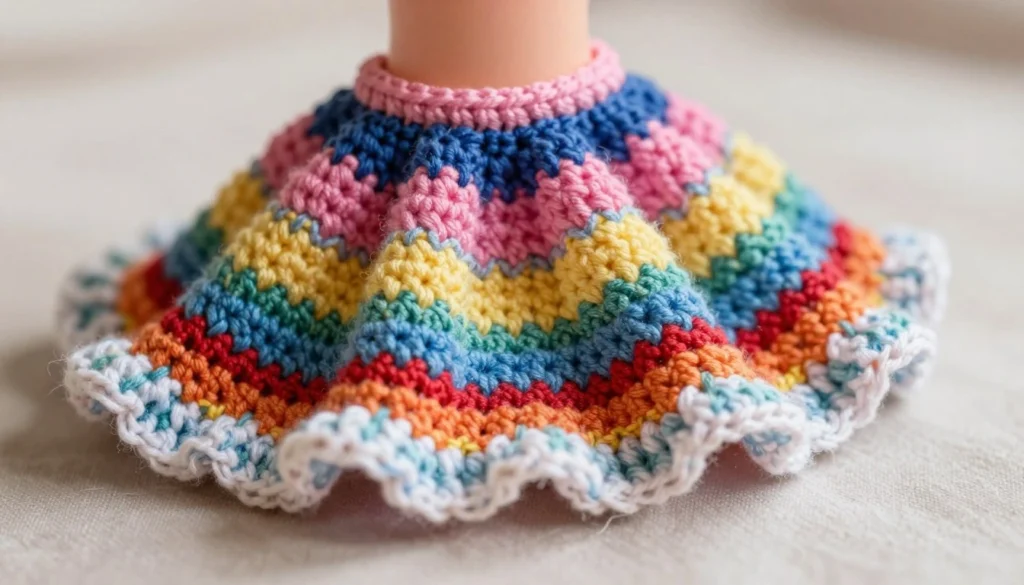
Start with a simple shape
For a first crochet pattern, I favor a straightforward garment made from familiar stitches. A top with a simple strap or a skirt worked in repeated rounds offers a clear place to begin and a clear way to see progress.
Look for instructions that explain where each round starts and how the garment grows. A beginner can focus on stitch placement when the construction stays consistent and the pattern uses a small number of techniques.
Spot instructions that add complexity
Frequent color changes, lace, shaping, and several small accessories can all add steps. None of those features is impossible for a beginner, but each asks for more attention to counting and placement.
A common mistake is choosing a pattern by its finished look without checking its construction and stitch skills. A polished photo may show a simple silhouette while the instructions rely on lace or shaping. I check the written steps first, then compare the finished look with the skills I want to practice. Once readers know what to look for in the instructions, concrete pattern examples offer useful points of comparison.
Easy Crochet Barbie Patterns to Try First
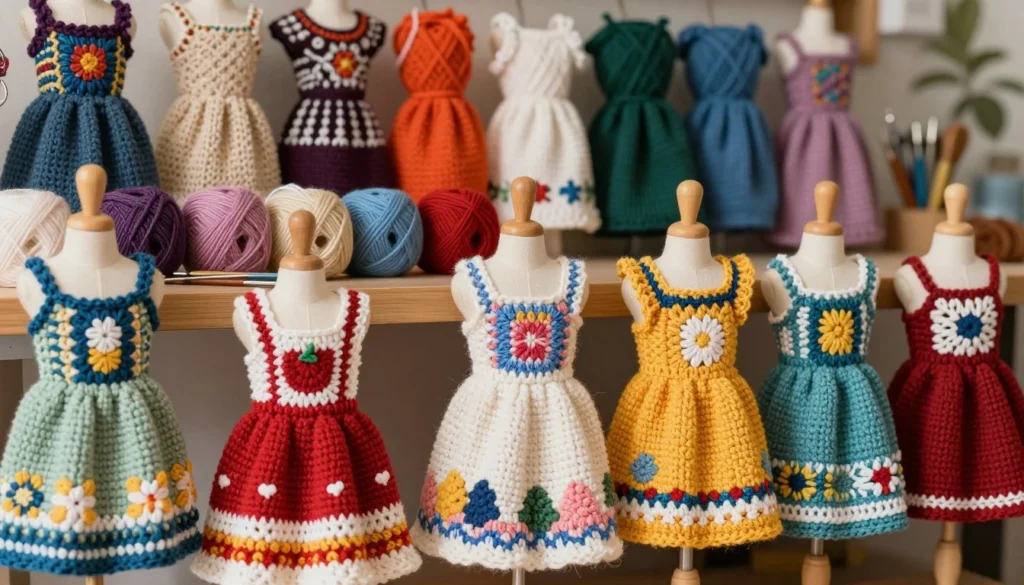
A summer dress worked in the round offers a different starting point from a shell-textured strapless dress. I compare the yarn weight and construction detail, not just the name, when choosing among crochet Barbie patterns.
The table shows five options and the skills each one asks me to handle. A pattern called simple can still feel challenging if its yarn is difficult to manage at a small scale.
| Pattern | Yarn weight | Garment | Construction detail |
|---|---|---|---|
| Mini Me Doll Size Dress | Thread weight | Dress | For a 12-inch fashion doll |
| Fashion Doll Summer Dress | DK | Dress | Worked in the round |
| Fashion Doll Strapless Flared Dress | Thread weight | Dress | Uses shells |
| 3 Row Ruffle Dress | Fingering weight | Dress | Worked in the round |
| Barbie Dress and Headband | Sport weight | Dress and headband | Worked in the round |
The Mini Me Doll Size Dress is specifically sized for a 12-inch fashion doll. The other entries name a style or construction feature, but those details alone do not confirm the intended doll size.
I use the table to narrow down a crochet pattern by material and construction. Before gathering supplies, I check that the pattern’s intended doll size matches my own fashion doll.
How Do I Check Whether a Pattern Will Fit My Barbie?
Two patterns labeled for fashion dolls can still be written for different stated doll sizes. I check the doll’s measurements against the pattern and the finished garment, rather than treating a label as a fit guarantee.
One pattern for modern Barbie and other 11.5-inch dolls gives a finished dress length of about 5 inches, adjustable, and a front waist width slightly over 2 inches. A directory category covers patterns for 12-inch dolls, which is a different stated size.
I use these four checks before and during a project:
- Identify the doll’s stated height or model.
- Compare the pattern’s intended doll size with that doll.
- Compare garment length and waist measurements when available.
- Try on the first few rounds before continuing.
An 11.5-inch label and a 12-inch label are not interchangeable guarantees of fit. Doll proportions and garment measurements matter, so a small early try-on can catch a mismatch before the full dress is complete.
I pay special attention to length and waist width when the pattern lists them. After checking fit, I can choose yarn and a hook that help the garment reach its intended scale.
What Yarn and Hook Should I Use for Tiny Clothes?
The right yarn and hook depend first on the pattern’s stated materials, not on the size of the finished outfit alone. I follow a pattern’s listed pairing before applying any general yarn-weight guide.
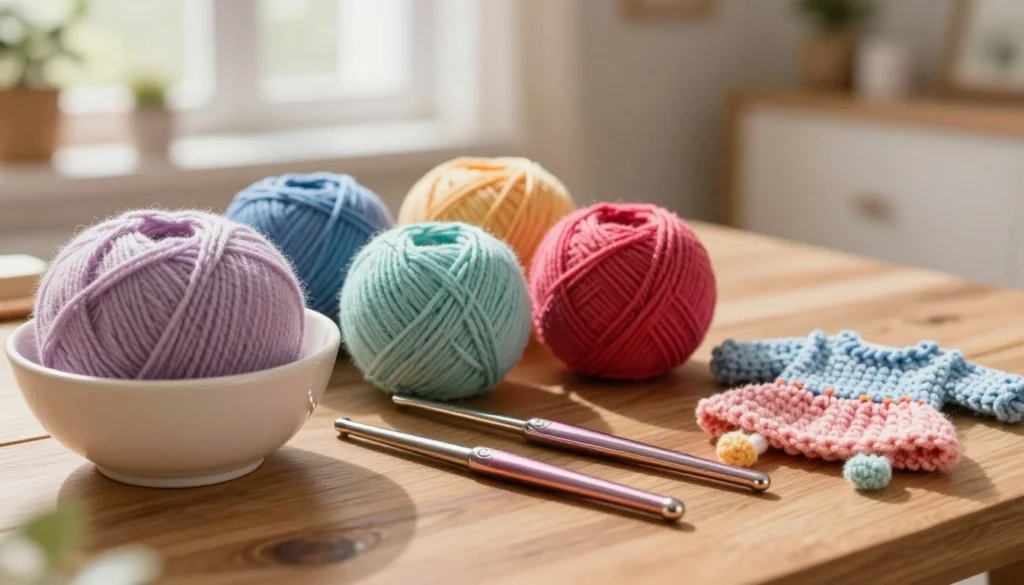
These examples show why one pairing does not suit every crochet project. A 3 mm hook is paired with 4-ply or sport-weight yarn, while a 2.5 mm hook is paired with DK yarn.
| Yarn | Hook | Example or use |
|---|---|---|
| 4-ply yarn | 3 mm | Paired in the pattern guidance |
| Sport-weight yarn | 3 mm | Used for the example outfits |
| DK yarn | 2.5 mm | Used for the cream crop top |
The example outfits use Drops Baby Merino sport-weight yarn with a 3 mm hook, except for a cream crop top made with Rico Baby Classic DK and a 2.5 mm hook. Those are examples, not replacements for a pattern’s own materials.
A full-length dress uses about 42 m of yarn. A crop top or mini skirt uses much less, so I set aside a smaller amount for a shorter piece rather than assuming every garment needs a full skein.
Small-scale yarn can be fiddly to handle. I choose a hook that feels comfortable in my hand, while keeping the pattern’s specified materials as the guide. With materials chosen, I can turn to the stitch terms that may appear in the instructions.
Which Crochet Stitches and Abbreviations Should Beginners Know?
A pattern’s abbreviation key is worth checking before the first stitch because familiar-looking terms can use different names. I read the key and identify the terminology system before beginning a crochet pattern.
Most beginner clothes use a few basic stitches. Knowing what the abbreviations mean makes it easier to follow a row or round without stopping to guess.

Recognize the basic stitch language
A chain, abbreviated ch, creates a starting chain or a small space in a garment. A slip stitch, or sl st, joins stitches or closes a round with a low-profile finish.
Single crochet, written sc in US terms, makes a compact stitch. Double crochet, written dc in US terms, is taller and can form open or textured fabric, including shells.
These terms describe crochet, not knitting. I keep the abbreviation key nearby and check each stitch as I meet it, especially when a pattern alternates between short stitches and taller ones.
Check whether the pattern uses US or UK terms
US single crochet is UK double crochet, and US double crochet is UK treble crochet. The names and abbreviations change between systems, even when the instructions describe comparable stitches.
The same abbreviation can mean a different stitch under another terminology system. I use one system consistently from the pattern’s key rather than mixing a familiar US abbreviation with UK stitch names.
If a pattern’s wording seems unexpected, I return to its stated terminology instead of relying on memory. Once the basic terms are clear, they can combine into the repeated rounds of a shell stitch garment.
How Do Rounds and Shell Stitch Work in a Small Garment?
A shell stitch is a repeat of a five-double-crochet curve and a single crochet between curves. In the example garment, the single crochet goes into the middle double crochet of the previous shell.
This alternating repeat builds the fabric around the doll. The shells create a scalloped edge and a textured surface, while the single crochet spaces keep the curved groups distinct.
The example uses different starts for even and odd rounds. Even rounds begin with chain 1 and a single crochet; odd rounds begin with chain 3 and two double crochets to form a half shell.
The half shells help the round join without leaving the repeat abruptly cut. A joining slip stitch closes each round in this example, so I look for that join before starting the next round.
The easiest place to lose the pattern is the shell’s center stitch. If I put the next single crochet into the wrong double crochet, the repeat can shift and the scallops may no longer line up.
I count the five double crochets in each shell and find its center before placing the next single crochet. Once the repeat makes sense, I can choose a first garment shape that uses it.
Which Dress Patterns Make Good First Projects?
A plain sundress and a layered strapless dress can both be small projects, but they ask for different kinds of attention. I compare the yarn and construction details before picking a dress.
The word “dress” covers different shapes and techniques. A decorative hem or lace detail may take more attention than a plain silhouette, even when both garments are similar in size.
- Barbie in Red uses fingering-weight yarn.
- Fashion Doll Sundress uses fingering-weight yarn.
- Fashion Doll Swirl Hem Dress uses thread-weight yarn and in-the-round post stitch.
- Barbie Strapless Layered Dress uses thread-weight yarn and is described with lace and seamless attributes.
Barbie in Red and Fashion Doll Sundress give a reader two fingering-weight options. The Swirl Hem Dress calls for post stitch worked in the round, while the layered strapless design adds lace details.
I read each pattern’s stitch and construction notes before choosing. A familiar garment name does not tell me whether a pattern uses a plain shape, a textured hem, or extra lace work.
Readers who would rather not make a full dress can choose a top or skirt. Separates offer another way to make a wearable outfit without completing a longer garment.
Are Tops and Skirts Easier Than a Full Dress?
A top can be a quick way to test a garment’s fit before committing to a longer skirt. Some clothes also let me stop at different points in one pattern to make a shorter or longer piece.
The round counts below belong to one top-down garment, not a universal rule. A different crochet pattern can use other counts or a different shape altogether.
Choose a top by its stopping point
In the example, stopping after round 4 makes a very short crop top. Stopping after round 5 makes a crop top, while continuing through round 8 makes a full-length top.
Rounds 14 or 16 lead to dress lengths in that same pattern. Those options come from the pattern’s construction, so I follow its instructions rather than transferring the counts to another garment.
Match a skirt to the finish you want
The skirt begins separately with its own setup. After that start, I follow the skirt portion of the dress instructions to build the garment.
A separate skirt can be a useful shorter project, while the top’s stopping points let a crocheter use the same pattern for several lengths. I check the doll as I work, since a round count alone does not guarantee the same fit across dolls or yarn.
The choice depends on whether I want a shorter practice piece or a dress-length finish. Once readers have considered the main garments, small accessories can add variety without changing an outfit’s basic shape.
Which Small Accessories Can Complete a Handmade Look?
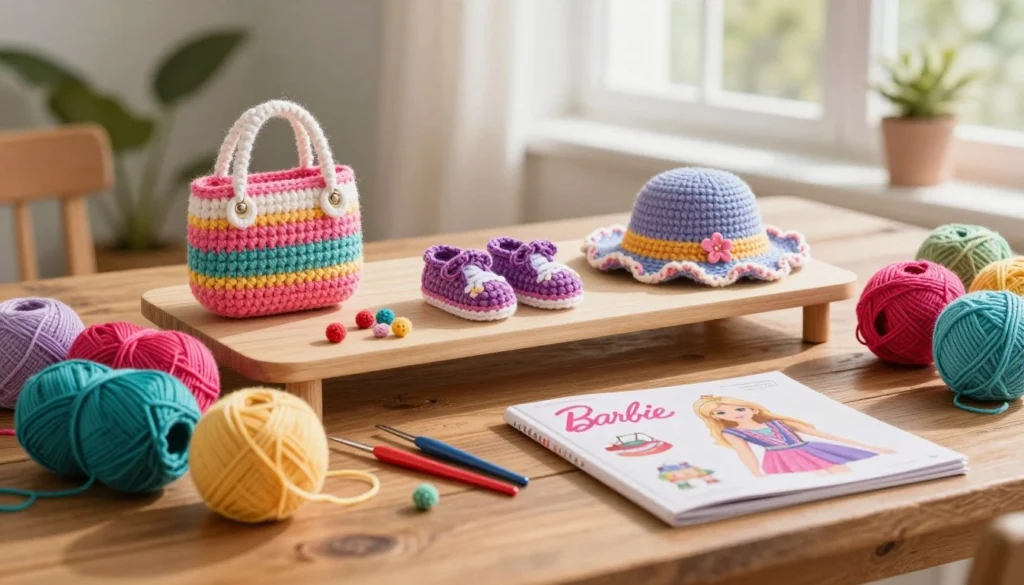
A tiny tote or hat can add a distinct detail without requiring another full garment. I can also make an accessory on its own to practice a small, contained piece.
Accessory dimensions can be especially small, so I check their intended scale and construction. The details in this table distinguish pieces by yarn weight, size, or the way they are worked.
| Accessory | Yarn weight | Finished size or construction |
|---|---|---|
| Doll Size Leg Warmers | Thread weight | About 2 inches long by 1.5 inches around |
| Anchor Doll Size Tote Bag | Thread weight | About 1.75 inches wide by 1.75 inches tall, excluding handles |
| Barbie Net Basket | Fingering weight | Worked in the round |
| Halloween Mini Crochet Witch Hat | Any yarn weight | Worked in the round |
The leg warmers have a listed length and circumference, while the tote’s height and width exclude its handles. Those measurements help me picture how each accessory will sit beside doll clothes.
The Barbie Net Basket and Halloween Mini Crochet Witch Hat both use rounds, though their yarn details differ. The witch hat can use any yarn weight, which makes checking its intended scale especially important.
An accessory can be a useful standalone project when I want to practice without making a whole outfit. I compare how a pattern is assembled before selecting the accessory or garment to make.
Should I Choose a Seamless, Seamed, or In-the-Round Pattern?
A garment that is seamless is not automatically easier than one made in separate pieces. I choose a construction style based on the instructions I can follow, not on an assumption about difficulty.
In-the-round work builds a garment in joined or continuous rounds. Seamed pieces are made separately and joined, while top-down and sideways describe other directions of construction.
| Pattern | Yarn weight | Construction | Notable detail |
|---|---|---|---|
| Fashion Doll Off the Shoulder Dress | Thread weight | In the round, seamless | Off-the-shoulder style |
| Barbie Flared Skirt | Thread weight | Seamed | Uses lace |
| Fashion Doll Swirl Hem Dress | Thread weight | In the round | Uses post stitch |
| Barbie Shorts | Thread weight | Top-down | Shorts garment |
| Chunky Turtleneck Sweater for Barbie | DK weight | Worked sideways | Turtleneck sweater |
These examples show different ways to build fashion doll clothes. A seamless dress can still require careful stitch counting, since each round must keep its shape.
A seamed pattern may make the pieces easier to handle, but joining them adds a step. A sideways garment may feel unfamiliar even when its instructions are clear.
I look for explicit directions about where pieces begin and how they join. After choosing a construction style, I can set up a simple process for following instructions without losing my place.
How Can I Keep Track While Following a Small Pattern?
Before beginning a small garment, mark the round start so a missed join does not make every later count harder to check. I use a repeatable process to catch errors while the work is still easy to undo.
Parentheses and repeat counts show which instruction to work again. In the example garment, the round start may sit at the center back, so I mark that point and keep it consistent.
- Read the materials and abbreviation key before starting.
- Mark the round start with a stitch marker or a clear note.
- Identify each repeat and count it as the pattern directs.
- Pause to check the garment on the doll before continuing.
When a pattern says to repeat an instruction a stated number of times, I stop at that count. A common mistake is treating “repeat” as a command to continue past the number given.
For example, I check how many stitches form one repeat before moving to the next. If the pattern places the start at the center back, a marker there helps me find the same spot on every round.
Short pauses make it easier to catch a missed stitch or a repeat that has drifted. Tracking stitches also makes it easier to assess fit and choose a deliberate length or neckline adjustment.
How Can I Adjust the Length and Neckline?
A small number of extra rounds can change a mini dress into a longer look, but the doll is the best fit check. I use try-ons and the pattern’s instructions to decide whether the dress needs more length.
The example shell-stitch dress measures about 5 inches at 16 rounds, and its length is adjustable. That figure belongs to this pattern, so I check the garment on the doll rather than assuming 16 rounds will suit every version.
Stop or continue for the length you want
I try the garment on as it grows and compare its length with the intended look. If I want a longer dress, I continue only as the pattern allows, checking that the lower edge still sits as intended.
Working extra rounds changes the overall length, while stopping sooner makes a shorter garment. I keep track of the round number so I can compare the finished size with the pattern’s stated measurements.
Finish the neck without making it too tight
The example neckline can stay as made or receive an optional slip-stitch edge. About 30-36 slip stitches preserve a wide neckline, while 20 make a tighter example neckline.
To tighten the opening, the pattern method skips chain loops while slip-stitching around the neck. A snug neckline can make dressing the doll harder and may require putting the garment over the doll’s head.
I choose the neckline finish with dressing in mind, not appearance alone. Once the shape is settled, color choices can create a different look without changing the construction.
How Can Color Changes Personalize a Simple Outfit?
The same shell repeat can look quite different when the yarn colors change. I can keep the construction and stitches steady while using color to give the outfit its own style.
These four approaches offer different effects without requiring a new stitch pattern:
- Use one color to emphasize the texture.
- Alternate two colors for a harlequin-like effect.
- Use three colors for a simple multicolor design.
- Change color each round for a rainbow effect.
In the example method, I use the new color to make the slip stitch that closes the previous round. That lets the next round begin in the new shade.
If I follow that method, I carry the unused yarn up inside the garment. The carried yarn should stay on the inside rather than crossing the visible outside, where it could interrupt the color pattern.
I choose a color plan before starting so I know when each change belongs. With the outfit customized, I can weave in the ends and care for the finished piece.
How Should I Finish and Care for Crochet Doll Clothes?
A tapestry needle is enough to secure the loose ends and finish a small garment cleanly. I use it to weave each yarn tail into nearby stitches, paying special attention to the back of the dress.
At small scale, a loose tail can show or snag more easily than it might on a larger garment. I secure the ends without pulling the stitches out of shape.
Weave in the ends neatly
I thread each tail through a tapestry needle and pass it through the back of nearby stitches. Then I change direction through a few more stitches to help hold the end in place.
For a dress, the back often gives me a less visible place to secure yarn tails. I keep the fabric relaxed as I weave, since a tight pull can gather or distort the stitches.
Keep the fabric from stretching out
The example clothes need no blocking. If I wash them, I lay them flat to dry without pinning the shell pattern open.
A common drying mistake is stretching the shells into a wider shape and leaving the garment too large. I let the fabric dry in its natural shape rather than pulling its scallops outward.
Gentle handling helps the tiny garment keep its intended size. Once the piece is finished and cared for, I can find patterns and check what their terms allow.
Where Can I Find Patterns and Check Their Use Terms?
Finding free instructions is only the first check, because access and reuse terms can differ from pattern to pattern. I read the pattern page and its terms before I begin or share a finished item.
Free patterns can later become paywalled, move, or be taken down. A pattern’s terms also set limits on copying or selling, even when its instructions are free to read.
- Check whether the instructions are currently accessible.
- Confirm the pattern’s doll size and materials.
- Read the creator’s terms for finished items and copying.
- Contact the creator when a permission is unclear.
The example pattern allows personal, noncommercial use only. Its terms restrict copying, selling, translating, distributing, and selling finished items without permission.
For that pattern, free blog instructions and paid PDF versions are both offered. The PDFs are listed on Ravelry and Etsy, giving readers a choice of format while the use terms still apply.
I check the terms for the specific pattern I choose, since access does not automatically grant permission to reuse instructions or sell finished clothes. I can choose one project whose size, instructions, and terms suit my needs, then set out to begin.
Conclusion
A small project with a clear shape is a practical way to begin making a handmade Barbie look. I keep two points in mind: start with a simple shape and follow its stated size and materials, then try the first few rounds on the doll before committing to the full garment.
That early try-on can reveal whether the piece is growing as expected, while the pattern’s materials keep its scale in view. I do not need to finish a long dress to make progress; a top, skirt, or accessory can also be a satisfying first piece.
My next step is to choose one dress, top, skirt, or accessory and set out its yarn, hook, and tapestry needle. Pick one pattern and begin with its first few rounds.
FAQ
How much yarn does a full-length crochet Barbie dress need?
A full-length example dress uses about 42 m of yarn. Crop tops and mini skirts need much less because they use less fabric. The exact amount for a different dress depends on its pattern and dimensions, so I use the listed yarn estimate for that project rather than treating 42 m as a standard for every doll dress.
What crochet hook size works with sport-weight yarn for Barbie clothes?
A 3 mm hook is paired with sport-weight yarn in the example outfits. The pattern’s own materials take priority, though, because a different project may call for another hook or yarn pairing. I check the instructions before starting and choose a hook that feels comfortable to handle at the small scale of doll clothes.
Can a pattern for an 11.5-inch doll fit a 12-inch doll?
It may fit, but the labels do not guarantee the same fit. An 11.5-inch doll and a 12-inch doll can need different garment proportions, so I compare the pattern’s measurements with the doll. Trying the garment on after the first few rounds gives me an early chance to spot a difference before continuing.
How many rounds should I crochet for a Barbie crop top?
In the example top-down pattern, round 4 makes a very short crop top, and round 5 makes a crop top. Those counts belong to that specific pattern, not every crochet pattern. I use its instructions and check the garment on the doll, since another yarn or construction can change how a round count translates to length.
How can I make a shell-stitch neckline smaller?
Skip chain loops while slip-stitching around the neck to make the example neckline smaller. About 30-36 slip stitches preserve a wide neckline, while 20 create a tighter opening. A snug neck can make the garment harder to put on and take off, so I consider whether it can pass over the doll’s head before choosing the tighter finish.
Can I sell clothes made from a free crochet pattern?
Check the specific pattern’s terms before selling finished clothes. The example pattern permits personal, noncommercial use and requires permission for selling finished items. Free access to instructions does not mean every use is allowed, so I read the creator’s terms and contact the creator if a permission is unclear.