Adorable Girls Crochet Set Pattern Easy Top & Skirt
Explore an easy girls crochet set pattern with a matching top and skirt. Learn about yarn choices, sizing, stitch counts, elastic placement, and garment care.
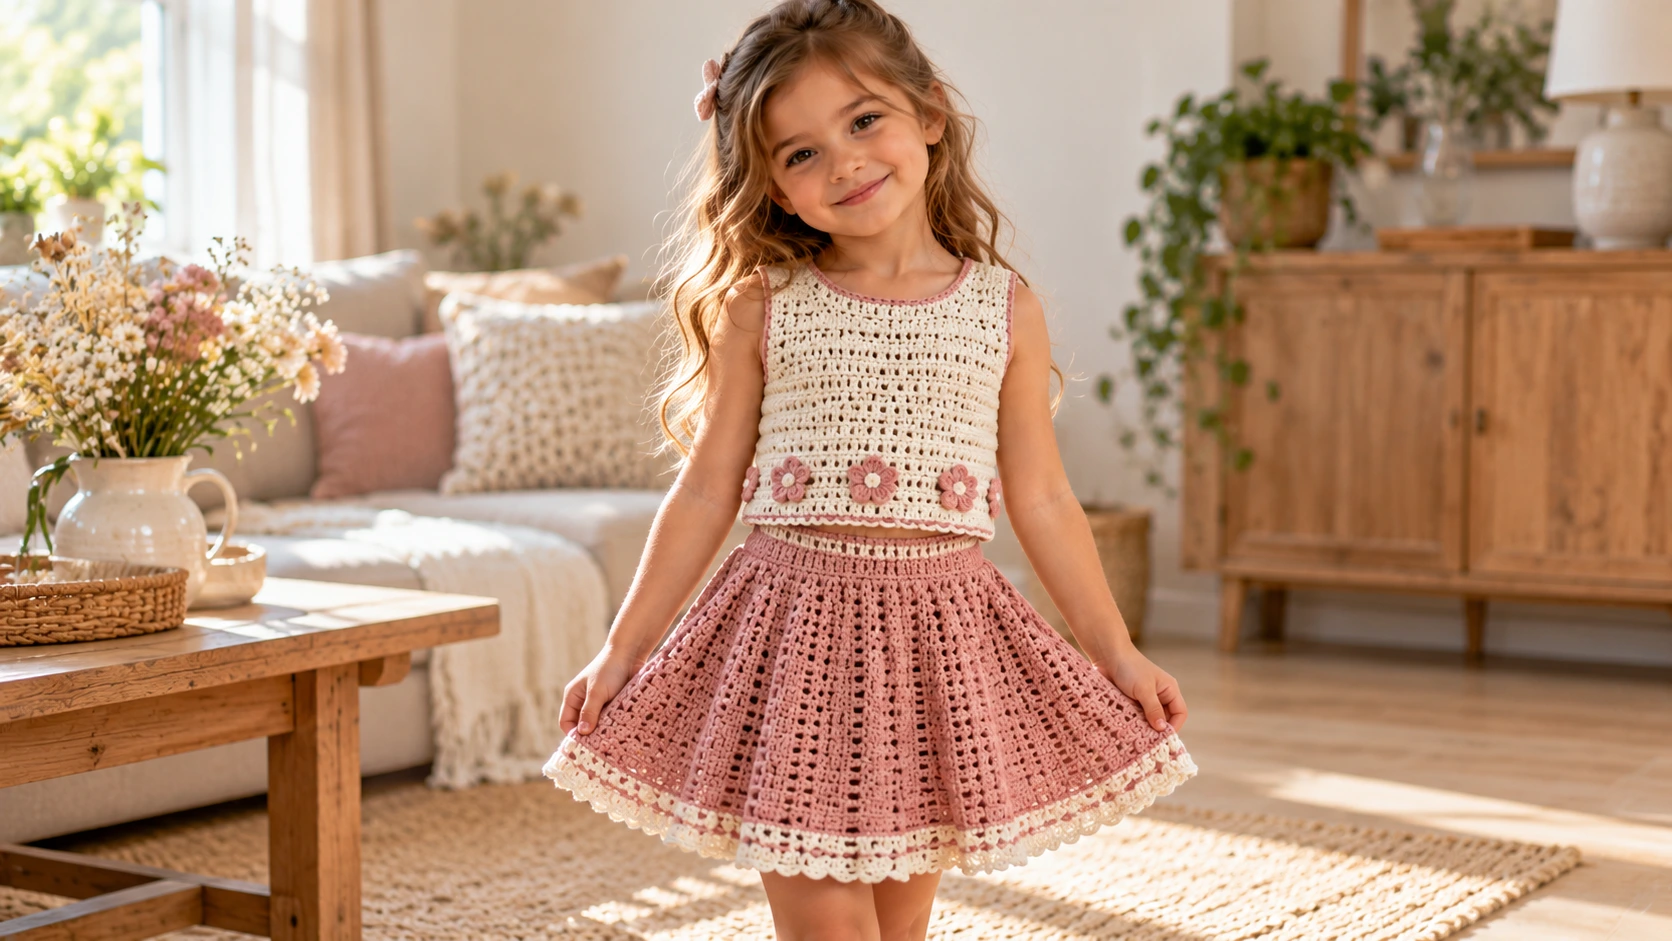
Table of Contents
A matching crochet outfit is a lovely way to create a coordinated handmade wardrobe. With the right yarn and a few simple stitches, you can make a sleeveless top and a gently flared skirt that work together as a complete set.
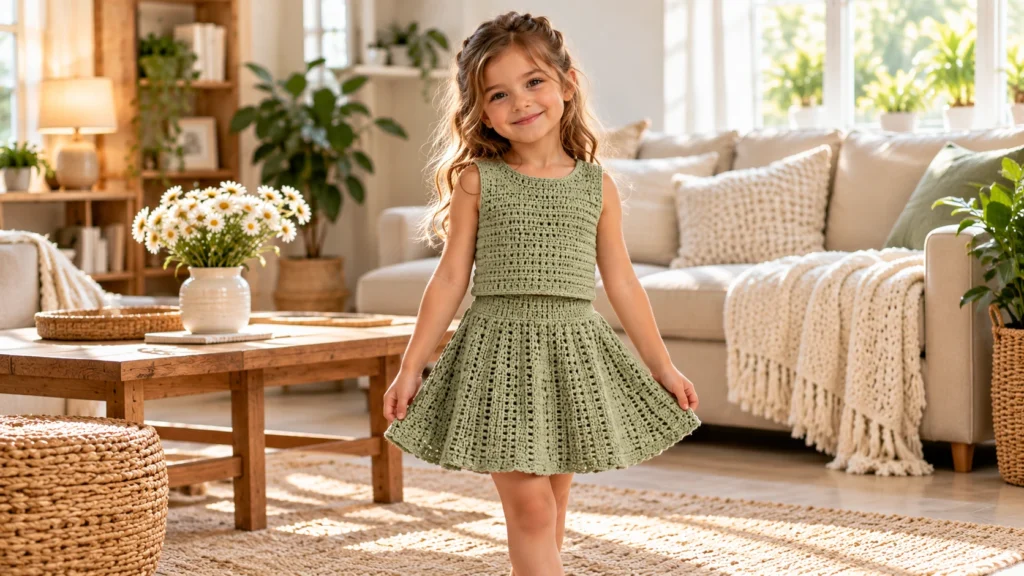
This girls crochet set pattern includes instructions for both pieces. The top is made from two rectangular panels with broad shoulder sections, while the skirt is crocheted in joined rounds and finished with an elastic waistband. Both pieces use half double crochet stitches, which create a useful balance between coverage, texture, and flexibility.
The sample pattern is designed around approximately US girls’ sizes 4–6. Children’s measurements vary, so use the finished measurements and the child’s actual chest, waist, and hip measurements rather than relying on age alone.
The instructions use standard US crochet terminology and include practical ways to adjust the fit before finishing the outfit.
What You’ll Make
This matching crochet set contains two pieces.
The sleeveless top: Two simple panels are joined at the shoulders and sides to create a comfortable, boxy silhouette. A square-style neckline and broad shoulder sections keep the construction straightforward.
The flared skirt: A circular skirt begins with a hip-friendly opening, continues into a ribbed waistband section, and gradually widens with evenly distributed increases.
The coordinated pieces can be made in one color or in two complementary shades. Cream with sage green, dusty pink with ivory, and soft lavender with white are attractive color combinations for a summer-inspired outfit.
Materials and Supplies
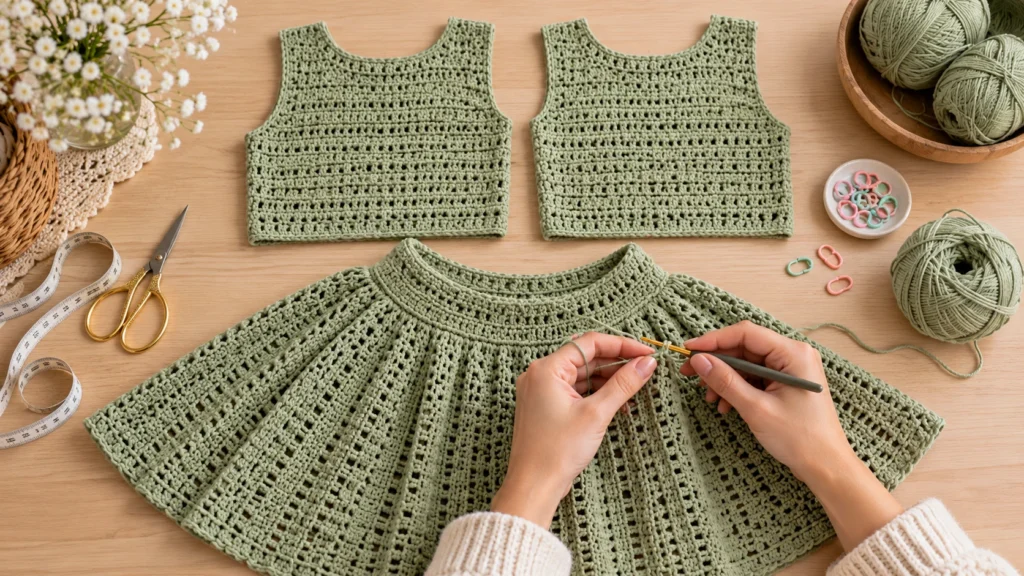
Gather these supplies before beginning:
- Approximately 800–1,100 yards of lightweight DK yarn, category #3, for both pieces.
- A 4 mm (G-6) crochet hook, or the size needed to meet gauge.
- Approximately 21–22 inches of soft elastic, adjusted to the child’s waist measurement.
- A yarn needle for sewing seams and weaving in ends.
- Scissors.
- Measuring tape.
- Stitch markers.
- Optional: a few locking stitch markers to identify the shoulder seams and skirt increase points.
The yarn estimate is a starting point for the sample size. Yarn usage will depend on the fiber, stitch tension, hook size, and adjustments you make to the garment.
Choose a soft yarn that is comfortable against the skin and easy to wash. A smooth acrylic or cotton-blend DK yarn may work well for a lightweight outfit. Check the manufacturer’s care instructions before selecting your yarn.
For children’s clothing, avoid bulky embellishments, long decorative cords, or small detachable pieces that could create hazards.
Skill Level
Advanced beginner.
You should be familiar with chain stitches, half double crochet, joining rounds, working into the back loop, and sewing crochet pieces together.
The two panels of the top are particularly straightforward. The skirt requires careful stitch counting during its increase rounds.
Gauge and Finished Measurements
Gauge
Using DK yarn and a 4 mm hook, aim for:
- 16 half double crochet stitches = 4 inches.
- 12 rows of half double crochet = 4 inches.
For the skirt, check your gauge in joined rounds as well. Working in circles can produce a slightly different tension from working flat.
If you have more stitches than the target across 4 inches, try a larger hook. If you have fewer stitches, try a smaller hook.
Approximate finished measurements
The sample pattern is intended as a starting point for a child around sizes 4–6.
- Top chest circumference: approximately 25 inches.
- Top length: approximately 14 inches.
- Skirt circumference at the hip opening before gathering: approximately 26 inches.
- Skirt length: approximately 11 inches.
- Skirt hem circumference: approximately 34 inches.
These are target measurements, not universal children’s sizing standards. Measure the intended wearer and check the fit before final assembly.
For a comfortable top, a little positive ease is generally useful. For the skirt, the starting circumference must accommodate the child’s hips so the garment can be pulled on and off.
Crochet Abbreviations
The pattern uses US crochet terms.
- ch: chain
- hdc: half double crochet
- sl st: slip stitch
- st: stitch
- sts: stitches
- BLO: back loop only
Increase: Work 2 hdc into the same stitch.
Part One: Crochet the Sleeveless Top
Step 1: Make the Front Panel
The front panel is worked flat in rows.
Foundation: Ch 52.
Row 1: Hdc in the third chain from the hook and in each remaining chain across. You should have 50 hdc.
Rows 2–42: Ch 2 and turn. Work 1 hdc in each stitch across, maintaining 50 stitches per row.
Fasten off after Row 42, leaving a long tail if you plan to use it to sew a seam.
Your finished panel should measure approximately 12.5 inches wide by 14 inches long at the target gauge.
Step 2: Make the Back Panel
Repeat the front panel instructions to create a second rectangle.
Both panels should have the same stitch count and length. Place them together and compare their dimensions before sewing.
If one panel is noticeably larger, check the stitch count and row count. A difference in tension may be easier to correct before the pieces are assembled.
Step 3: Join the Shoulder Sections
Place the front and back panels together with the right sides facing inward.
Each panel has 50 stitches across its top edge.
Starting at one outside edge, sew the first 14 stitches of the front panel to the corresponding 14 stitches of the back panel. Repeat on the opposite side.
Leave the middle 22 stitches unseamed to form the central neckline opening.
The result is a broad-shouldered, sleeveless top with a simple square-style neckline.
Try the top on the intended wearer before completing the side seams. The neckline should sit comfortably, and the shoulder sections should stay in place without restricting movement.
Step 4: Sew the Side Seams
Align the side edges of the front and back panels.
Starting at the bottom hem, sew the first 27 row ends together on each side. Leave the remaining 15 row ends open at the top to form the armholes.
At the target row gauge, the seam is approximately 9 inches long and the armhole opening is about 5 inches deep.
Check that both armholes are approximately the same size. If the top feels tight under the arms, undo a few stitches and enlarge the openings gradually.
Step 5: Finish the Neckline and Armholes
Join the yarn at an edge of an armhole.
Work single crochet stitches evenly around the opening, placing approximately one stitch in each available row-end along the vertical edges. Adjust the spacing if the fabric begins to pucker.
Repeat for the second armhole.
For the neckline, work a neat round of single crochet along the exposed neckline edges. Place approximately one stitch in each available stitch along the horizontal sections, and adjust the spacing along the shoulder edges as needed.
Join with a slip stitch and fasten off.
A light, even edging helps stabilize the openings without making them stiff.
Part Two: Crochet the Matching Skirt
Step 1: Create the Waistband Foundation
The skirt is worked from the waist toward the hem in joined rounds.
Foundation: Ch 104. Check that the chain ring is not twisted, then join with a slip stitch to the first chain.
Round 1: Ch 2. Work 1 hdc into each chain around. Join with a slip stitch to the first hdc.
Stitch count: 104 hdc.
The beginning chain-2 does not count as a stitch.
Step 2: Build the Ribbed Waistband
Rounds 2–5: Ch 2. Work 1 hdc in the back loop only of each stitch around. Join with a slip stitch to the first hdc.
Keep 104 stitches in every round.
This section creates a subtle ribbed texture near the waistband. The elastic will provide the main adjustment for the waist.
Step 3: Work the Straight Section
Rounds 6–11: Ch 2. Work 1 hdc in each stitch around, working through both loops. Join with a slip stitch to the first hdc.
You should still have 104 stitches.
These rounds create the upper part of the skirt before the flared shaping begins.
Step 4: Shape the Flared Skirt
The next rounds add eight stitches at a time, increasing the circumference gradually.
Round 12: Ch 2. Repeat the following sequence 8 times:
- Hdc in the next 12 stitches.
- Work 2 hdc in the next stitch.
Join. Stitch count: 112 hdc.
Rounds 13–17: Work 1 hdc in each stitch around. Join each round. Stitch count remains 112.
Round 18: Repeat the following sequence 8 times:
- Hdc in the next 13 stitches.
- Work 2 hdc in the next stitch.
Join. Stitch count: 120 hdc.
Rounds 19–23: Work 1 hdc in each stitch around. Join each round. Stitch count remains 120.
Round 24: Repeat the following sequence 8 times:
- Hdc in the next 14 stitches.
- Work 2 hdc in the next stitch.
Join. Stitch count: 128 hdc.
Rounds 25–29: Work 1 hdc in each stitch around. Join each round. Stitch count remains 128.
Round 30: Repeat the following sequence 8 times:
- Hdc in the next 15 stitches.
- Work 2 hdc in the next stitch.
Join. Stitch count: 136 hdc.
Rounds 31–33: Work 1 hdc in each stitch around. Join each round. Stitch count remains 136.
At the target gauge, the finished skirt should measure approximately 11 inches from the waist edge to the hem. The hem circumference should be approximately 34 inches.
If you prefer a shorter skirt, stop earlier. For a longer skirt, add more plain rounds after the final increase round. The longer version will use additional yarn.
Step 5: Finish the Hem
For a simple finish, work one round of single crochet around the lower edge, placing one single crochet in each available stitch.
Join, fasten off, and weave in the yarn end.
If you add this finishing round, it will increase the finished length slightly. Check the garment length before making the final adjustment.
Step 6: Create the Elastic Casing
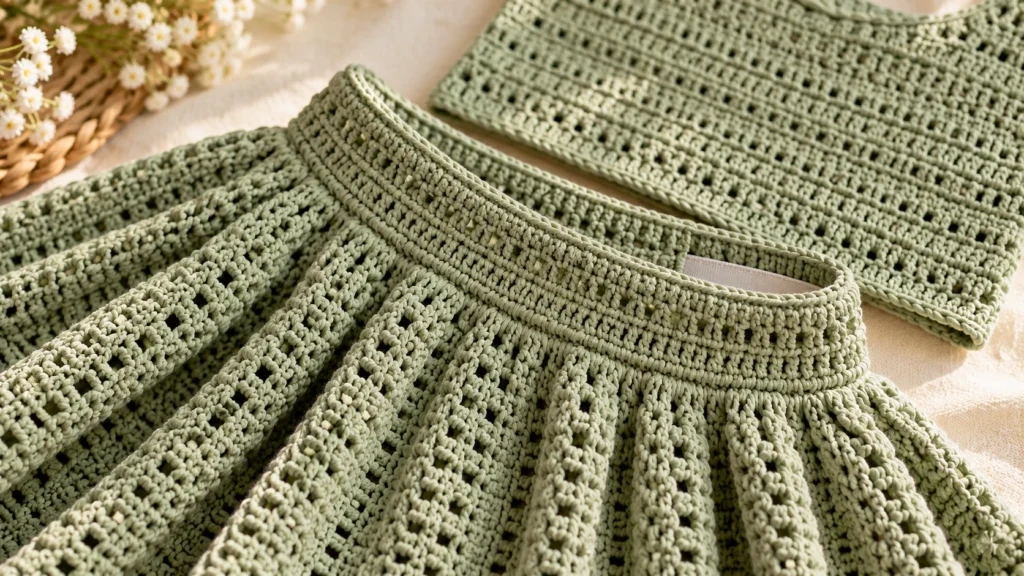
Return to the original foundation-chain edge at the top of the skirt.
Fold this edge inward toward the wrong side until it meets the junction between Rounds 5 and 6. Sew the folded edge in place along the inside, leaving an opening of approximately 2 inches.
This forms a casing that hides the elastic and keeps it away from direct contact with the skin.
Cut a length of soft elastic based on the child’s actual waist measurement. A useful starting point is approximately 1 inch less than the measured waist, but comfort and elastic stretch vary. Test the length before sewing the ends together.
Attach a safety pin to one end of the elastic and thread it through the casing. Make sure the elastic remains flat and does not twist.
Overlap the elastic ends by approximately 1 inch and sew them securely together. Check the waistband for comfort, then close the opening in the casing.
The skirt should sit comfortably at the waist without digging into the skin.
How to Adjust the Pattern for Different Sizes
Children grow at different rates, so measurements are more useful than age labels alone.
Adjusting the top width
The sample top uses 50 stitches per panel, creating a circumference of approximately 25 inches.
For a different chest measurement, decide on the desired finished circumference first. A little extra room may be more comfortable than a close-fitting garment.
Use this formula:
Desired finished circumference ÷ 2 × 4 stitches per inch = approximate stitches per panel.
For example, if you want a 27-inch finished circumference:
27 ÷ 2 × 4 = 54 stitches per panel.
To create a panel with 54 hdc, begin with 56 chains and work into the third chain from the hook.
Keep both panels the same width. The neckline and shoulder construction will also need to be checked against the new measurements.
Adjusting the skirt circumference
The skirt needs enough room to pass over the hips.
Measure the child’s hips at their widest point and add approximately 1 inch of ease as a starting point. Multiply the desired circumference by 4 to estimate the starting stitch count, then round up to a convenient multiple of 8.
For example, a desired circumference of 28 inches gives:
28 × 4 = 112 stitches.
Starting with 112 stitches allows the eight increase points to be distributed evenly. On each increase round, divide the current stitch count by 8. Work one fewer hdc than that section count, then make 2 hdc in the next stitch. Repeat eight times.
This lets you adapt the shaping to a larger or smaller opening without changing the basic construction.
Adjusting the garment length
For the top, each additional row adds approximately one-third of an inch at the target gauge.
For the skirt, each additional round adds approximately one-third of an inch. Continue with plain rounds after the last increase round if you want extra length without additional flare.
Measure the garments as you work instead of relying entirely on row and round counts.
Common Problems and How to Fix Them
The skirt flares unevenly
Check your stitch counts at the end of each increase round. Missing one of the eight increases can cause the fabric to pull toward one side.
Place a marker at the beginning of each round and count the increases carefully.
The top feels too wide
The sample pattern is designed with comfortable ease rather than a tight fit. If the finished circumference is too large, reduce the number of stitches in both panels and check the shoulder placement.
Always make the front and back panels the same size.
The armholes feel uncomfortable
Open or close the side seams gradually until the armholes fit comfortably. If the shoulder seam is too close to the neck or the neckline is too wide, adjust the shoulder-seam length before adding the final edging.
The waistband bunches excessively
A gathered waistband is expected because the crocheted opening is wider than the elastic. However, if the fabric forms thick folds, check that the elastic length suits the child’s waist and that it can stretch sufficiently to pass over the hips.
The crocheted opening should never need to be forced over the body.
Care and Finishing Tips
Weave in all yarn ends securely and check the seams before the outfit is worn.
Follow the yarn label for washing instructions. If you use different yarns for the top and skirt, check that their care requirements are compatible.
After washing, reshape the outfit gently and allow it to dry according to the fiber recommendations. Avoid hanging a wet crochet garment by its shoulders, since the weight of the water can stretch the fabric.
Store the set folded so the shoulder sections and skirt waistband are not under unnecessary strain.
Conclusion
This girls crochet set pattern combines a simple sleeveless top with a gently flared skirt for a coordinated handmade outfit. The top uses two rectangular panels, while the skirt is worked in joined rounds with eight evenly spaced increases and a concealed elastic waistband.
Check the gauge before starting, measure the intended wearer, and adjust the circumference and length where needed. With careful stitch counting and comfortable finishing, the result is a personalized crochet outfit made to suit its wearer.
FAQ
1. Is this girls crochet set pattern suitable for beginners?
It is best for advanced beginners who can work half double crochet stitches, joined rounds, and simple seams. The top panels are easy to make, while the skirt requires accurate counting during the increase rounds.
2. What yarn is best for a girls crochet set?
Lightweight DK yarn in category #3 is a useful starting point. Choose a soft yarn with clear stitch definition and check the manufacturer’s washing instructions before beginning.
3. Can I make the crochet skirt longer?
Yes. Continue working plain rounds after Round 33 until the skirt reaches the desired length. Each extra round adds approximately one-third of an inch at the target gauge.
4. How do I make the skirt fit a different waist size?
Measure the child’s waist and hips. The starting opening must fit over the hips, while the elastic controls the waist fit. Adjust the starting stitch count in multiples of eight and choose comfortable elastic based on the actual waist measurement.
5. Can I make the top and skirt in different colors?
Yes. Use coordinating colors for a matching look or contrasting colors to make each piece stand out. Choose yarns with compatible weights and similar gauge so the pieces maintain a consistent appearance.
6. How much yarn does the complete set require?
The sample size uses an estimated 800–1,100 yards for both pieces. The actual amount depends on yarn thickness, gauge, garment length, and any size adjustments.