Adorable Ghost Crochet Pattern to Make This Halloween
Make a cute ghost crochet pattern this Halloween with our easy how-to guide. Learn the stitches and tips for a festive handmade decoration at home today.
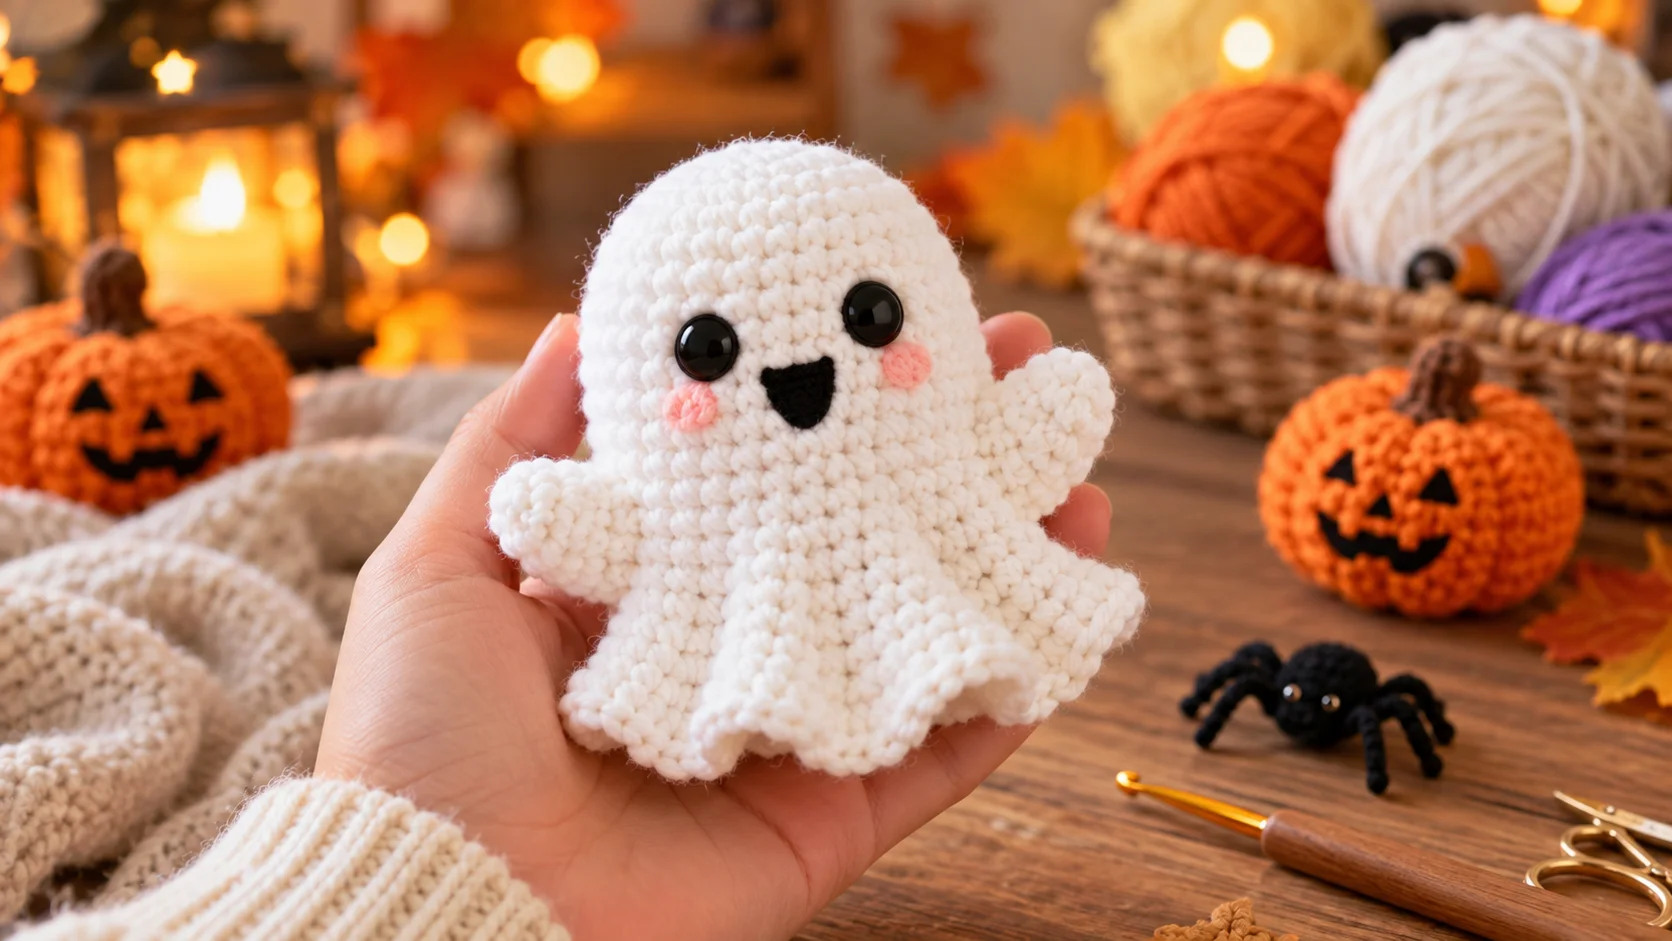
Table of Contents
Have you ever wondered if your home decor truly captures the whimsical spirit of the spooky season? Adding a handmade touch can transform any space into a festive retreat. This easy guide helps you create a charming little spirit for your shelf or mantle.
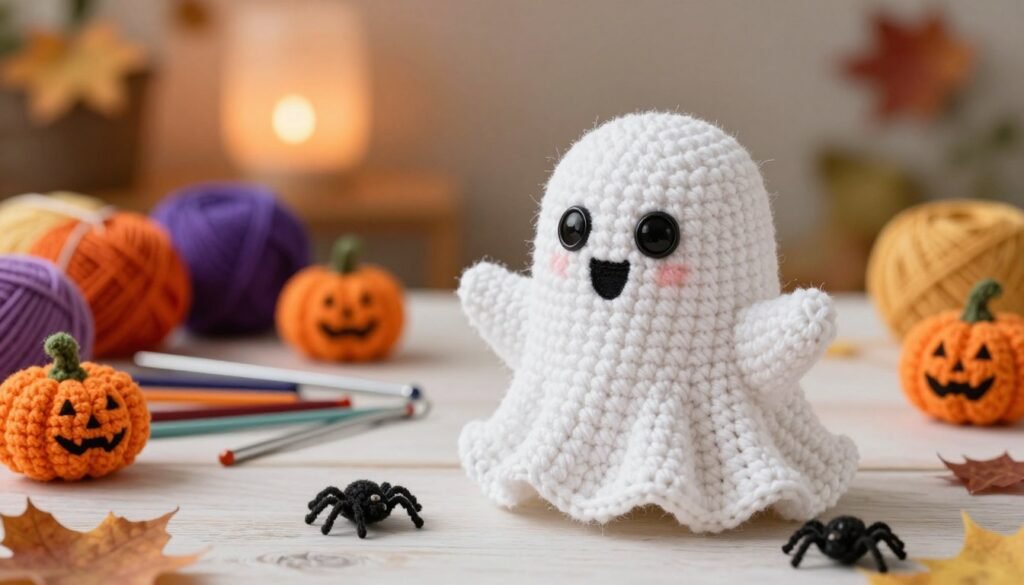
These finished figures stand about three inches tall, with the smallest version reaching 2.75 inches. Please note that these items serve as seasonal decorations rather than toys, so keep them away from young children and pets.
Throughout this post, we will explore essential materials and basic stitches to bring your project to life. You will learn how to shape the body, add delicate facial details, and find creative ways to display your work. Whether you are looking for fresh halloween crochet ideas or a quick weekend project, this tutorial provides everything you need to get started.
Gather Materials and Prepare for the Ghost Crochet Pattern
Preparing your workspace is the first step toward creating charming crochet halloween decor. Having your supplies ready allows you to focus on the creative process without unnecessary interruptions. A well-prepared crafter can easily manage the tension and stitch definition required for a professional-looking ghost.
Select Yarn, Hook Size, and Filling
Choose Soft White or Cream Worsted-Weight Yarn
For the best results, select a soft #4 worsted-weight yarn in white or cream. This weight provides excellent stitch definition, which is vital for small amigurumi projects. Cotton or acrylic blends work well because they hold their shape effectively after stuffing.
Prepare a Crochet Hook, Fiberfill, Stitch Marker, and Tapestry Needle
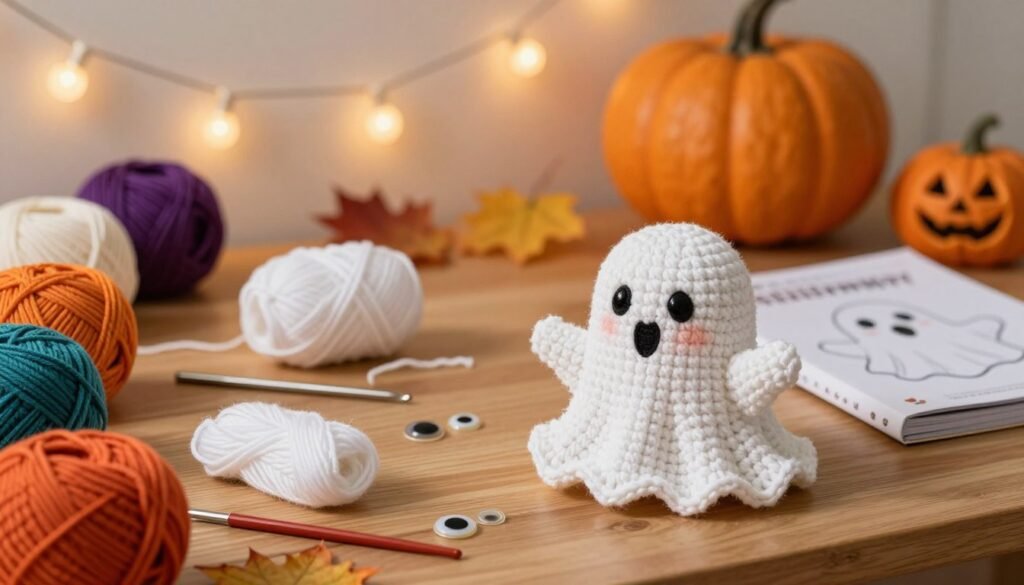
You will need a 4.0 mm or E/3.5 mm crochet hook to maintain tight stitches. Keep a bag of polyester fiberfill nearby to give your ghost a plump, rounded appearance. Additionally, have a stitch marker, sharp scissors, and a tapestry needle ready for weaving in ends.
Learn the Stitches and Abbreviations
Single Crochet, Increase, and Invisible Decrease
Most ghost patterns rely on the single crochet stitch to create a dense fabric. You will also need to master the increase to expand the body and the invisible decrease to shrink it smoothly. These techniques ensure your stitches remain uniform and professional.
Magic Ring and Continuous Rounds
Starting with a magic ring creates a seamless center for your ghost’s head. Working in continuous rounds means you will not join your rows with a slip stitch. This method prevents visible seams and keeps your crochet halloween decor looking clean.
Plan the Finished Ghost’s Size and Expression
Adjust the Shape for a Small Ornament or Tabletop Decoration
The size of your finished ghost depends on your choice of hook and yarn tension. Using a smaller hook will result in a compact ornament perfect for hanging. A slightly larger hook creates a softer, larger ghost ideal for tabletop displays.
Select Safe Eye Options for Children and Pets
Safety is essential if your project is intended for children or pets. Use embroidered eyes or felt patches instead of plastic safety eyes to prevent choking hazards. These options also allow you to customize the expression of your ghost easily.
| Material | Purpose | Impact on Project |
|---|---|---|
| Worsted Yarn | Structure | Determines final size and density |
| Fiberfill | Stuffing | Provides shape and volume |
| Safety Eyes | Features | Adds personality and character |
| Stitch Marker | Guidance | Keeps track of round counts |
Follow the Ghost Crochet Pattern Step by Step
Creating your own ghost is a fun way to start your spooky crochet projects. You will begin by forming a magic ring and working six single crochets into the center. This foundation serves as the base for the rounded head and body of your creation.
Step One: Crochet the Ghost’s Rounded Body
Gradually increase your stitches in each round to build the volume of the ghost. Depending on your preferred size, you may increase until you reach 24 or 36 stitches. Maintaining a consistent rhythm ensures the shape remains symmetrical as you work upward.
Keep the Tension Consistent for an Even Amigurumi Shape
Consistent tension is the secret to a professional-looking amigurumi. If your stitches are too loose, the stuffing will show through the gaps. Try to hold your yarn with a steady grip to keep every loop uniform.
Count Stitches After Every Increase Round
Always verify your stitch count after completing an increase round. A single missing stitch can throw off the entire shape of the ghost. Taking a moment to count now saves you from having to unravel your work later.
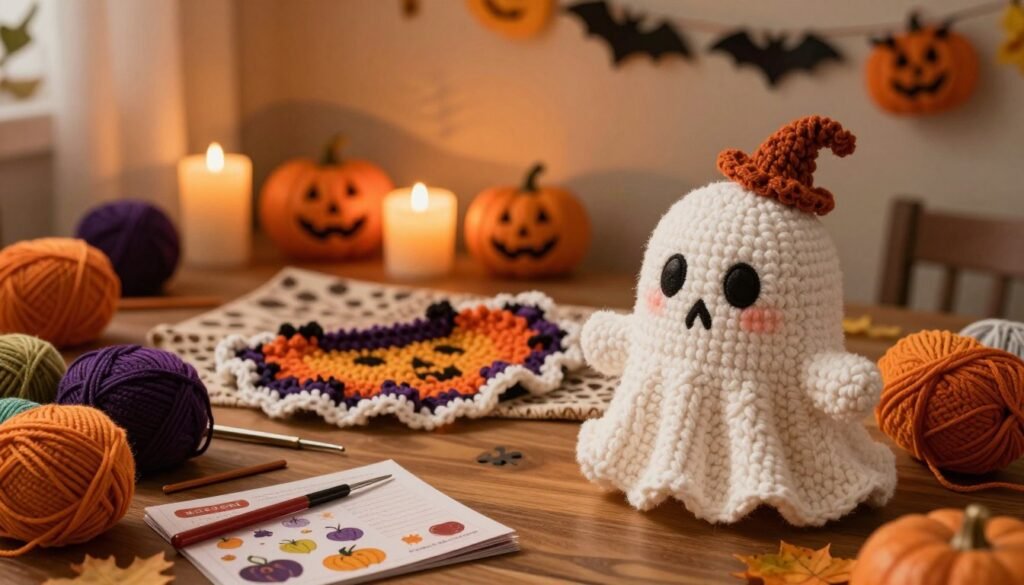
Step Two: Shape the Lower Body and Wavy Ghost Edge
Once the body reaches the desired height, you can begin shaping the bottom. This is where the ghost gains its signature look. You will work a series of stitches to create a wavy, flowing edge that mimics a floating spirit.
Make Matching or Uneven Waves for Different Ghost Personalities
You can choose to make your waves symmetrical for a clean look or vary the stitch heights for a more whimsical, uneven appearance. Experimenting with different stitch combinations allows you to give each ghost a unique personality. These small details make your spooky crochet projects stand out.
Prevent Gaps Between Decreases
When you decrease stitches to close the bottom, you might notice small holes. Use the invisible decrease method to keep the fabric tight and secure. This technique keeps the stuffing hidden inside the body.
Step Three: Stuff and Close the Crocheted Ghost
Before you seal the bottom, add your fiberfill stuffing. You want the ghost to feel firm but still soft to the touch. Do not overstuff, as this can stretch the stitches and distort the shape.
Distribute Fiberfill Evenly Around the Edges
Push the stuffing into the rounded top and along the sides to ensure an even shape. Use a blunt tool or your fingers to smooth out any lumps. A well-distributed filling helps the ghost stand or hang properly.
Secure and Hide the Final Yarn Tail
After closing the final opening with a tapestry needle, pull the yarn tail through the body. Trim the excess yarn close to the surface so it disappears inside. This final step ensures your ghost is durable and ready for display.
Add Features to Create a Cute Crochet Ghost Amigurumi
Transforming a simple crocheted shape into a personality-filled character is the most rewarding part of the process. By carefully selecting facial expressions and accessories, you can turn a basic project into a charming crochet ghost amigurumi that reflects your personal style.
Attach the Eyes and Give the Ghost a Friendly Face
Position Safety Eyes Before Closing the Body
Safety eyes provide a professional look and are best installed while the body is still open. Place them between the second and third rounds from the top, keeping them about two to three stitches apart for a balanced appearance.
Embroider Eyes for a Washable or Child-Friendly Alternative
If you are making this for a young child, embroidered eyes are a safer choice. Use black yarn or embroidery floss to create simple French knots or small horizontal lines to mimic the look of safety eyes without the risk of small parts.
Embroider a Mouth and Optional Blush Details
Use Black Embroidery Floss for a Simple Open Mouth
A small, curved line of black embroidery floss creates a sweet, surprised expression. Position the mouth slightly below the eyes to maintain a friendly, approachable look on your finished piece.
Add Pink, Peach, or Lavender Cheeks with Yarn or Fabric Paint
Adding a touch of color to the cheeks enhances the cuteness of your design. You can use a small amount of pink yarn to stitch tiny circles or apply a light dab of fabric paint for a soft, rosy glow.
Make a Tiny Bow, Hat, or Pumpkin Accent
Sew on a Crochet Bow Without Distorting the Body
A tiny bow adds a whimsical touch to your crochet ghost amigurumi. Use a tapestry needle to secure the bow firmly, ensuring you do not pull the stitches too tight, which could warp the ghost’s shape.
Add a Small Orange Pumpkin Detail for Seasonal Contrast
For a festive flair, attach a miniature crocheted pumpkin near the base of the ghost. This contrast of orange against the white yarn creates a perfect seasonal display piece.
| Feature | Material | Best For |
|---|---|---|
| Eyes | Safety Eyes | Display Pieces |
| Mouth | Embroidery Floss | All Ages |
| Cheeks | Fabric Paint | Quick Finish |
Check the Finished Ghost for Loose Ends and Secure Attachments
Trim or Weave in All Yarn Tails
Before you consider your project complete, check the interior and exterior for any stray yarn. Weave all loose ends securely into the back of the work to ensure a clean, professional finish.
Test Embellishments Before Displaying the Decoration
Gently tug on any bows, pumpkins, or embroidered features to ensure they are firmly attached. Testing these elements guarantees that your crochet ghost amigurumi remains intact while on display throughout the Halloween season.
- Double-check that all knots are hidden inside the body.
- Ensure the stuffing does not poke through the stitches.
- Verify that all accessories are centered and symmetrical.
Use the Finished Ghost in Halloween Crochet Decor
Once your handmade ghosts are complete, you can transform them into charming accents for your home. These versatile projects fit perfectly into various seasonal displays, adding a touch of whimsy to your living space.
Turn the Ghost into a Hanging Halloween Ornament
Add a Yarn Loop for Garlands, Door Handles, or Mantel Displays
You can easily turn your creation into a hanging decoration by attaching a simple yarn loop to the top of the head. Use a tapestry needle to pull a matching strand of yarn through the stitches and tie it into a secure knot. These lightweight ghosts look wonderful when strung together on a garland or hung from door handles.
Combine Several Ghosts at Different Sizes
Visual interest increases when you group multiple ghosts together. Try making a few versions using different hook sizes or yarn weights to create a variety of scales. Displaying a small, medium, and large ghost together creates a dynamic focal point for your mantel.
Style a Haunted House Crochet Decor Display
Pair the Ghost with Crochet Pumpkins, Bats, and Spiderwebs
Building a complete haunted house crochet decor scene is a fun way to celebrate the season. Surround your ghosts with tiny crocheted pumpkins, black bats, and delicate white spiderwebs. These complementary items enhance the spooky yet cute aesthetic of your handmade collection.
Arrange the Pieces on a Shelf, Table, or Entryway
Consider placing your finished items on a bookshelf or a console table near your entryway. A tiered tray also works well for showcasing these small figures alongside other seasonal trinkets. This arrangement invites guests to admire your handiwork as soon as they walk through the door.
Adapt the Pattern for Other Spooky Crochet Projects
Use Gray, Black, or Pastel Yarn for Different Halloween Crochet Ideas
While white is traditional, you can experiment with various colors to match your home’s interior design. Gray and black yarn provide a moody, gothic look, while pastel pinks, blues, or teals offer a modern twist. You might even try glow-in-the-dark yarn to make your ghosts stand out after the sun goes down.
Convert the Ghost into a Keychain, Garland, or Candy Bowl Accent
These patterns are highly adaptable for different functional uses. A smaller version makes a perfect keychain, while a series of ghosts can be attached to a long cord for a festive wall hanging. You can also place them inside a decorative bowl filled with candy to greet trick-or-treaters.
| Project Type | Recommended Yarn | Best Display Location |
|---|---|---|
| Hanging Ornament | Lightweight Cotton | Mantel or Door Handle |
| Tabletop Figure | Soft Acrylic | Entryway or Shelf |
| Keychain Accessory | Durable Wool Blend | Backpack or Keys |
Follow Safe Display and Care Practices
Keep Small Parts Away from Young Children and Pets
Safety is important when displaying handmade items in a busy household. If you used safety eyes or small buttons, ensure they are attached firmly to prevent choking hazards. Keep these items out of reach of curious toddlers and pets to avoid accidental ingestion.
Spot-Clean and Store the Ghost in a Dry Container After Halloween
When the holiday ends, keep your decorations in good condition by cleaning them properly. Use a damp cloth to spot-clean any dust or dirt from the yarn surface. Store your ghosts in a dry, airtight container to protect them from moisture and pests until next year.
Conclusion
Creating handmade decor brings a unique charm to your home during the autumn season. You now possess the skills to transform worsted-weight yarn and basic amigurumi supplies into charming figures. This process involves careful shaping, stuffing, and personalizing each piece to match your style.
Expect slight size variations in your work. A finished ghost might measure 2.25 inches with a hat or reach 3.5 inches without one. These small differences make your ghostly crochet crafts feel authentic and one-of-a-kind.
Feel free to experiment with different yarn colors or facial expressions. You can add tiny accessories like bows or pumpkins to give your creations personality. Keep these items away from small children and pets to ensure safety in your home.
Your finished projects serve as versatile additions to seasonal displays or thoughtful gifts for friends. Share your progress with the crafting community to inspire others. Enjoy the process of building your collection of ghostly crochet crafts this year.