How to Follow Your Crochet Pillow Pattern With Ease
Follow your crochet pillow pattern with ease using simple tips for reading instructions, choosing materials, and creating a polished pillow you’ll love.
Table of Contents
Can a crochet pillow pattern feel easier when you turn each instruction into a small check? Yes: follow the written steps in order, confirm the counts, and check the fit before finishing the cover.
A few minutes spent reading the instructions and gathering the listed materials can prevent avoidable mistakes. As you work, simple checks help you catch a missed stitch before it affects the next row. The finished pillow can then bring the color and texture you want to your room.
Use a video as a visual aid, but follow the pattern’s stitch counts and construction directions if they differ. This practical tutorial takes you from decoding the first instruction to finishing the cover, beginning with pattern notation.
How Do You Read a Crochet Pillow Pattern?
Before making the foundation chain, identify the pattern’s terminology and stitch-count rules. Check whether it uses US crochet terms, and find where each row begins and ends.
Decode abbreviations and turning-chain notes
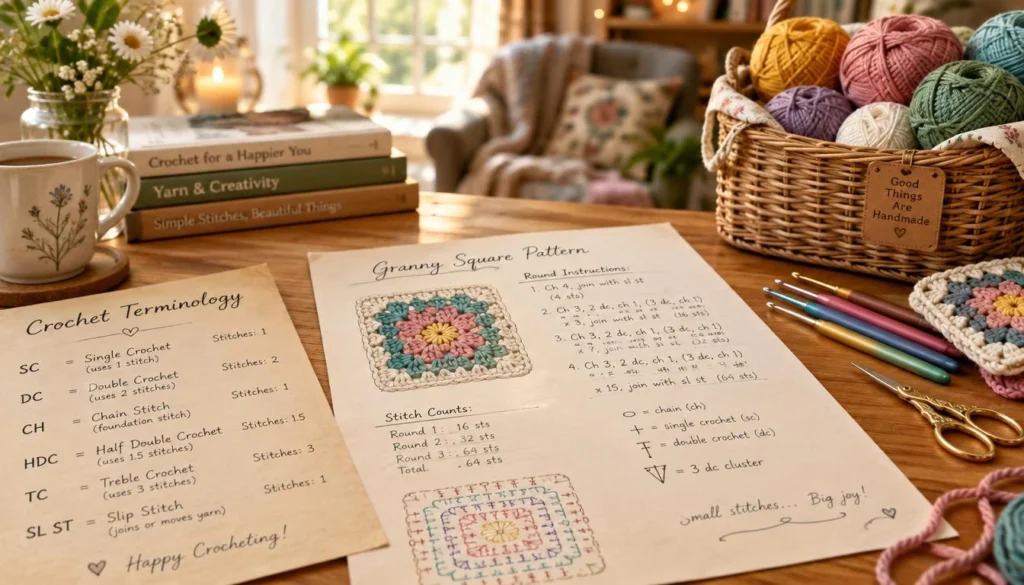
US crochet terminology commonly uses ch for chain, sl st for slip stitch, sc for single crochet, and dc for double crochet. St or sts means stitch or stitches, while yo means yarn over. Look for a key near the start of the pattern, since abbreviations can vary.
Read the note about the turning chain before you begin. A turning chain may count as a stitch in one pattern and not count in another. Assuming that every turning chain counts can add an unwanted stitch at the edge, so follow the pattern’s specific rule.
Follow repeats and check stitch counts
Find the repeat markers, often shown as asterisks. Read the instructions between the asterisks, then repeat that sequence for the stated number of times. Identify the first and last stitch in each row so you know where the repeat starts and stops.
For example, one beginner pattern starts with ch 57 and works 56 stitches. Its ch 1 does not count as a stitch, so every row should still have 56 stitches. Count the stitches at the end of a row instead of relying on the row’s appearance.
- Terminology: confirm what each abbreviation means.
- Turning-chain role: check whether it counts as a stitch.
- Repeat boundaries: locate the asterisks and repeat instructions.
- End-of-row stitch count: confirm the stated total.
Once the instructions are clear, you can choose yarn and a hook that suit the pattern’s size and construction.
Which Yarn, Hook, and Insert Fit Your Pattern?
Yarn weight, hook size, and pillow insert dimensions work together to determine whether a cover fits. For example, a larger hook can create looser fabric, while a different yarn weight can change the cover’s texture and size.
Match yarn weight and hook to the instructions
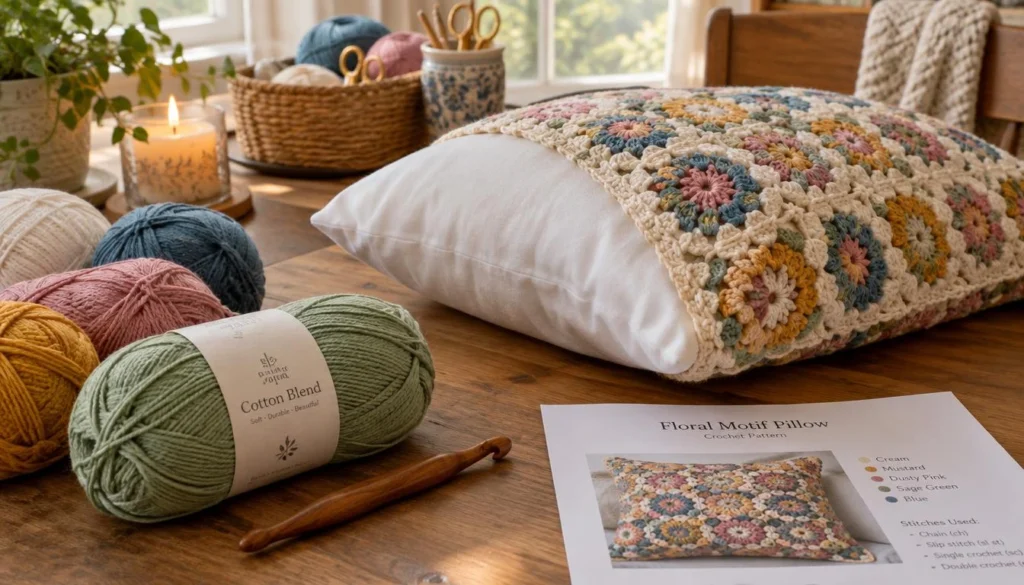
Use the yarn weight and hook listed for your pattern when you can. Gauge is the number of stitches and rows your crochet makes within a measured area. The examples below belong to specific patterns, so treat their materials and measurements as pattern details, not universal rules.
| Construction | Insert and cover dimensions | Gauge or panel cue | Yarn and hook |
|---|---|---|---|
| Alternating sc/dc panels | 16 x 16-inch insert; 17 x 17-inch cover | 13 stitches and 12 rows per 4 x 4 inches | About 600 yards of medium-weight acrylic yarn; H/8 5 mm hook |
| Sunburst granny squares | 20 x 20-inch insert; 24 x 24-inch panel | Nine 8-inch squares | Super bulky yarn; 9 mm hook |
| Berry-stitch panels | 12 x 18-inch insert | Foundation-chain gauge of about 17 to 18 inches | Red Heart Super Saver Americana yarn; I 5.5 mm hook |
Choose an insert that suits the finished dimensions
Compare the finished cover dimensions with the insert size named in the pattern. Some patterns make the cover slightly larger than the insert, while others call for a different fit. You can buy an insert, make one from fabric and stuffing, or repurpose a pillow you already own.
Check the pattern’s construction before choosing an insert, especially if the cover uses separate panels or joined squares. With the materials matched, check the stitch fabric before making full panels.
How Do You Check Gauge Before Committing to the Full Piece?
A swatch is the quickest way to check whether your stitches will produce the intended dimensions. Crochet it in the pattern’s specified stitch and yarn, then compare its measurements with the stated gauge.
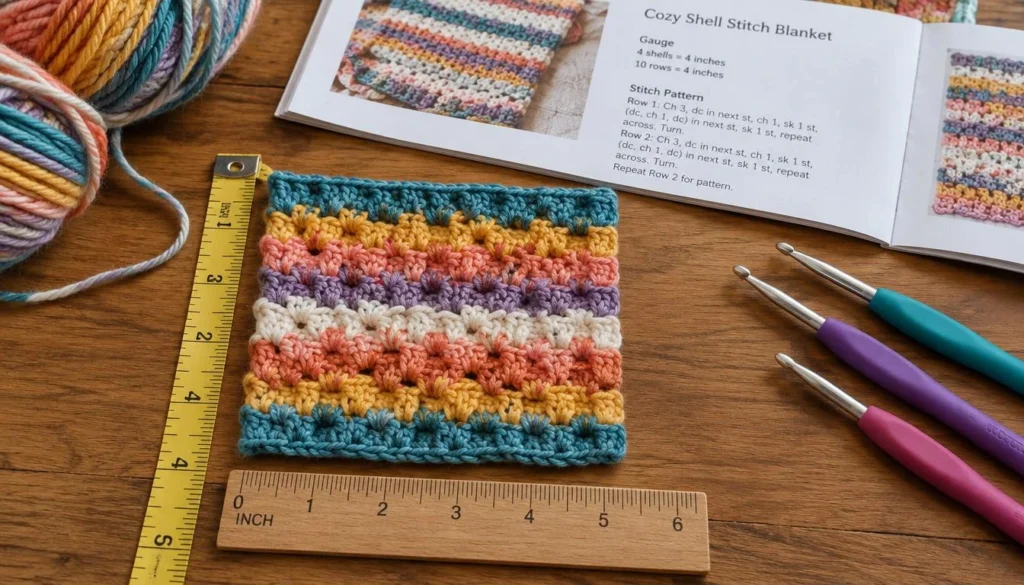
Work enough rows to make measuring useful, and lay the fabric flat without stretching it. Count both stitches and rows across the exact area named in the pattern. A swatch made in a different stitch pattern will not give a reliable comparison.
- Crochet a swatch using the specified yarn and stitch pattern.
- Measure stitches and rows across the specified area.
- Compare your counts with the pattern’s gauge.
- Change the hook size and retest if needed.
If you have more stitches or rows in the measured area than the pattern specifies, your fabric is tighter. Fewer stitches or rows indicate looser fabric. Adjusting the hook can bring the counts closer; changing hook size also changes the fabric’s feel.
A looser or tighter gauge changes finished dimensions and can affect yarn use. One simple pillow pattern checks width after row 2 at about 16.5 inches, then expects it to grow to 17 inches by row 8. That early check can reveal a size difference before you make the full piece.
Once your swatch is close to the pattern’s gauge, move on to making the panels consistently.
How Do You Crochet Matching Panels Without Losing Your Place?
Mark each completed row before setting your project down. A row counter, removable marker, or pencil mark beside the written instructions can show exactly where to restart.
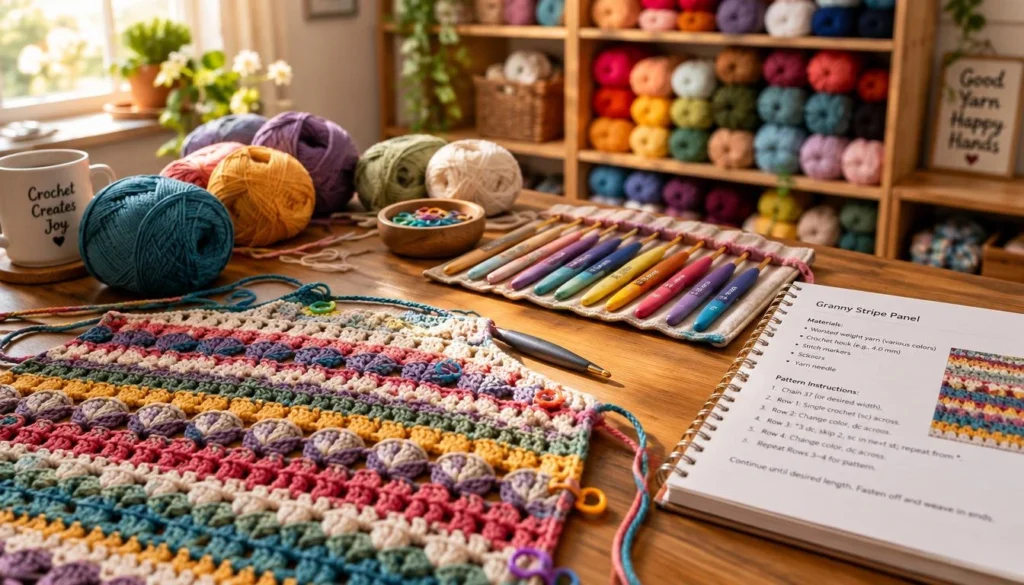
Work each row or round in sequence
Follow the written order and count stitches at the end of each row. In a simple alternating sc/dc pattern, the instructions repeat the same stitch sequence from row 2 onward. About 49 rows produce a 17-inch panel in that pattern.
A skipped stitch can make the next row harder to count and may compound across later rows. If your end-of-row count is wrong, find and correct the mistake before continuing. Compare the panel’s length with the pattern as you work, rather than waiting until the last row.
Track repeats and match panel counts
Repeating a row means working that row’s stitch sequence again across the panel. Repeating a motif round means continuing around a small shape, such as a granny square, to build its size. Keep the round number clear so each square reaches the intended dimensions.
For a two-panel cover, make the second panel with the same number of rows as the first. The berry-stitch pillow pattern uses a foundation chain of 54 and works rows 2 through 22 on each of two panels. Matching the row count helps the edges line up.
Check both panels against each other as their length and width take shape. A small difference can affect how their edges meet, even if the stitch counts seem close. If you are using motifs, check that the squares have matching round counts before arranging them.
When the panels or motifs are complete, line them up and choose a joining method suited to their construction.
Which Joining Method Should You Use for the Pillow Cover?
Use the joining instructions designed for your panel shape and construction. Flat panels, joined granny squares, and a folded square panel call for different seams, and the best choice depends on how the pattern forms the cover.
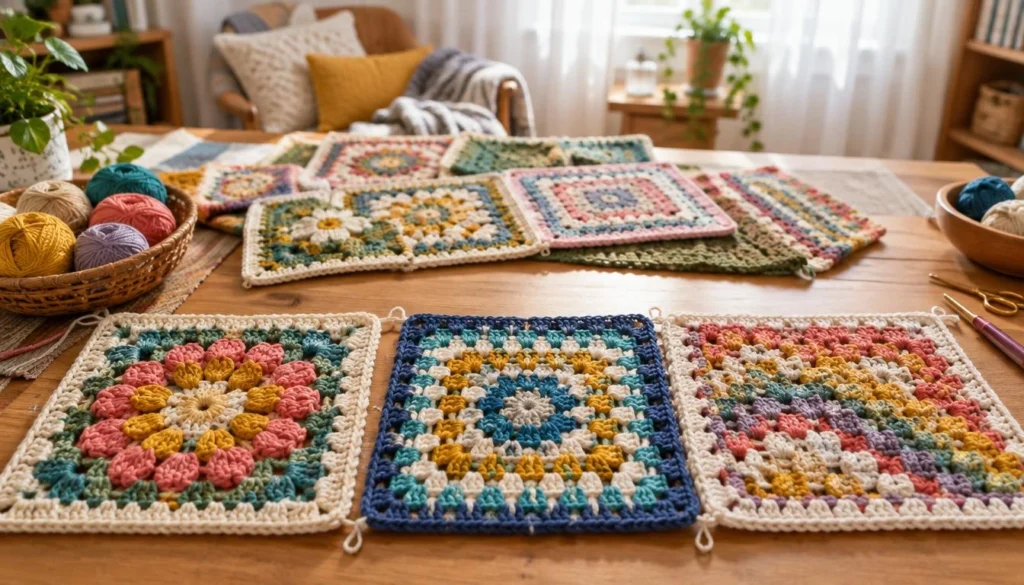
Keep the edges aligned as you work, and leave an opening where the insert will go. The comparison below shows where each method joins and when you add the pillow insert.
| Construction | How the edges are joined | When to add the insert | Access before closing |
|---|---|---|---|
| Two flat panels | Single crochet through both layers around three sides | After three sides are joined, before the final side | One side remains open |
| Joined granny squares | Slip stitch in the back loop only | Before closing the final opening in the cover | Keep an edge open for insertion |
| Square panel folded corner to center | Single crochet in the back loop only along seams | Before working the final seam | Leave enough room for the insert |
For two flat panels, place the edges together and single crochet through both layers around three sides. Keep the stitches even, and avoid pulling the seam tight enough to draw in the fabric.
For a cover made from granny squares, slip stitch through the back loop only as directed. This joins the motif edges while following that construction. Check each connection as you go so the joining line stays consistent.
A square panel can also be folded with its corners toward the center. Work the seams with sc in the back loop only, leaving enough room to position the insert before closing the final seam.
The method is not a test of skill level; it should suit the cover’s construction. After the structural seam, check the finished cover’s edges, corners, and fit.
How Do You Finish Neatly and Correct Common Fit Problems?
Check that the insert reaches the cover’s corners without pulling on the seams. If the fabric strains when the insert is in place, do not force the corners into position.
Check the edges, corners, and insert fit
Inspect the border for gaps and uneven corner stitches. Correct loose or missed stitches before weaving in the yarn ends. A small gap at an edge can become more noticeable when the cover is filled.
If the insert strains the seams, ease it into the cover and check the pattern dimensions. A cover with excess slack may point to a size or gauge mismatch. Do not pull the fabric hard to make either problem disappear, since that can distort the edges.
Spread the filling or insert evenly so the corners take shape without bulging. If a corner looks bulky, check its stitch count and redistribute the insert. An overfilled corner pressed into a tight cover can make the seam look uneven.
Secure loose ends and close the opening
Keep the insertion opening unclosed until the insert is positioned. Once the cover sits evenly, finish the remaining seam as the pattern directs. Check the edge again before fastening off, especially at the last corner.
Fasten off and weave in loose ends with a yarn needle. Tuck each end into the stitches so it stays secure and does not show along the border. Yarn amounts can vary with gauge, and quantities listed for super bulky patterns are estimates.
Give the cover one last look for loose loops, uneven seams, and a smooth fit around the insert. A finished cover should hold its shape without strained seams or empty corners, giving you a clear standard before your next project.
Conclusion
Follow the pattern’s written counts and dimensions, then check the fit as you go. Those checkpoints help you catch size differences before the cover is closed.
Mark completed rows and compare the panels while you work. Your next step is simple: choose a pattern, gather its listed materials, and make a gauge swatch before starting the panels.
Begin with that first swatch, then carry the same checks through to the final seam.
FAQ
Can I use a different yarn weight for a crochet pillow pattern?
Yes, but a different yarn weight can change the fabric’s dimensions and drape. Make a swatch with the replacement yarn and compare it with the pattern’s gauge before starting. You may need to adjust the hook size or recalculate the starting stitches to reach the intended cover size. A change in yarn weight can also affect how much yarn the project uses.
How many skeins of yarn do I need for a crochet pillow?
Use the pattern’s yardage estimate to work out how much yarn to buy. The number of skeins depends on the yardage in each skein, while total yarn use varies with yarn weight, gauge, stitch pattern, and finished dimensions. If you change any of those details, the original estimate may no longer match your project. Check the skein label for its yardage.
Can I adjust the width by changing the starting chain?
Only change the starting chain if the pattern allows it and you preserve the stitch repeat. For example, one alternating-stitch pattern uses a multiple of 2 plus 1. Adding or removing the wrong number of chains can disrupt the stitch sequence or leave an uneven edge. Check the pattern’s repeat rule before changing the chain count.
Should the pillow cover be smaller than the insert?
Use the measurements specified by your pattern, since the fit is not universal. One example pairs a 17 x 17-inch cover with a 16 x 16-inch insert, making the cover slightly larger. Other patterns may call for different dimensions or a different fit. Compare the finished cover measurements and insert size before you make the panels.
Can I skip gauge if I am using pillow stuffing instead of an insert?
You have more flexibility about exact fit when you use loose pillow stuffing instead of a pre-sized insert, but gauge still matters. It affects the cover’s finished dimensions and the amount of yarn you use. A swatch can also show whether the fabric feels too open or too firm for the stuffing. Check the pattern’s stitch counts as you work.
How do I keep a pillow cover’s corners from looking bulky?
Check the corner stitch counts and distribute the insert evenly before closing the cover. Bulky corners can result when too much filling gets pushed into a small space. Do not force overfilled corners into a tight cover, since that can pull the seams and distort the shape. Ease the insert into place and smooth the filling toward each corner.