
Amazing Giraffe Crochet Pattern Easy Step-by-Step Guide
I follow a giraffe crochet pattern step by step, sharing the stitches, shaping tips, and finishing details I use to make a cheerful amigurumi toy at home.
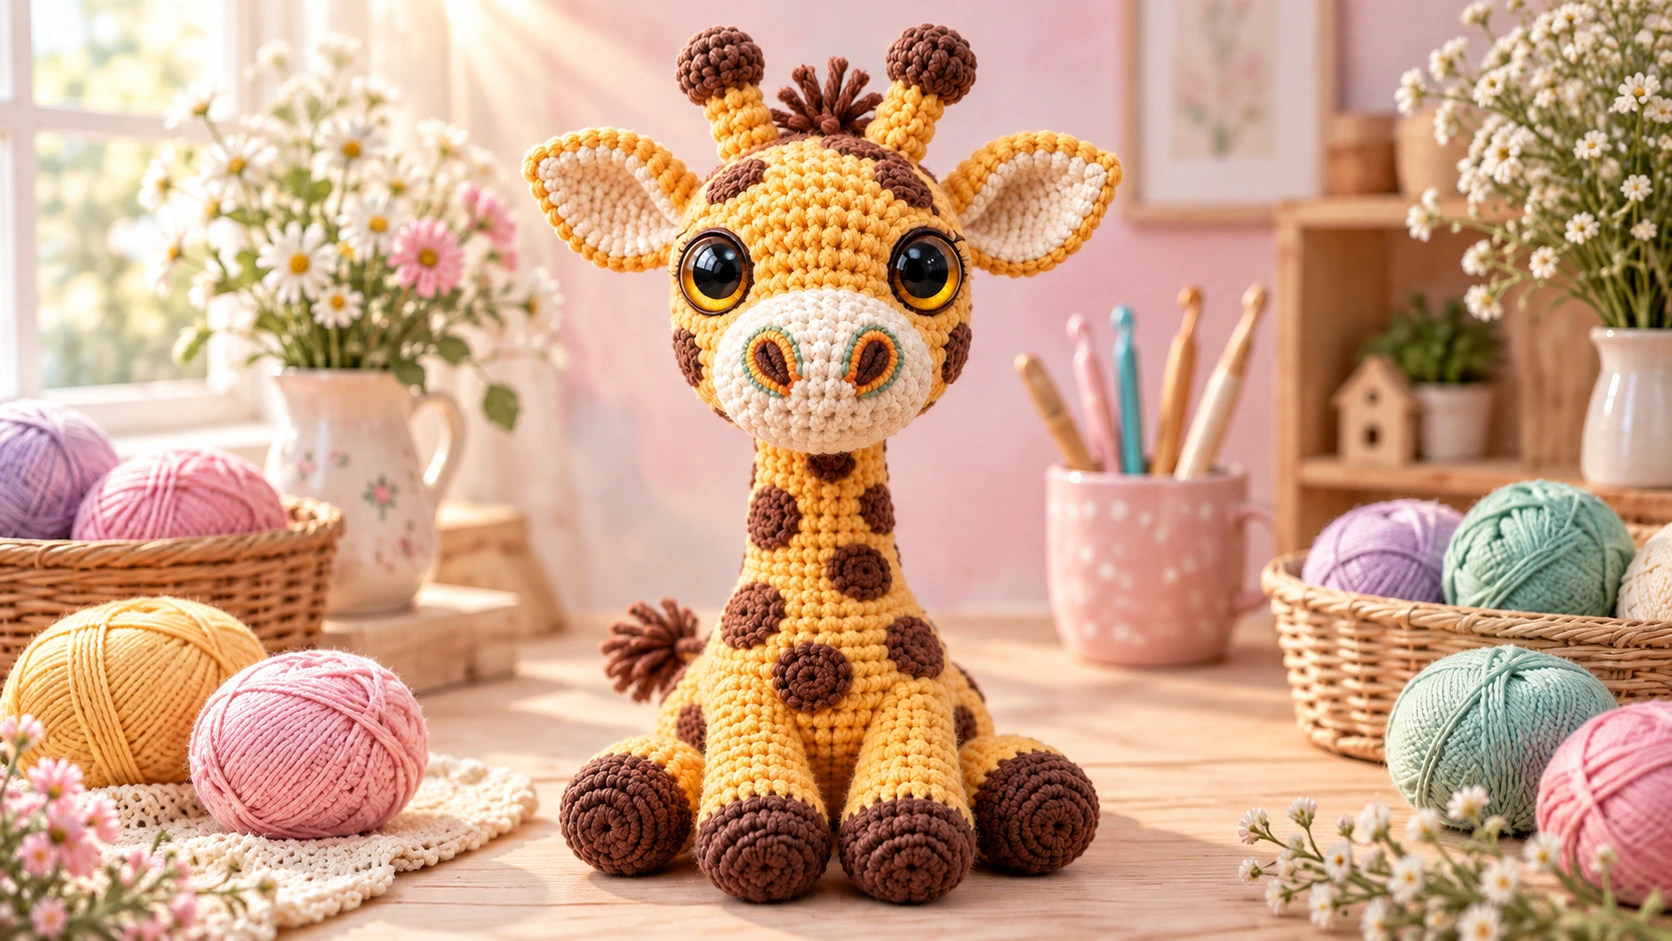
Table of Contents
Can I follow a giraffe crochet pattern and turn a few rounds of yarn into a small toy? I begin by preparing my yarn and tracking the first round, because an early count sets up the shaping that follows.

I make the toy in stages, working the legs, body, head and small details before sewing the pieces together. Checking stitch counts as I go helps me catch uneven shaping while it is still easy to fix. An ossicone is a giraffe’s hornlike head feature crocheted as a separate piece.
I also plan where safety eyes and sewn details will sit before I secure them. That small pause can make the face look balanced and help me avoid unpicking a finished seam. With a hook, yarn and a clear count to follow, the project feels manageable one piece at a time.
I break the work into separate pieces and simple checkpoints, rather than trying to hold every instruction in mind at once. First, I choose supplies that suit the size and feel I want.
What Supplies and Setup Help Me Keep Stitches Even?
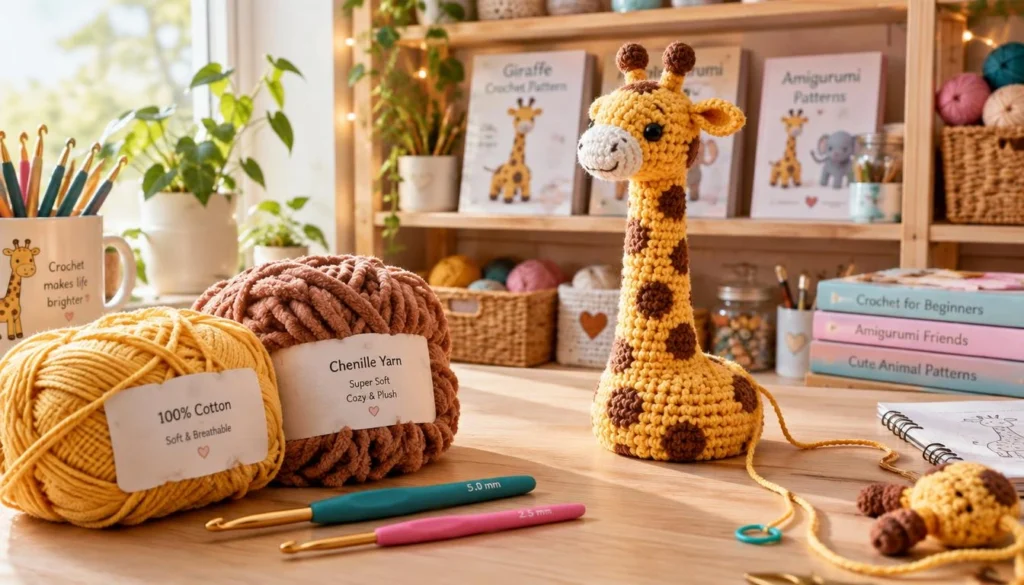
I choose sport-weight cotton for a compact toy or super-bulky chenille for a much larger, plush giraffe amigurumi. The yarn thickness and hook size both change the finished size, so I use the table to compare the options before starting.
Choose Yarn and a Hook for the Size You Want
A sport-weight cotton version uses a 2.5 mm hook and 8 mm safety eyes, and measures about 18 cm (7 inches). A super-bulky chenille version uses a 5 mm hook and 15 mm safety eyes, and measures about 40 cm (16 inches). The different yarns create very different toys while keeping the pattern’s stitch counts the same.
| Yarn option | Hook | Finished height | What to expect |
|---|---|---|---|
| Sport-weight cotton | 2.5 mm | About 18 cm (7 inches) | Compact, defined stitches |
| Super-bulky chenille | 5 mm | About 40 cm (16 inches) | Large, plush fabric |
| Blanket yarn | 8 mm | Size varies with yarn and tension | Soft, bulky fabric |
The pattern also recommends a 3.5 mm hook for bulky velvet yarn. A hook that is too large can leave gaps where stuffing shows, while one that is too small can make the stitches hard to work. I follow the pattern’s hook suggestion, then check that my fabric looks firm and even.
Gather Tools and Make a Safety Choice
I set all the tools within reach before I begin. My four-item checklist keeps the basic materials together:
- Yarn in yellow, brown and black
- A hook matched to the chosen yarn
- Stuffing and safety eyes or embroidery yarn
- Scissors, pins and a blunt tapestry needle
Synthetic poly filling gives the toy its shape. Safety eyes can pose a choking risk for babies, so I use embroidered details instead when making a baby toy. Pins help me preview features before sewing or embroidering them in place.
When I change yarn thickness, I expect the finished toy’s size to change, even if I keep the pattern’s counts. The stitch count, not the finished measurement, is my reliable guide when I switch yarn; next I read the pattern notation.
How Do I Read the Rounds and Stitch Abbreviations?
A stitch marker is the simplest way I avoid losing the beginning of a continuous round. I work a continuous round in a spiral without joining each round, so the start can shift out of view as the fabric grows.

I keep the marker in the first stitch of each round and move it up as I work. At the end of a round, I count the stitches and compare the total with the pattern before starting again. That quick check can reveal a missed stitch before it affects the next few rounds.
Common abbreviations make a crochet pattern shorter. Rnd means round; st means stitch; sc means single crochet; sl st means slip stitch. Inc means increase, dec means decrease, and BLO means back loop only. A magic ring begins with stitches worked into an adjustable loop.
An increase adds stitches, usually by working more than one stitch into a stitch. A decrease combines stitches to reduce the count and shape the fabric. I pay close attention to the stated total after either change, since one missed increase can throw off later shaping.
After a color change, I place the marker in the first stitch of the new color. That keeps the round start clear, especially when the new yarn makes the spiral harder to read. I also check whether the instruction uses both loops or BLO.
At each round’s end, I use this four-part check before moving on:
- Move the marker to the new round start
- Confirm the stitch count against the pattern
- Check for the stated color change
- Note whether the round uses both loops or BLO
Once those habits feel steady, I can focus on shaping instead of trying to find my place. I begin with the legs, using the same notation and count-checking habit on each one.
How Do I Crochet the Four Legs and Join Them?
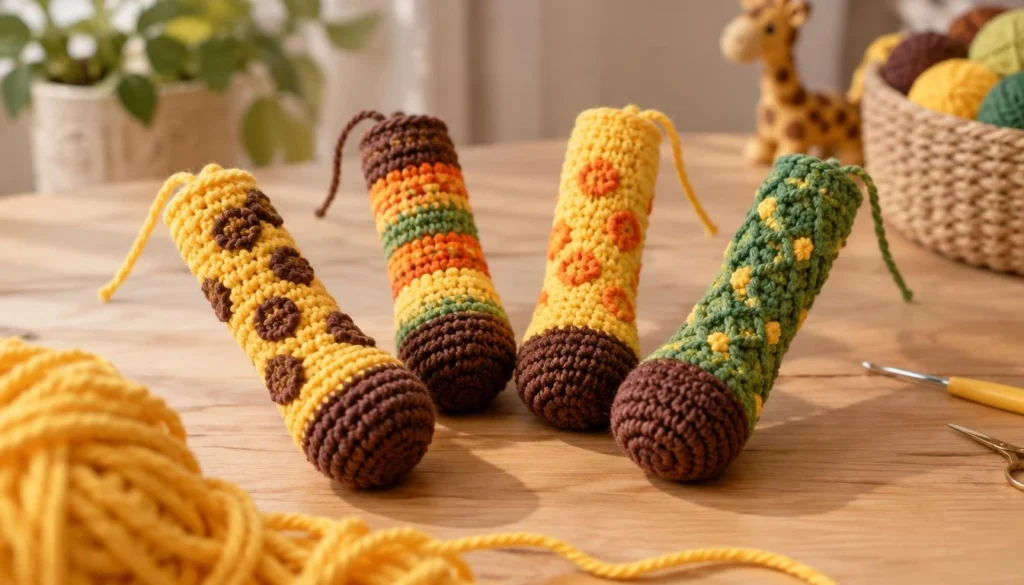
I make three matching legs first and leave the fourth one on the hook for joining. Each leg begins with six single crochet stitches in a magic ring, increases to 12 stitches in round 2, and uses BLO single crochet in round 3.
Work the Matching Legs and the Fourth Leg
I start each foot in black, then change to yellow for the rest of the leg. After the foot, the pattern narrows the leg before increasing at its top. I follow the rounds and counts as written, checking each leg against the first so the four pieces match in height and shape.
I finish off the first three legs, leaving a long sewing tail on each. The sewing tail is the loose yarn end I use to sew pieces together later. I do not fasten off the fourth leg; its working yarn stays attached so I can continue directly into the join.
Connect the Legs to Start the Body
I use chain bridges between the legs to connect the pieces, then crochet around the joined edges. The bridges form part of the body’s base, so I keep them from twisting and count around the join carefully. The first body round must total 38 stitches.
That count includes stitches worked across the legs and the chain bridges. I pause at the end of the round and recount before continuing. A second round after the join also has 38 stitches, so I check the pattern’s count rather than assuming the total changes automatically.
The three sewing tails remain available for securing the legs, while the fourth leg’s yarn continues the body. I keep the base flat as I work, since a twisted bridge can make the legs sit unevenly. Once the leg base is joined, I pause the main body work to close the underside.
How I Follow a Giraffe Crochet Pattern From Legs to Body
The leg join should measure 38 stitches before I work the next increase. I use that count as my first checkpoint, then follow the body rounds and pause at the belly step instead of crocheting straight through it.
Work the Joined Base and Pause at the Belly
The joined base has 38 stitches, and the next increase brings the total to 40. I work rounds 1-6 of the body, then set the working loop aside without fastening off. That leaves the yarn ready for me to resume the body after I close the underside.
The belly is a separate piece worked across 14 stitches. I can use a second ball of yarn, or reattach yarn after setting the body loop aside. I follow the belly instructions, then use the sewing tails to close the two unused stitches between each pair of legs.
Close the Underside Between the Legs
I sew the gaps between the legs before closing the belly over the opening. This order lets me reach the small spaces without pulling the belly fabric out of shape. I check that the legs point in the right directions, then sew the belly in place across its 14 stitches.
After the belly is closed, I return to the body’s working loop and resume at round 7. I stuff the legs before continuing, adding small amounts so the feet hold their shape. The checkpoint counts help me see whether the body is narrowing as intended.
Shape, Stuff and Narrow the Body
| Checkpoint | Round or stage | Stitch count | What to check |
|---|---|---|---|
| Joined base | First body round | 38 | Count around all legs and bridges |
| Increase | Next increase round | 40 | Confirm two added stitches |
| Body resumes | Round 7, after belly closes | 37 | Resume the body loop |
| Neck | Rounds 19-23 | 14 | Keep the neck even |
From round 7, the body narrows through 37, 35, 32, 29, 25, 21, 17, 15 and 14 stitches. I check the count after each decrease round. Gradual stuffing helps the body keep its shape without stretching the stitches or leaving lumps.
The neck stays at 14 stitches for rounds 19-23. I keep the stuffing firm enough to support the neck, but not so packed that the crochet fabric bulges. I also look around the whole neck as I work, checking for an even width on every side.
When the 14-stitch neck section is complete, I move on to the head and face.
How Do I Shape the Head and Place the Eyes?
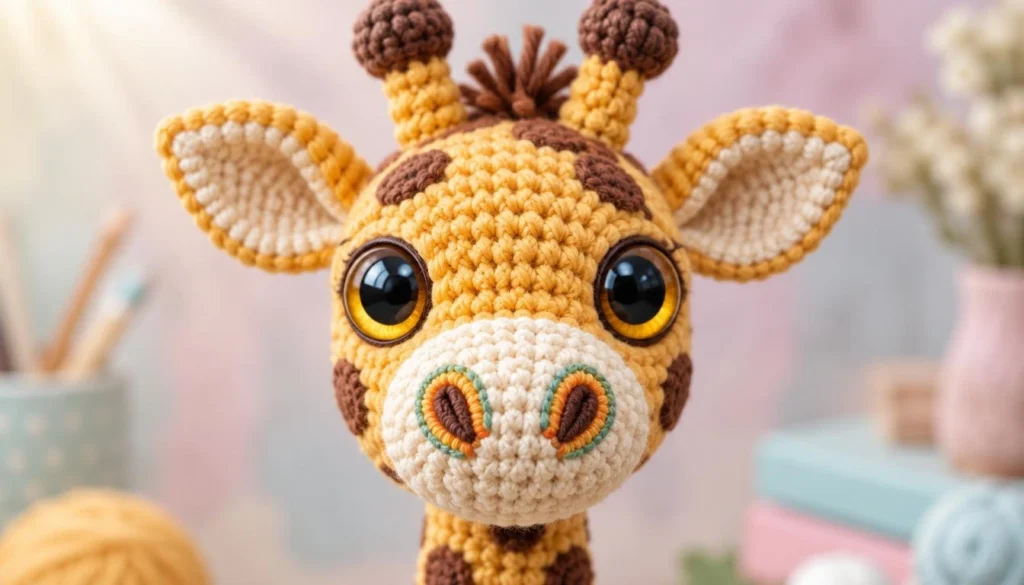
I confirm the head’s stitch count before adding the eyes. The head begins with six single crochet stitches in a magic ring, then increases gradually to shape the snout and widen the face.
Build the Snout and Widen the Head
I use the stitch totals as checkpoints rather than trying to memorize every round. The head reaches 18 stitches in round 3, 30 stitches in round 8 and 36 stitches in round 10. Those increases build a rounded head from the narrower snout.
On round 4, I embroider two nostrils on the snout. I keep them small and spaced evenly, then look at the face from the front before tying off the yarn. The front view makes it easier to see whether the nostrils sit at the same height.
Set the Face and Close the Head
I place the 8 mm safety eyes between rounds 8 and 9, with 10 stitches between them. Before securing them, I use pins to preview their positions. I check that both eyes sit at the same level and that the snout points straight ahead.
I stuff the head after round 17, before I continue with the decrease rounds. Small additions are easier to position than one large handful. I shape the fabric as I fill it, checking from the front and sides so the head stays rounded rather than lopsided.
Before closing the head, I check the eye spacing again from the front. The decreases bring the opening down to a small gap. I cut the yarn with enough length to finish, then draw it through the remaining front loops and pull gently to close the opening.
I tuck the end inside the head and feel the fabric for loose spots or a hard lump of stuffing. A little adjustment now can improve the shape before I sew on the smaller features. Once the head is stuffed and closed, I prepare the separate ears, ossicones and spots.
How Do I Make and Position the Ears, Ossicones and Spots?
I pin the two ears on opposite sides of the head before sewing them down. The preview helps me check their height and angle together, rather than judging each ear on its own.
Crochet the Ears and Ossicones
I make two yellow ears, each ending with six stitches. I fold each ear flat, then sew them at round 16 on the sides of the head. Folding them before sewing gives the ears a neat, narrow base.
I crochet two brown ossicones, the giraffe’s hornlike features, and sew them to rounds 14-15. I leave four stitches between them. These brown horns should sit between the ears, with enough space to remain distinct from each other.
Add the Brown Spots in Their Patterned Positions
The spot set includes two large, three medium and three small brown spots. I place the two large spots on the body between rounds 4 and 9, one above each of opposite legs. That gives the spots a clear location without making them mirror one another too closely.
I put the three medium spots on the neck at the round ranges stated in the pattern. The three small spots go on the front legs and body at their stated round ranges. I keep the round locations consistent with the pattern so the spots do not drift too high or low.
Before sewing, I pin all eight spots in place and turn the toy to check both sides. I look for balanced spacing from the front and back, then adjust any piece that looks crowded beside a leg or neck seam. Pinning every spot first helps me judge the full pattern at once.
Once the details are positioned and sewn on, I make the tail and attach its tuft.
How Do I Crochet and Sew on the Tail?
I keep the tail narrow by working all seven rounds at the same stitch count: five single crochet stitches in each round. The yellow tail starts with five stitches in a magic ring, then rounds 2-8 continue evenly across those five stitches.
I leave the tail unstuffed so it stays flexible and slim. When I finish the final round, I cut the yarn while leaving a long sewing tail. I use that yarn end to attach the tail securely to the body’s back at round 6.
For the tuft, I cut four brown yarn pieces about 4 inches long. I fold them in half, pass the folded loop through the end of the tail, and pull the loose ends through that loop. This looped attachment holds the strands in place before I trim them.
I wait to trim the brown strands until they are attached. Then I cut the ends to the length I want, keeping the tuft neat without cutting close to the tail fabric. The tuft length can change to suit the finished toy without changing the tail rounds.
I sew the tail to the back of the body at round 6 and secure the sewing tail inside the fabric. I check that the tail points naturally downward and that the brown tuft hangs freely. With the tail attached at the back, I move to the final body-and-head seam and finishing checks.
How Do I Sew the Pieces Together and Finish the Toy?
I pin the head in its intended position before taking the first sewing stitch. I point the snout straight ahead and center the neck under the head, then check the view from the front and both sides.
Join the Head and Neck Securely
I sew the neck of the body to the head between rounds 9 and 15 of the head. I use a long sewing tail for the seam, threading it through a blunt tapestry needle. Working through corresponding stitches helps me keep the seam even around the opening.
I take small, steady stitches and keep the head in place with pins as I work. I avoid pulling the yarn so tightly that the fabric puckers. A firm seam should hold the head securely while the stitches remain close to the same tension as the surrounding crochet.
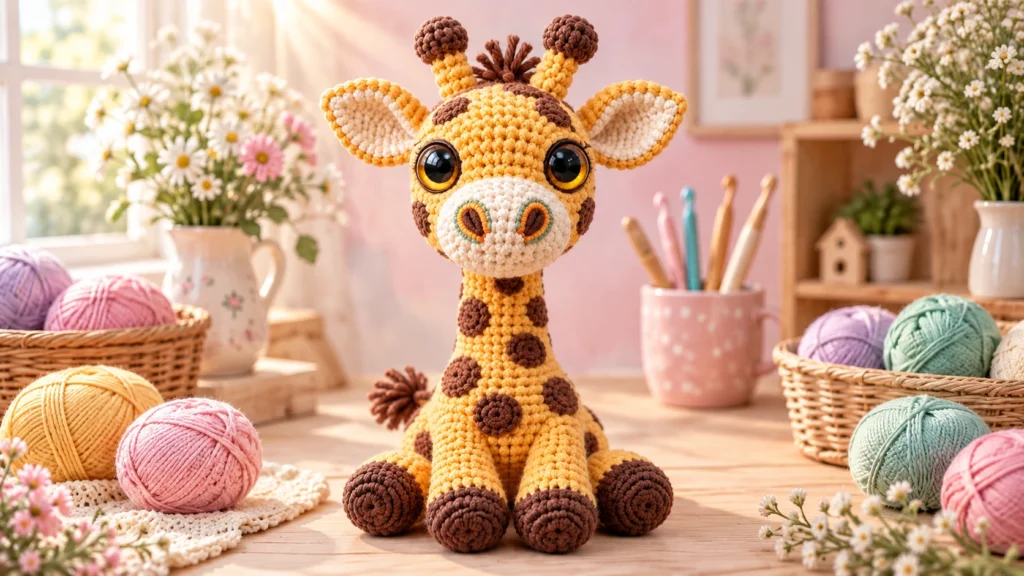
The finished mini version measures about 18 cm (7 inches) with sport-weight cotton. I use that measurement as a general check for the small version, while remembering that the chosen yarn changes the toy’s overall size.
Check the Shape and Weave in the Ends
A wobbly head often comes from a loose seam or uneven stuffing. I check both before changing the shape. If the seam moves, I reinforce it with a few more stitches instead of pulling hard on the fabric, which can stretch the crochet.
I finish with this five-item check:
- Check that the face is centered
- Check that the neck seam is secure
- Tug gently on sewn-on pieces
- Weave in and hide yarn ends
- Compare the toy’s shape with the intended proportions
I weave each loose end through nearby stitches, then hide it inside the toy. I check the back and underside as well as the face, since an exposed end can loosen with handling. I give sewn-on pieces a gentle tug, not a hard pull that could stretch the fabric.
After those checks, I inspect the finished toy and decide whether to keep it or gift it.
Conclusion
I like seeing separate yarn pieces become one finished giraffe, with each round adding shape and character. Careful stitch-count checks make shaping easier because I can catch a missed stitch before it changes the next part.
Pinning the features before sewing also helps them sit evenly. I make one final inspection, take a photo of the finished toy, then check every seam and put the giraffe somewhere safe or prepare it as a gift.
FAQ
Can I use a different yarn weight for this giraffe?
Yes, I can use a different yarn weight while keeping the pattern’s stitch counts the same. I choose a hook suited to that yarn and expect the finished size to change. Thicker yarn usually makes a larger toy, while thinner yarn usually makes a smaller one. I check that my stitches form a firm fabric before adding stuffing.
Can I embroider the eyes instead of using safety eyes?
Yes, embroidered eyes work in place of safety eyes, and they are the safer choice for a baby toy. I use pins to preview the eye positions before stitching, then check the face from the front. I keep the two eyes level and evenly spaced so the expression looks balanced after the embroidery is complete.
How do I stop my magic ring from leaving a hole?
I pull the starting tail firmly after the first rounds, then weave it through nearby stitches to secure the center. I avoid yanking so hard that the stitches bunch or distort. After weaving the end inside the piece, I check the center from both sides. A small opening is easier to close before the fabric gets much larger.
Why does my body look uneven where the legs join?
I recheck the 38-stitch joined round and the chain bridges before continuing to the 40-stitch round. A missed stitch or twisted bridge can shift the leg base and make the body look uneven. I also compare the legs from below, checking that each one points outward in the intended direction before continuing.
How firmly should I stuff an amigurumi giraffe?
I add small amounts of stuffing as I go, so I can spread it evenly through the legs, body, neck and head. The fabric should hold its shape without stretching enough to show the filling. I check the toy from several angles and smooth any lumps before the opening becomes too small to reach.
Can I make the neck longer without changing the whole pattern?
Yes, I can add rounds to lengthen the neck, but the change affects the toy’s proportions and may affect support. I make small adjustments and check the head’s balance before finishing the seam. A longer neck may need a firm, even fill so the head stays upright rather than leaning to one side.