
Learn How to Make a Granny Square Crochet Dress Pattern
Learn how to make a Granny Square Crochet Dress Pattern with clear steps, sizing tips, and crochet guidance to create a dress that fits your style today.

Table of Contents
Can a dress made from granny squares fit like a garment rather than a stack of colorful motifs? You can crochet one by making the squares, arranging them into front and back panels, and joining the panels.
The construction combines a central granny square with smaller square pieces that shape the sides. The finished look can be loose and straight or shaped closer to your body. Fit depends on gauge, your measurements, and the way you arrange the pieces.
Gauge is the number of stitches and rows in a measured section of crochet, used to check whether your work matches the pattern dimensions. A small difference in gauge can change how much space each square covers and how the panels sit.
This project asks for some planning as well as crochet time. You will choose a color plan, make the pieces, and build the panels before finishing the openings and hem. A little planning before you crochet makes the construction easier, so start by choosing the look you want.
What Style and Color Plan Should You Choose?
Two contrasting colors worked in repeating rounds can create a clear, balanced granny square, but test the color sequence before making the full set. A small sample shows whether the rounds make the pattern you pictured or compete with each other.
Color placement, square size, and silhouette all affect the finished dress. A single color can make the squares read as one fabric, while alternating colors emphasize their edges. Larger squares make a bold grid; smaller ones create more joins and a finer pattern.
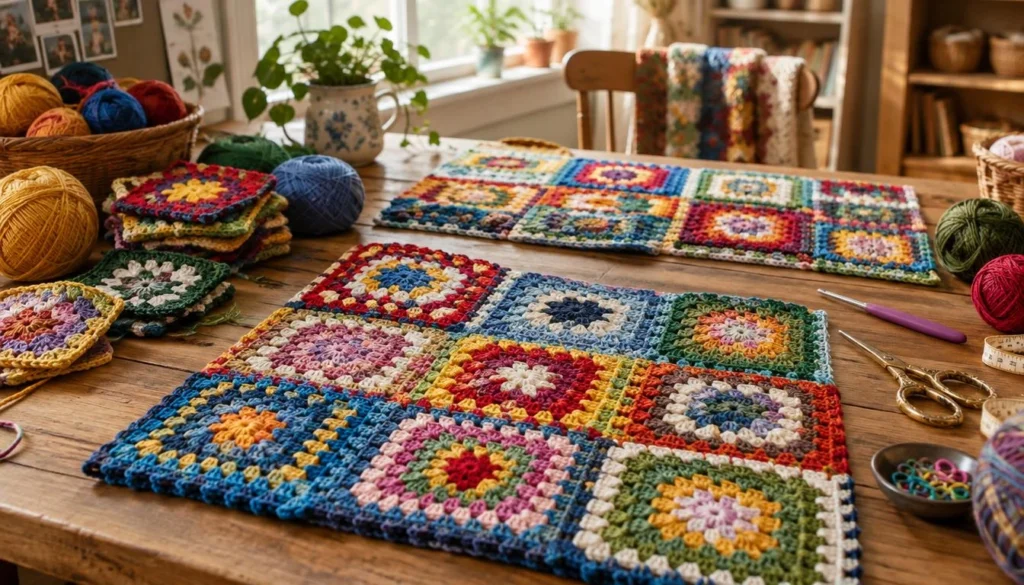
A straight silhouette keeps the front and back panels close to rectangular. A shaped silhouette changes the panel outline or uses the side pieces to add or remove width where you need it. Decide how much ease and movement you want before settling on the layout.
Before starting, write down these four decisions:
- Color count: choose one main color or a set of contrasting shades.
- Color order: plan which shade appears in each round.
- Square arrangement: decide where full and partial squares will sit.
- Desired silhouette: choose a straighter shape or one that follows your body more closely.
One common mistake is choosing colors without checking how alternating rounds look together. A shade that seems attractive alone may overpower a neighboring round or make the square edges hard to see. Crochet a small sample in the planned order and view it from a few feet away.
Keep a written color sequence beside your work, especially if you plan to repeat the same order across many squares. Once the visual plan feels right, choose materials that will make the fabric and squares consistent.
What Yarn and Tools Do You Need?
The featured setup pairs Rainbow Cotton 8/4, a 100% cotton yarn, with a 3 mm hook; a heavier yarn can make a larger, thicker swatch. Your yarn and hook work together, so a change in either can alter the size of your squares.
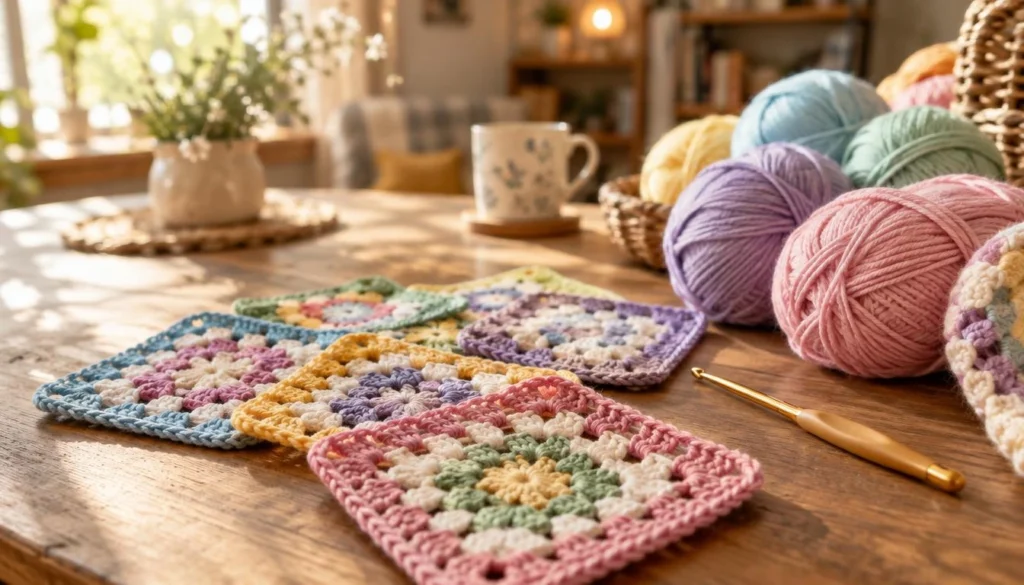
The named cotton comes in 50 g skeins with 170 m per skein. Its stated gauge is 27 stitches and 38 rows per 10 cm/4 in. Those details describe this yarn and setup, not every cotton or every hook size.
Choose yarn for consistent squares
Check the yarn label for fiber, weight, care directions, and length per skein. Use the same yarn type throughout if you want the squares to match in thickness and drape. If you combine colors, compare their labels so one shade does not behave differently from another.
The listed quantities apply to Rainbow Cotton 8/4 and the two-color scheme shown here. They do not automatically transfer to a different fiber, yarn weight, or construction. The quantity for 15 squares is one skein of each listed color.
| Size | Color 003 skeins | Color 009 skeins |
|---|---|---|
| XS-S | 5 | 5 |
| M | 6 | 6 |
| L | 7 | 7 |
| XL | 7 | 7 |
| XLL | 8 | 8 |
Yarn weight affects square size: a thicker yarn usually creates a larger, heavier motif, while a finer yarn usually creates a smaller, lighter one. Another dress project used about 385 g of fingering- or DK-weight yarn with a 4 mm hook. Treat that as a separate example, not a yardage guarantee for this construction.
Match the hook and prepare your tools
Start with a 3 mm hook for the featured cotton setup, then let your swatch show whether your stitches match the target. You will also need stitch markers to mark corners or panel positions, a yarn needle for weaving ends, scissors, and a measuring tape.
A common mistake is buying all the yarn before checking a gauge swatch. If your square comes out larger or smaller than expected, the amount and layout may need to change. Use your swatch and body measurements to guide size selection.
How Do You Choose a Size and Check Gauge?
A size label alone cannot tell you whether the finished garment will fit. Compare your chest, hips, and desired length with the finished measurements, then use a swatch to check whether your crochet matches the pattern gauge.
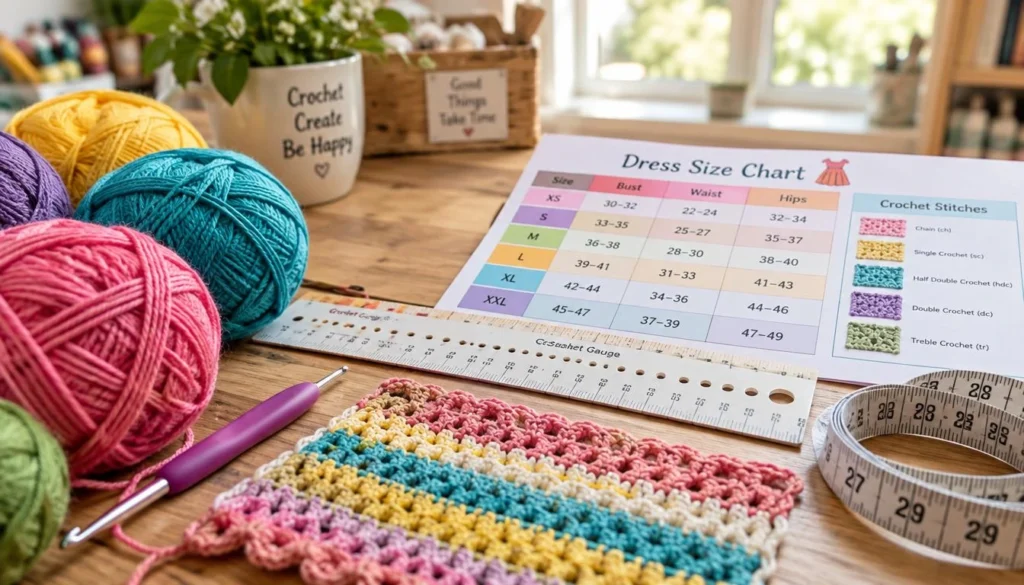
Measure around the fullest part of your chest and hips, keeping the tape level without pulling it tight. For length, measure from your shoulder to the hem position you want. Write down each number so you can compare your body measurements with the pattern.
To check gauge, crochet a swatch with the chosen yarn and hook, using the same stitch pattern as the squares. Measure a central section after the swatch lies flat. If you have more stitches or rows in the measured space, your crochet is tighter; fewer stitches or rows means it is looser. Either difference changes the finished dimensions.
The separate pattern chart below gives body fit ranges and finished chest measurements. Fit chest describes the chest range the size is intended to fit; finished chest describes the garment itself.
| Size group | Fit chest | Finished chest |
|---|---|---|
| XS/S | 28-34 in | 37.5 in |
| M/L | 36-42 in | 45 in |
| XL/2XL | 44-50 in | 52.5 in |
| 3/4/5XL | 52-62 in | 63 in |
Those figures belong to a separate granny-square dress pattern. The featured pattern gives measurements as waist/chest, hips, and length: S is 46 cm, 50 cm, and 80 cm; M is 50 cm, 58 cm, and 80 cm; L is 66 cm, 70 cm, and 90 cm; XL is 70 cm, 78 cm, and 95 cm; XXL is 90 cm, 98 cm, and 95 cm.
Do not treat the two charts as interchangeable. Compare the chart that matches your pattern with your own measurements, and consider how much ease you want. Once you know the size and gauge to work toward, plan the dimensions of the squares in your layout.
How Many Squares Do You Need, and What Size Should They Be?
Lay paper squares around a sketch of your chest and hips to see how much fabric each piece will cover. The number of squares depends on the front-and-back layout, so count the full and shorter pieces after deciding where each one belongs.

The featured pattern uses a 10 × 10 cm/4 × 4 in main square and four shorter side-piece sizes. Their dimensions let you adjust the panel outline without treating every piece as a full square.
| Piece | Metric dimensions | Imperial dimensions |
|---|---|---|
| Main square | 10 × 10 cm | 4 × 4 in |
| Additional square #1 | 10 × 7 cm | 4 × 2 3/4 in |
| Additional square #2 | 10 × 6 cm | 4 × 2 1/2 in |
| Additional square #3 | 10 × 5 cm | 4 × 2 in |
| Additional square #4 | 10 × 4 cm | 4 × 1 3/4 in |
Another square-based dress design used squares measuring approximately 5 × 5 in. That is a separate example, not a required size for this pattern. A different square dimension changes how many pieces cover the same area.
Sketch the front and back on paper, then place paper versions of the squares over each outline. Mark the chest, waist, hip, and hem areas. Compare the total width and length of the paper layout with your measurements, adjusting piece placement to cover the intended body area.
A common mistake is counting squares before deciding where the shorter side pieces go. Their position affects the panel width and outline, so an early count can leave a gap or add unwanted fabric. Once both layouts make sense on paper, move from planning to crocheting the main square.
How Do You Make a Granny Square Crochet Dress Pattern?
Begin with a magic ring and make four corner spaces, keeping the same corner structure as the square grows. Use US stitch terms: ch means chain, sl st means slip stitch, sc means single crochet, and dc means double crochet.

The magic ring gives you a center that can be tightened after the first round. Work the stitches into the ring, then pull the yarn tail to close the center. Keep the corner spaces distinct, since later rounds use them to shape the square.
Crochet the first three rounds
For round 1, ch 3 to count as the first dc, then work 2 dc into the ring and ch 2 for a corner. Repeat the cluster and chain-space sequence around until you have four corner spaces. Join the round with a sl st, then tighten the ring.
In round 2, work the pattern’s sc and dc clusters into the corner spaces, using chain spaces between the corner groups as directed. Each corner needs to remain a corner, rather than becoming a flat side. Follow the planned color order when changing shades.
For round 3, turn the work as directed and continue the alternating spaces and clusters. The corner spaces receive the increases that keep the motif square. Check that each new side grows evenly and that the corner spaces line up with those below.
Finish the main square in rounds four through six
Rounds 4 and 5 repeat the expanding corner-and-side pattern. Work along the sides between corners, then add the corner clusters in their spaces. Keep the same placement around all four sides so the square does not gain extra width on one edge.
Round 6 is a sc round. Skip the ch-1 spaces along the sides, and work 2 sc, ch 2, 2 sc into each corner space. This creates a firm outer edge while preserving the four corners.
You can carry the yarn between color changes when the distance is short and the carried strand will not show through the fabric. Otherwise, cut the yarn and rejoin the next shade. Check that the square lies flat; cupping or rippling can signal uneven tension or an incorrect stitch placement.
Keep the corner spaces consistent as you finish the main square. The next pieces are smaller shapes, not complete motifs, and their different widths help shape the sides.
How Do You Crochet the Four Side Pieces?
The four side pieces begin at different sizes, so their row sequences are not identical. Each shape builds from a different starting point and finishes at a different width.
Piece #1 starts with the main pattern’s first two rounds, then continues through rows 3-5. Piece #2 uses the first main round as its start, then works rows 2-5. These pieces retain different amounts of the original square structure.
Piece #3 begins with a three-cluster start, followed by rows 2-5. Piece #4 has a shaped start: ch 5 forms the first dc and ch-2 space, followed by rows 2-5. Use the row directions for each shape rather than adding a full set of corners.
For every piece, preserve the specified color changes, corner spaces, clusters, chain spaces, and fasten-off instructions in its row directions. Those details determine where the edges sit and how the piece fits beside a full square. Keep track of each piece as you finish it.
A common mistake is treating a partial square as a full square and adding an extra corner. That changes the shape and can leave a bump when the pieces meet. The four pieces are not interchangeable because their final widths differ, even when their colors match.
Check the finished dimensions of each side piece against the intended layout before making the rest. With the individual pieces complete, you can arrange them into the front and back panels and prepare the joins.
How Should You Arrange and Join the Squares?
A square can fit neatly on the table while the completed panel still needs checking against your body. Arrange the pieces flat first, then test the full front and back before joining the squares.
Lay out the front and back panels
Place the pieces on a flat surface in the planned order, with the front and back layouts side by side. Match edges that will meet and check that the corners and shorter side pieces face the right direction. Mark each piece with a removable marker or a small note.
Use this sequence before joining:
- Lay out the full front and back panels.
- Measure each layout against your intended width and length.
- Mark the position and orientation of every piece.
- Join each panel while keeping the marked order.
- Recheck the fit and alignment before connecting the panels.
Hold or pin the layouts against your body to check where the chest, sides, and hem will sit. Look for gaps, uneven edges, and differences between the front and back. A panel should be checked as a whole, not only one square at a time.
Join squares as you crochet the final round
The join-as-you-go method attaches a new square to a completed square during the new square’s final round. Instead of finishing every motif and sewing them together later, work the sixth round while connecting the adjoining edges with sc and sl st.
At a three-corner junction, connect the new piece where three squares meet, then continue along each adjoining edge. Repeat the joins at the matching spaces so the connection stays even. Keep the edge tension steady; tight joins can pull the panel out of shape.
Secure yarn ends as you go, then weave them into nearby stitches with a yarn needle. Avoid leaving long tails between pieces, where they can show or catch. The final, sixth round is worked during joining for attached squares, rather than making every square fully and sewing them all later.
When both panels are joined, place them flat again and compare their edges. Correct a shifted square before connecting the garment. Once the panels align, use your body measurements to shape the fabric where needed.
How Can You Shape the Dress to Your Measurements?
Shape the dress by matching the panel layout and join tension to your own measurements. Measure your bust, waist, fullest hip area, shoulder-to-waist distance, and waist-to-hip distance before deciding where the panels need more or less width.
Use the measurements to see where the front and back need room. Place the squares in the intended layout and compare the panel outline with your body at the bust, waist, and hips. A standard square arrangement may hang straight, but your measurements show where that shape needs adjustment.
Join choice can also change the panel’s width and shape. One construction approach uses different stitches for horizontal and vertical joins, as shown here. The stitch choice identifies the construction role rather than replacing measurement checks.
| Area | Joining stitch | Construction role |
|---|---|---|
| Horizontal joins | dc | Horizontal-join case |
| Bottom vertical rows one and two | dc | Vertical-join case |
| Next bottom vertical row | hdc | Vertical-join case |
| First top vertical row | sc | Vertical-join case |
| Next top vertical row | sl st | Vertical-join case |
The top and bottom sections can be joined with dc. At the waist sides, dc2tog decreases can reduce width and shape the outline. Check the panel against your shoulder-to-waist and waist-to-hip distances as you work, rather than assuming each square represents the same body area.
A common mistake is expecting a standard square arrangement to fit body curves without measuring. If you need shaping, plan it where the measurements indicate, and compare both panels so the front and back remain balanced. Once the panels have the intended shape, choose how to connect their open edges.
How Do You Connect the Front, Back, and Side Seams?
You can connect the front and back as you crochet across the open edges, or edge those parts separately before joining them. Keep the front and back aligned at the shoulders and sides so the finished dress does not twist.
The open side edges are the unjoined edges between the front and back panels. Match the corresponding squares and row ends, then pin or mark the edges before crocheting. This gives you a stable guide while you work the seam.
Use the construction case that matches the listed size:
- For M and XL, work sc across the open parts of the front, then join front and back while working sc across the back’s open parts. Another option is to work sc on both sides first, then join with sl sts.
- For S, L, and XXL, join the front and back while working a row of sc across the open side parts.
- Before joining the dress, test the planned seam on a small sample to check its width and tension.
M and XL have two stated joining options, while S, L, and XXL use the side-seam approach. No XS seam method is specified here, so do not assume that the S method automatically applies to XS.
As you work, compare the front and back at each matching point. A seam that pulls may be too tight or may connect uneven row ends. Once the structural edges are secure, finish the neckline, armholes, hem, and front closure.
How Do You Finish the Neckline, Armholes, Hem, and Buttons?
Try on the nearly finished dress before adding the closure, then check whether the openings sit comfortably and the front edges meet as intended. A small adjustment now is easier than moving buttons after they are attached.
Edge the openings and hem
Work one row of sc evenly around each armhole, the neckline, and the bottom edge. Distribute stitches along straight and curved sections so the edging lies flat. If you crowd stitches into a short area, the edge may ripple; too few can make it draw inward.
Pause to check the edge as you work. Look for puckering, tight spots, and uneven gaps, especially where the neckline changes direction. A steady sc border gives the openings a finished edge without adding a large amount of fabric.
Add the front button opening
Work one row of dc along the front button opening, followed by one row of sc. Check the finished band against the front edges before sewing on the buttons. The dc row adds a little height, while the sc row finishes the edge.
The featured pattern uses 7 buttons for XS, S, and M, and 8 buttons for L, XL, and XXL. Space them evenly along the opening and line them up with the opposite edge. A common mistake is attaching buttons before checking their spacing against the button opening.
As an optional alternative, crochet a button with a magic ring, ch 2, 11 hdc, and a sl st join. Make one first and check that it passes through the opening without stretching the fabric. Sew the buttons on firmly and weave the sewing ends into the band.
Try the dress on once more with the closure fastened. Check the neckline, armholes, hem, and button spacing before calling the construction finished. A final fit and construction check will also help you catch issues before considering personal adjustments.
How Can You Fix Fit and Construction Problems?
Most construction issues are easier to fix before all the panels are joined. Check the individual pieces and partial seams first, since unpicking one join takes less time than undoing a completed garment.
Use this checklist to find a likely cause and a practical correction:
- A square curls: check whether the corners and side stitches match the pattern, then compare your tension with the swatch.
- A square is too large or small: compare its dimensions with the target and recheck gauge before making more.
- A panel pulls at a join: ease the join evenly and look for a tight stitch or missed space.
- A side hangs unevenly: recheck the panel alignment and compare the front and back edges.
- Loose ends or color-change gaps show: secure the ends and close gaps with a yarn needle where needed.
Blocking can help even out minor differences between squares, especially when their edges are close but not identical. Test the yarn’s response on one piece first. Blocking cannot replace correcting a substantially mismatched gauge, since it will not reliably change a large size difference.
A common mistake is trying to fix a major size difference only by stretching the finished fabric. That can distort stitches and leave the panel uneven. If the squares differ widely from the target, correct the gauge or remake the affected pieces instead.
Look over the whole dress before trimming any remaining yarn tails. Check the seams, openings, and ends under gentle movement, not just while the garment lies flat. Once repairs are complete, you can consider design changes for this version or a future one.
What Can You Customize Before or After Assembly?
You can change the color sequence while keeping the front and back panel arrangement consistent. That keeps the garment structure familiar while giving the squares a different visual rhythm.
Other changes can affect the look or how you wear the dress. Choose options that fit the fabric and construction you already have:
- Change the color sequence to create a new pattern across the rounds.
- Choose another granny-square motif for a different texture or center design.
- Adjust hem length with additional crochet rows where the construction allows.
- Wear a lightweight slip beneath openwork fabric when you want more coverage.
A dress slip is optional. An openwork pattern may show more than you prefer, so choose an underlayer based on the stitch openness and your comfort. The slip can also affect how the dress moves, so check its length and fit with the garment.
A different motif can change the finished dimensions of each square. Test one motif before making the full set, then compare its edges and size with the planned panel. Changing square size or yarn weight may mean revisiting both the layout and gauge.
Extra rows at the hem can add length where the fabric allows, but they may also change the border’s weight. Consider how the added fabric hangs before continuing around the full bottom edge. Once your design choices are settled, care will help protect the finished yarn fabric.
How Should You Care for and Store the Finished Dress?
Follow the yarn label for washing and drying, because cotton, acrylic, wool, and blends can have different care requirements. A general rule for one fiber may damage another or change the dress’s shape.
If you are unsure how a washing method will affect the fabric, test it on a swatch first. Use the same yarn and stitch pattern, and let the sample dry fully before checking its feel and dimensions. That gives you a low-risk way to see how the fiber responds.
Support the whole garment when it is wet instead of lifting it by one shoulder or pulling at the neckline. Wet crochet can stretch under its own weight. Press out excess water gently, following the yarn label’s care directions.
Store the dress folded to reduce strain on the shoulder and neckline joins. Hanging a heavy or damp crochet garment for long periods can stretch its shape, especially around the shoulders. A folded garment also keeps the weight spread across the fabric rather than concentrated at the hanger.
Check the label before choosing heat, detergent, or a drying method. Different fibers and blends respond differently, and the finished fabric may not behave like a loose yarn strand. Before committing more time to the project, make a swatch and test the fit.
Conclusion
Start with a swatch rather than making a full set of squares immediately. Accurate gauge and body measurements guide the fit, while a careful layout makes assembly more manageable.
Choose the yarn and hook you plan to use, crochet a swatch, and measure it against the intended gauge. That first check can show whether the squares will cover the right area and help you avoid remaking a large batch.
Compare the swatch and your first square with the intended measurements before continuing.
FAQ
How many granny squares do I need for a dress?
There is no fixed count for every size; count the full and partial pieces in your own front-and-back layout. The number changes with square dimensions, body measurements, and the panel outline you choose. Sketch both panels first, including shorter side pieces, then count the pieces needed to cover each area. Check the layout against your body before making the complete set.
Can I use worsted-weight yarn for a granny-square dress?
Yes, but worsted-weight yarn will change the square dimensions and the drape. Crochet a swatch with the hook you plan to use, then measure it before deciding how many squares to make. A heavier fabric may feel warmer and less fluid than a lighter yarn. Redraw the layout to account for the larger motifs rather than keeping the original count automatically.
Do I need to block every square before joining?
No, blocking is optional, but squares with consistent dimensions are easier to join neatly. Test the yarn’s response on one piece before blocking a full set, since fiber types can react differently to water and drying. If the squares already match, you may not need to block them. Blocking can even out small differences, but it cannot correct a major gauge mismatch.
How much ease should a crochet dress have?
Compare the intended finished circumference with your own measurements, then choose ease based on whether you want a close or relaxed fit. Ease is the difference between your body measurement and the garment measurement. Openwork fabric can move and drape differently from dense fabric, so consider how the stitches feel when worn. Try the panel layout against your body before joining it.
Can I make this dress in a child’s size?
Yes, but the listed size examples are adult sizes, so take the child’s measurements and rebuild the panel layout. Measure the chest, hips, and desired length, then check the square dimensions against those measurements. Do not scale the adult arrangement blindly, because the proportions may not fit a child’s body. Make a gauge swatch before calculating the pieces.
What can I wear under an openwork crochet dress?
A lightweight slip is one option, and you can choose its coverage and fabric based on the openness of the stitches and your comfort. A slip can provide an even layer without changing the crochet fabric itself. Check that its length works with the hem and that it does not bunch beneath the dress. You can also choose a lining or other underlayer that suits your preferred coverage.