Crochet Elephant Pattern Free Make Your Own Today
Use this crochet elephant pattern free to create your own adorable amigurumi. Follow clear step-by-step instructions and make a handmade friend today now.
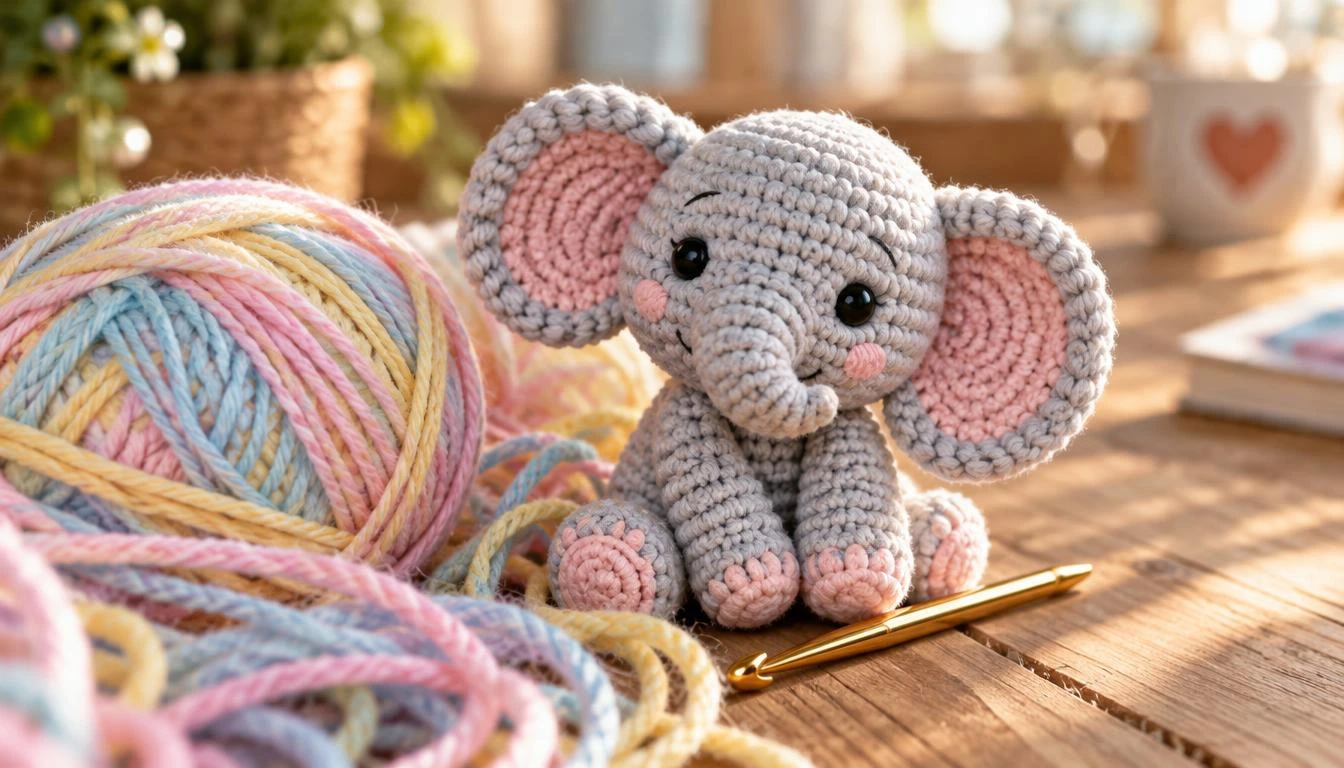
Table of Contents
A small handmade gift can be completed in an afternoon, and this guide gives you a clear route from the first loop to the finishing details. Could a few simple stitches become a keepsake you can finish today? This crochet elephant pattern free project gives you a beginner-friendly mini amigurumi, the stuffed crocheted toy, with room to adjust its size. The mini takes about two hours, though your pace and experience affect the time.
Choose yarn and a crochet hook to shape a compact toy or a larger one. The pattern offers a hands-on way to practice stitches while making a useful gift, desk companion, or small decoration. You can follow the mini version or change the yarn and hook for a different scale. Start by deciding how large you want your elephant to be, then gather the materials for that size.
Which Size and Supplies Fit Your Project?
A 7 cm toy is a compact keychain-sized choice, while the chenille version grows to 16 cm. Choose the size that suits its use, then match the yarn, hook size, and safety eyes to that version.
The mini design takes about two hours and is almost no-sew: you crochet the ears into the body, then sew on only the feet. A simple crochet elephant pattern free option works well when you want a small finished toy without many separate joins.
Is a Simple Crochet Elephant Pattern Free Right for Your Project?
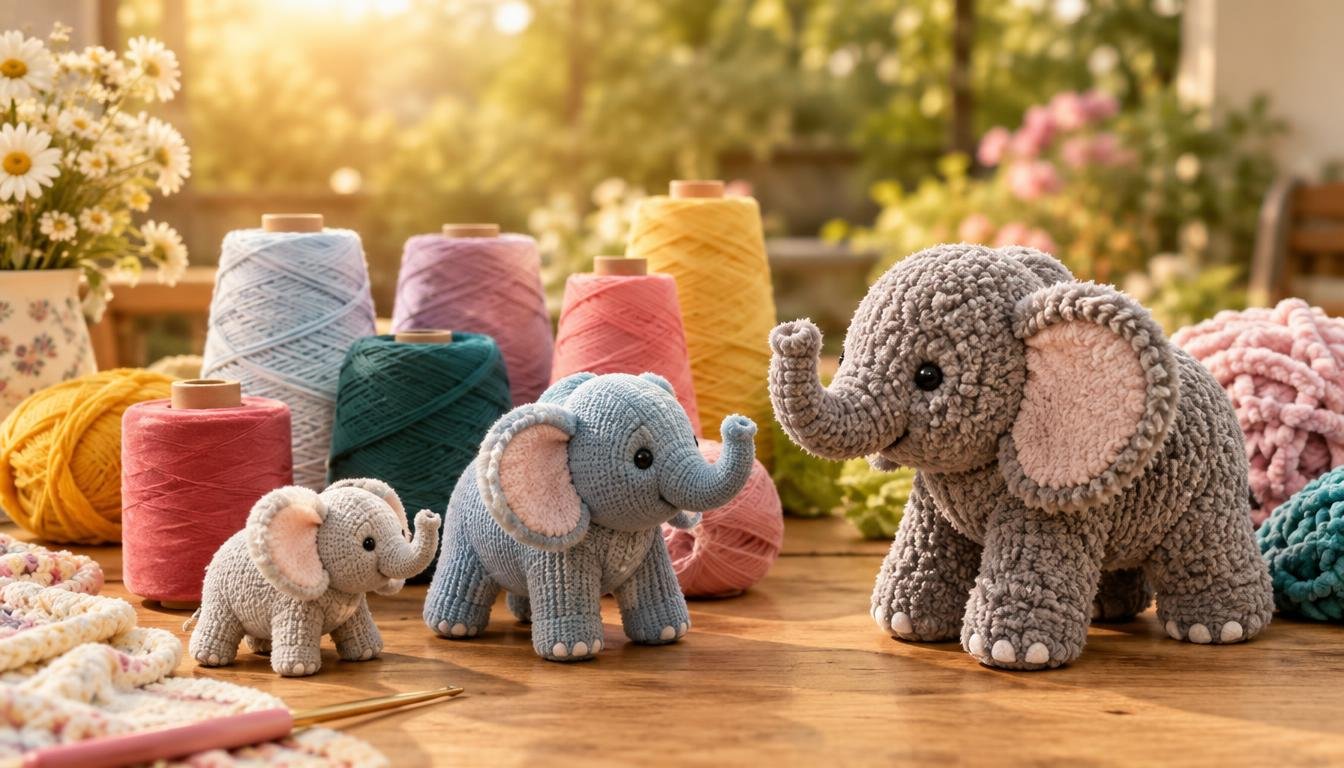
Sport-weight cotton makes a 7 cm / 3 in toy with a 2.5 mm hook and 6 mm safety eyes. Bulky velvet makes an 11 cm / 4 in toy with a 3.5 mm hook and 9 mm eyes. Super-bulky chenille makes a 16 cm / 6 in toy with a 5.0 mm hook and 12 mm eyes.
| Yarn | Hook | Safety-eye size | Finished height |
|---|---|---|---|
| Sport-weight cotton | 2.5 mm | 6 mm | 7 cm / 3 in |
| Bulky velvet | 3.5 mm | 9 mm | 11 cm / 4 in |
| Super-bulky chenille | 5.0 mm | 12 mm | 16 cm / 6 in |
What Yarn, Hook, and Eyes Should You Choose?
Changing yarn and hook changes the finished size, and gauge and proportions may differ. A tighter or looser hand can also affect your result, so compare your stitches with the pattern as you work.
Gather the core supplies before starting:
- Yarn in your chosen weight and color
- A crochet hook in the size paired with that yarn
- Safety eyes in the size matched to your version
- Synthetic poly filling for the stuffed body
- Scissors, a blunt-point tapestry needle, and pins
With your materials chosen, learn the stitch terms and round-marking method before following the pattern.
What Should You Know Before You Crochet in the Round?
The mini instructions work in a spiral, so a marker is more reliable than trying to spot the end of each round. Continuous rounds are not joined with a slip stitch at the end; each new round follows directly after the last stitch.
A magic ring is an adjustable loop that you crochet into, then pull closed to remove the hole at the start of a piece. The pattern uses chain, slip stitch, single crochet, half double crochet, double crochet, increases, and decreases.
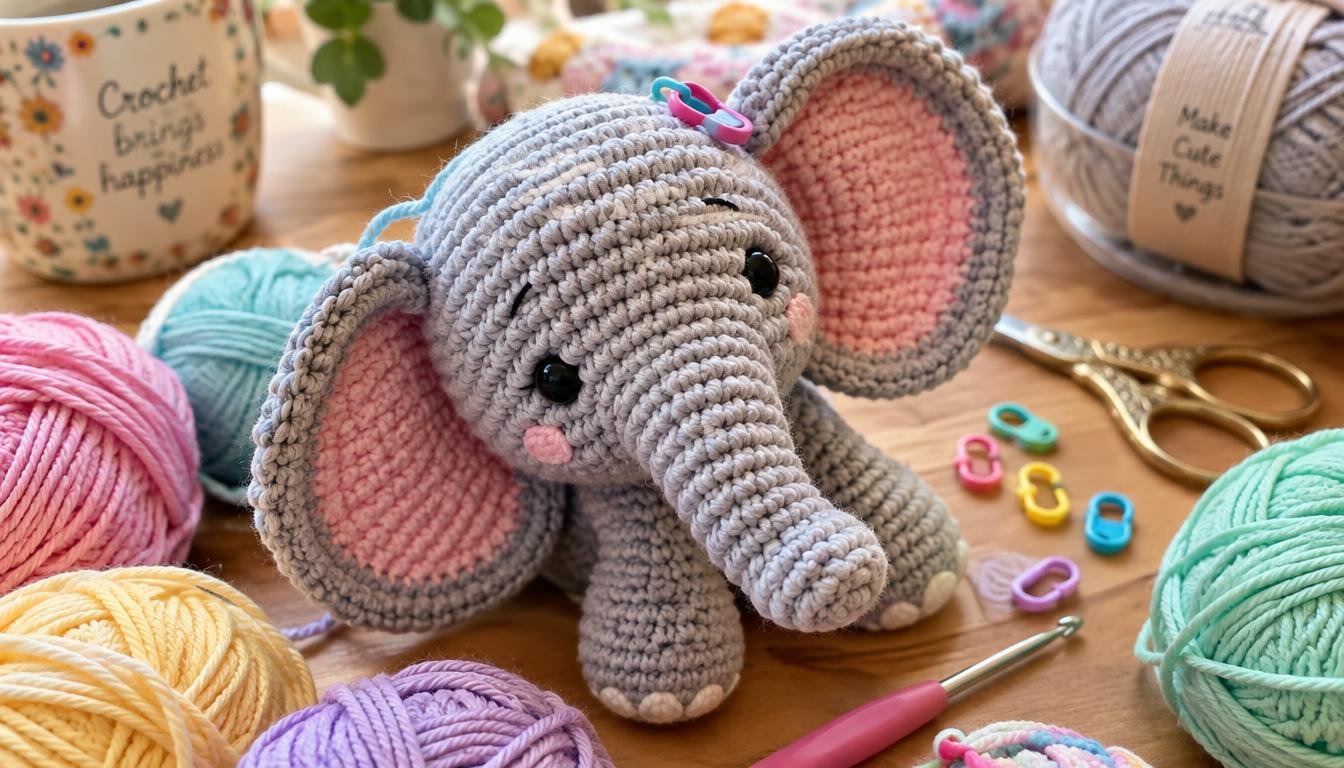
US abbreviations keep the crochet pattern compact. Read these common cues before you begin:
- Rnd means round.
- sc means single crochet.
- inc means two stitches in one stitch.
- dec means one stitch made from two stitches.
Mark the first stitch of every round, then check the bracketed stitch count when you finish it. This crochet elephant pattern free for beginners also uses hdc for half double crochet, dc for double crochet, and sl st for slip stitch. Once the notation is clear, start with the joined-looking shape of the head and body, which are crocheted as one piece.
How Do You Use This Crochet Elephant Pattern Free?
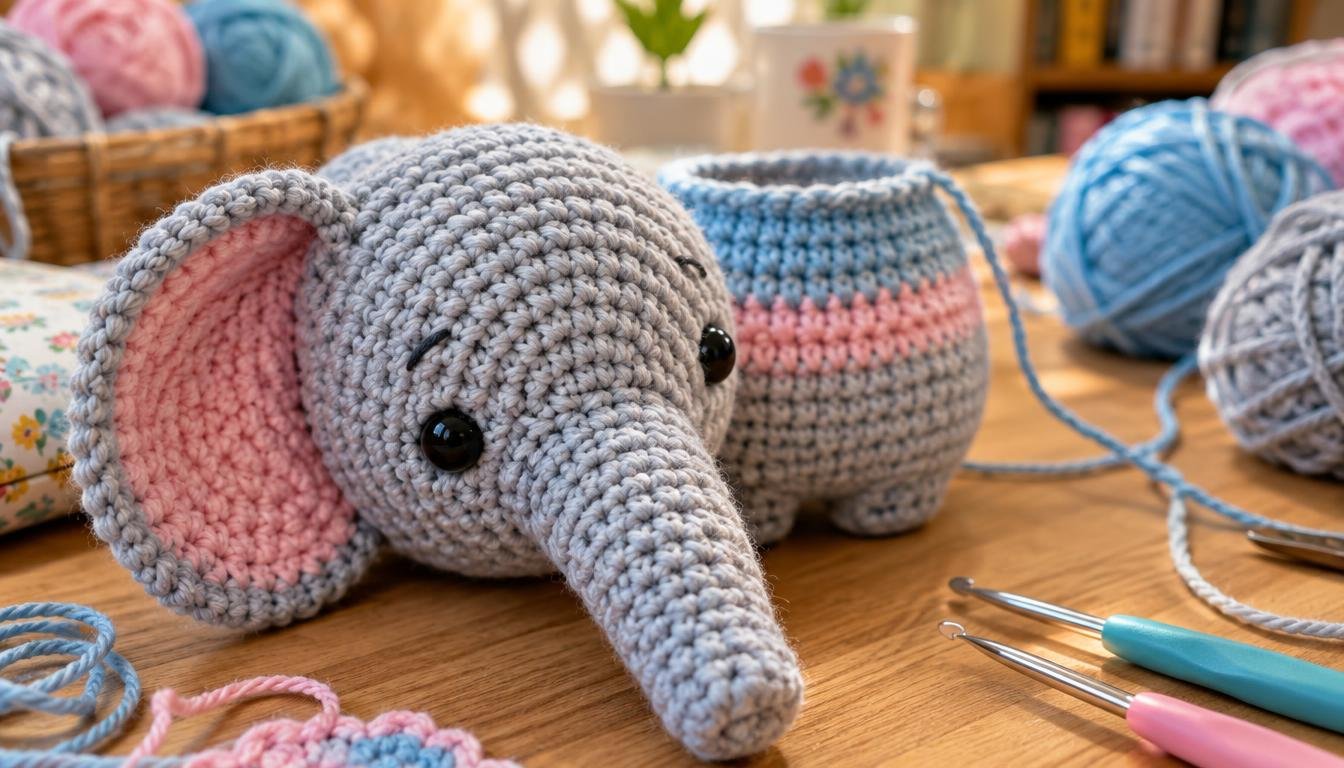
Begin the mini design by making six single crochets in a magic ring and working upward in continuous rounds. The head and body form one stuffed 3D amigurumi, not a flat shape or separate pieces.
Use a stitch marker and keep the counts visible as the piece grows. The round landmarks below describe the shaping, including the stitches marked for later eye placement.
How Do You Crochet the Head and Body Together?
Start with six stitches in the ring. The stated sequence reaches 12 stitches in round 2, includes six-stitch rounds for rounds 2-3, then increases to 9 in round 4 and 12 in round 6. Keep each instruction and round count separate as you work.
The upper shaping then increases to 18 stitches in round 7, 24 in round 8, and 27 in round 9. Round 10 works 27 stitches. The pattern marks the 7th and 14th stitches of round 7 for the eyes, so leave those markers in place for now.
How Does a Crochet Elephant Head Pattern Free Begin?
The head begins as part of the same body piece, rather than as a separate head to attach later. For this crochet elephant pattern free amigurumi, follow each round as written and check its bracketed stitch count before continuing.
Keep the piece in its spiral shape as you progress through the listed rounds. Increases widen the form, while the later shaping creates the rounded head and body. The marked stitches identify eye positions, but eye installation comes after the separate parts are ready.
By following the round counts without blending them together, you keep the shaping clear. Hand off to the ear, leg, and tail pieces that turn the crocheted form into a recognizable toy.
How Are the Ears, Legs, and Tail Attached?
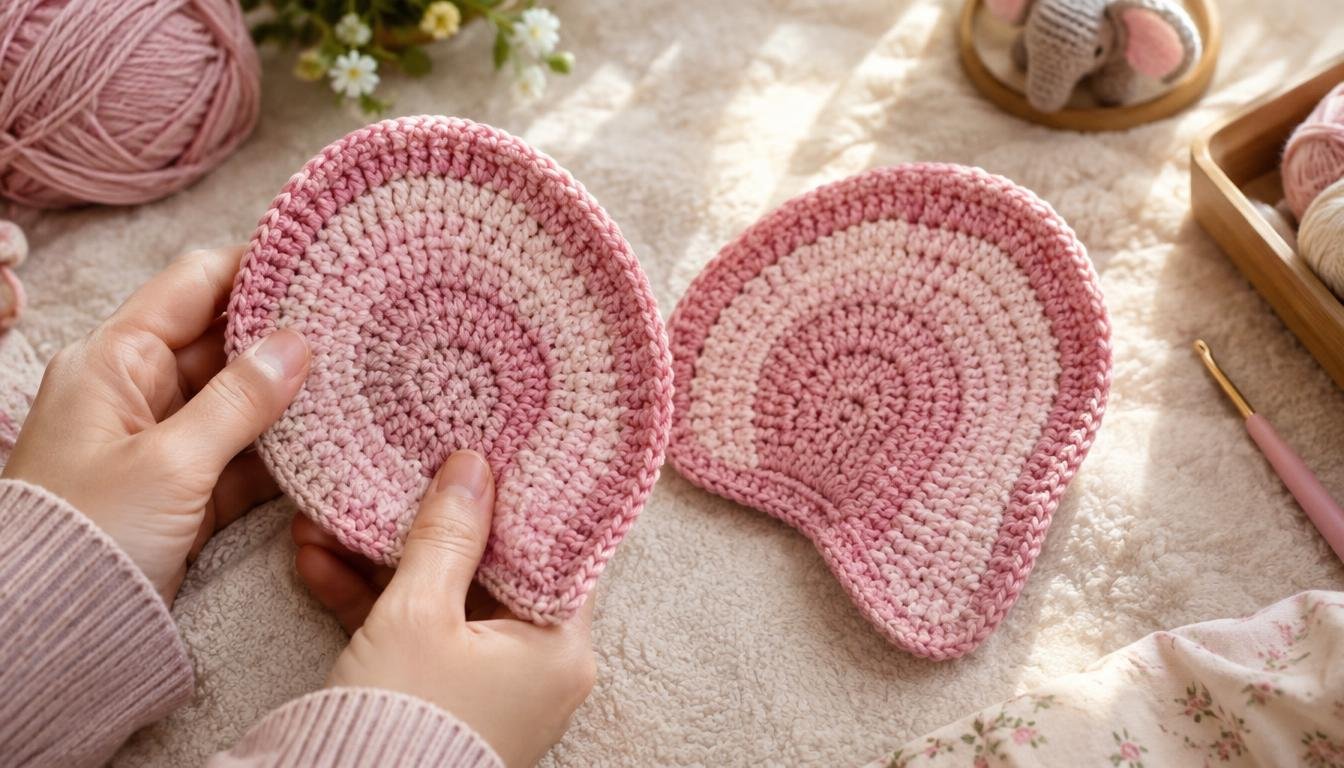
The ears are the first separate pieces to join, and they are caught directly into the body rather than sewn on later. Crochet each ear in pink, fold it flat, and attach it during body round 11.
The ear starts with six single crochets in a magic ring, increases to 12 stitches, then reaches 15 in round 3 and 18 in round 4. Work 18 stitches in round 5, then decrease to 12 in round 6.
How Do You Shape and Attach the Ears?
Fold each ear flat so its two sides line up. During round 11, begin at the bottom of one ear and crochet through the ear stitches and the body stitches together. Continue across the ear’s base, then resume working around the body.
This method secures the ears as you crochet the body round, so you do not sew them on afterward. Keep the fold even and make sure both ears face the intended direction before completing the joins.
How Do You Add the Legs and Tail?
Make four legs, each beginning with six single crochets in a magic ring and one additional round of six stitches. Sew them to the bottom of the toy. Leave four stitches between the front legs and four between the hind legs, with four rows between the front and hind legs.
The tail uses a chain and slip stitches. Choose either a five-chain tail worked through the back loop, or a four-chain tail worked through the side loop. These are alternatives, not steps to combine.
For the tail tuft, attach two folded strands of yarn, each 4 in / 11 cm long. Trim the strands to the length you want after securing them. With the small parts in place, shift to the eyes, stuffing, and closing the opening securely.
How Do You Add Eyes, Stuff, and Close the Toy?
Install the eyes while the opening is still easy to reach, using the marked stitches as your guide. Place the safety eyes between rounds 7 and 8, at the 7th and 14th stitches marked in round 7. Confirm their position before securing the backs.
Finish the toy in this order:
- Insert the safety eyes between rounds 7 and 8 at the marked stitches, then secure the backs after checking placement.
- Stuff the body after round 21, adding filling evenly so the shape stays rounded.
- Work round 22, which decreases to six stitches. Draw the final yarn strand through the front loops of those six stitches, pull the opening closed, and weave in the end.
Use the blunt-point tapestry needle to pass the yarn through the remaining front loops. Pull firmly enough to close the hole, but keep the strand secure as you weave in its end.
After the toy is closed, decide whether to add a small embellishment or choose a different style of pattern.
Can You Adapt It for Appliqué or Different Yarn?
A different yarn can change the toy’s scale, but it does not turn a stuffed shape into a flat appliqué. Changing yarn and hook size can make a larger or smaller stuffed amigurumi, though the resulting gauge and proportions may shift.
This design is not a free crochet elephant applique pattern. An appliqué is a flat motif, while these instructions shape a stuffed 3D toy with a body, head, limbs, and tail. A flat elephant needs a different pattern, and these directions do not include an appliqué conversion.
You can personalize the finished toy with small sewn-on decorations. The optional mini heart is worked in red, and the mini star is worked in yellow. Keep any decoration secure, especially if the toy is intended for a young child.
Changing color also offers a simple way to make the elephant feel more personal without changing its construction. Readers wanting a taller or more detailed design should compare the available pattern styles before choosing their next project.
Which Free Pattern Works for a Standing or Larger Toy?
If you want a standing figure rather than a palm-sized toy, the 14 in Esther design is the clearly documented option. It is an intermediate elephant amigurumi made with a 3.5 mm hook and weight-4 acrylic yarn.
What Does a Standing Elephant Pattern Offer?
Esther uses 256 yd of yarn: 222 yd light gray, 29 yd pink, 4 yd white, and 1 yd dark gray. Its gauge is 30 stitches by 5 single-crochet rounds per 2 in / 5 cm.
The ears and limbs attach during crocheting. Only the body-to-head and tail-to-body joins require sewing, and the trunk is shaped symmetrically. First published in June 2018, the pattern was overhauled in July 2024 with metric measurements, 10 progress photos, and 12 video tutorials.
What Is a Larger Alternative to the Mini Toy?
The standing elephant crochet pattern free option is Esther at 14 in / 36 cm. The phrase free large elephant crochet pattern should not suggest a size beyond this documented version.
| Design | Finished height | Hook | Yarn | Construction |
|---|---|---|---|---|
| Mini | 7 cm | 2.5 mm | Sport-weight cotton | Mostly joined while crocheting; feet sewn on |
| Esther | 14 in / 36 cm | 3.5 mm | Weight-4 acrylic | Standing; ears and limbs joined during rounds |
| Sitting design | 5 cm | 2.5 mm | Schachenmayr Catania | One-piece head and body; separate parts |
The 5 cm sitting design uses a one-piece head and body, with separate legs, arms, trunk, ears, tusks, tail, and eyebrows. Choose by finished height, construction style, and the materials you have available.
Conclusion
A well-matched yarn and hook make it easier to keep the finished toy close to the size you want. Stitch markers help you track continuous rounds and keep your stitch counts on course.
Gather your chosen yarn, crochet hook, safety eyes, and filling, then make a small gauge check before beginning. Choose your materials and begin the first magic ring.
FAQ
How long does the mini elephant take to crochet?
The mini elephant takes about two hours to crochet, though your pace and experience can change the time. If you are new to continuous rounds or amigurumi, allow extra time to check stitch counts and place markers. Familiarity with single crochet can make the shaping quicker, while careful stitching matters more than finishing fast.
Can I use chenille yarn for the mini pattern?
Yes, super-bulky chenille works for a larger mini-pattern version. Use a 5.0 mm crochet hook and 12 mm safety eyes, and expect a finished height of about 16 cm / 6 in. Chenille can make individual stitches harder to see, so use a marker and count each round carefully as you work.
What size safety eyes should I use?
Match the safety-eye size to your yarn version: use 6 mm eyes for sport-weight cotton, 9 mm for bulky velvet, or 12 mm for super-bulky chenille. The eye size helps keep the face in proportion to the finished toy. Check the marked stitch positions before pressing the backs into place.
Do I have to sew the ears and legs onto the mini toy?
No, you crochet the ears into the body during round 11, and only the four feet are sewn on. Fold each ear flat and work through its stitches and the body stitches during that round. The legs are separate pieces, so position and sew them to the bottom using the spacing in the instructions.
Is the 14-inch elephant suitable for a first crochet project?
The 14 in / 36 cm Esther design is rated intermediate, so it may be challenging as your first crochet project. The mini pattern is described as beginner-friendly and offers a smaller project to practice continuous rounds. If you are new, start with the mini and try Esther after you feel comfortable counting stitches and shaping parts.
Can I make this pattern as a flat elephant appliqué?
No, the mini directions create a stuffed 3D toy, and they do not provide flat-appliqué instructions. An appliqué uses a different construction to form a flat motif that can be sewn onto another item. Choose a pattern written specifically for an elephant appliqué rather than trying to convert these stuffed-toy rounds.