
Easy Spiral Crochet Christmas Tree Ornament Beautiful DIY Pattern
Learn how to make a Spiral Crochet Christmas Tree Ornament with easy steps and tips to create a festive handmade decoration for your tree each season.
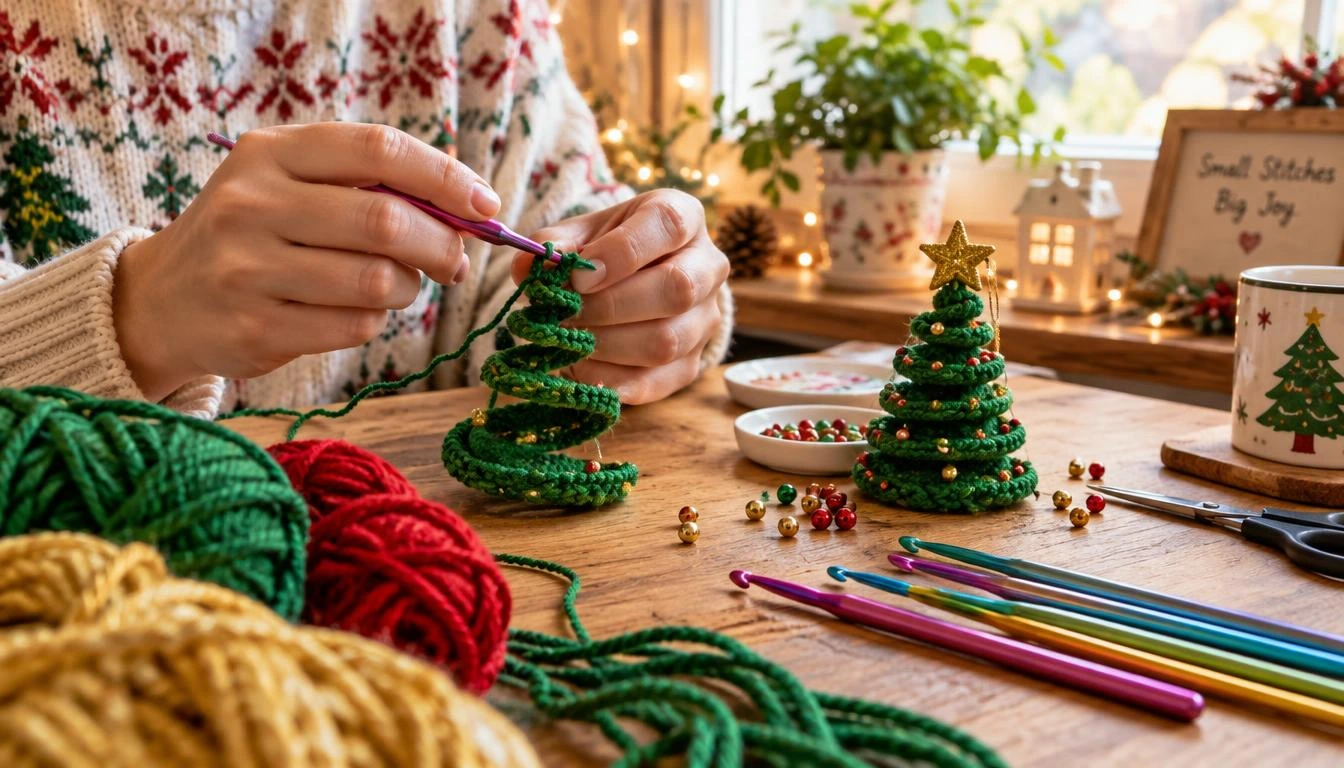
Table of Contents
Can a beginner turn one flat strip into a festive tree? Yes, if you can chain and single crochet, you can make the main spiral of a Spiral Crochet Christmas Tree Ornament. The project turns basic skills into a handmade decoration without complex shaping.
The main construction is a flat crochet strip shaped into a coil. To complete the full design, you also need a topper and base, which add recognizable tree details. The strip itself is the part you can make with the basic stitches you already know.
Stiffening means soaking crochet in diluted glue so it dries firm and holds its shape. This craft gives you a small seasonal decoration, with a practical tutorial for making the spiral rather than promises of stitch-by-stitch instructions for every finishing piece. The simple construction makes the project manageable for a first-time maker.
How Does a Spiral Crochet Christmas Tree Ornament Take Shape?
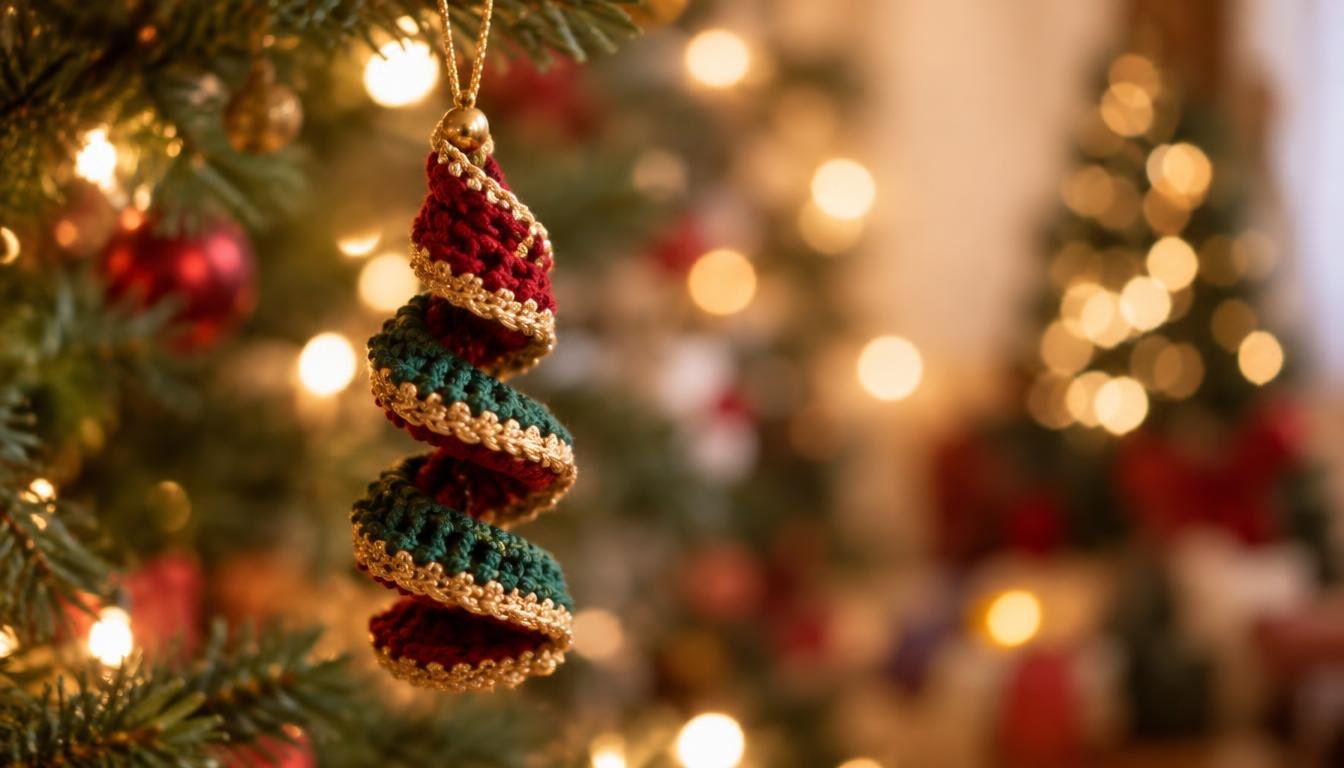
A flat crochet strip becomes a small tree-shaped coil when you stiffen it and wind it around a cone. The spiral ornament is easy beginner crochet, built from a simple pattern rather than wire or complex amigurumi shaping.

Many spiral crochet christmas tree ornament patterns rely on this same strip-based idea. For an easy spiral crochet christmas tree ornament, the mini-tree silhouette comes from shaping the fabric, not from increasing or decreasing stitches into a three-dimensional figure.
A free crochet spiral christmas tree pattern can suit you if you are new to crochet, since the main piece uses straightforward rows. The project is rated easy beginner. Crocheting takes about 1-2 hours, then the shaped strip needs overnight drying.
The finished height is approximately 10-15 cm (4-6 inches). Your exact size depends on the strip and how you wind it around the cone mold. The simple shape lets you focus on even spacing before you choose yarn and tools that can hold a tidy form.
What Materials Do You Need for a Firm Spiral?
Smooth cotton yarn helps you make a crisp coil because it holds the stiffening mixture and gives the crochet strip a defined edge. Fuzzy yarn can hide the stitches and soften the outline.

Choose smooth cotton yarn and a small hook
Use 3-ply or fingering-weight cotton in green for the strip, plus a little golden-yellow yarn for the topper. Only a few metres of yarn are needed. A 3.0 mm hook is the suggested starting point for a close, neat fabric.
If your stitches look loose and holey, try a 2.75 mm hook. If the fabric feels too stiff to work comfortably, move up to a 3.25 mm hook. The stitch texture matters because an even strip is easier to shape cleanly.
Gather the stiffening and finishing tools
The pattern uses US terms. US single crochet, abbreviated sc, corresponds to UK double crochet. These abbreviations make the instructions shorter:
- Green and golden-yellow cotton yarn, a few metres of each color.
- A 3.0 mm crochet hook, with nearby sizes for a fit adjustment.
- White PVA or craft glue, a small bowl, and water for the stiffening mixture.
- A stiff plastic sheet for the cone mold, plus clips or clothespins.
- A tapestry needle and scissors for finishing the crochet.
In the terms and abbreviations, ch means chain, sc means single crochet, sts means stitches, MR means magic ring, and rep means repeat. These are common pattern shorthand, but the pattern keeps the US meanings. Once your materials are ready, crochet the flat strip before you need any stiffening mixture.
How Do You Crochet and Shape the Spiral?
The spiral shape comes from shaping the crocheted strip after the crochet is complete. Work two rows of single crochet, then stiffen the fabric and wind it around a cone mold.
Crochet the green strip
Use the green yarn and your chosen hook. The chain count needs a correction to make the stated 60-stitch rows consistent. Chaining 60 and working into the second chain leaves 59 stitches, because the first chain is skipped.
Instead, chain 61. Work Row 1 by making 1 sc in the second chain from the hook and in each chain across. You should have 60 sc. This small change avoids carrying a one-stitch mismatch into the next row.
For Row 2, ch 1 and turn. Work 1 sc in each stitch across, keeping 60 stitches. Fasten off, then weave in the ends with a tapestry needle. This step-by-step construction is the core of a christmas tree ornament free crochet pattern or a crochet christmas tree ornament pattern.
Stiffen it and wind it around the cone
Follow the shaping process in order. Keep the strip evenly damp while you work, and let it dry fully before removing the support.
- Mix 1 spoonful of white glue with 3 spoonfuls of water in a small bowl.
- Soak the strip in the stiffening mixture, then squeeze out excess liquid.
- Roll a stiff plastic sheet into a cone and tape the edge to hold its shape.
- Wind the strip from the wide base toward the point, leaving even gaps between coils.
- Clip the strip in place and leave it to dry for 8-12 hours or overnight.
Do not slide the crochet off while it still feels damp. Full drying helps the coil keep its shape after removal. When the formed spiral is firm, you can add the decorative top and base to finish the ornament.
How Can You Finish the Ornament?
Finish the ornament with a topper and small ball at the base, then add an optional hanging loop or optional beads and gold flat-back gems. The topper and base complete the tree look; the loop and embellishments are optional.

You can choose a 5-point star or a 5-petal flower as the topper. Each option is worked from a magic ring. The ball is a small stuffed crochet piece that sits at the base of the coil.
The exact stitch counts and round-by-round instructions for the topper and ball are not included here, so do not treat the following list as a full pattern for those pieces. Use their shape descriptions as finishing choices, and follow a separate pattern if you need detailed rounds.
- Add a 5-point star or 5-petal flower topper.
- Attach a small stuffed crochet ball at the base.
- Add a hanging loop if you want to suspend the ornament.
- Use beads or gold flat-back gems as optional decorative details.
Beads do not have a specified placement or count, so arrange them according to the look you want. The loop provides a way to hang the finished decoration, while the other details are personal choices. If the coil looks uneven or loses its form, check the common shaping fixes before you finish assembling it.
Why Won’t the Spiral Hold Its Shape?
Most shaping problems can be corrected before the strip is fully dry. Check the coil and stitches first, then adjust the damp strip or stiffening mixture as needed.
A too-watery mixture or removing the strip before it is fully dry can leave the coil weak. Use the table to match what you see with a likely cause and a direct fix.
| What you see | Likely cause | What to try |
|---|---|---|
| Spiral relaxes after removal | Too-watery mixture or incomplete drying | Re-soak and allow a full overnight dry |
| Strip curls or twists during Row 1 | Chain is uneven or stitch placement is off | Straighten the chain and check stitch placement |
| Coils bunch unevenly on the cone | Gaps changed while winding | Rewind while damp and space coils evenly |
For the stitch count, chaining 60 and working into the second chain gives 59 sc, one less than 60. Some instructions describe that difference as “less one.” Chaining 61 before Row 1 avoids the mismatch in this pattern.
If you catch a tight or crowded area while the strip is still damp, reposition it before it dries. Once the basic form holds, you can choose a new look or compare it with a different spiral-style ornament.
How Can You Customize the Look or Try a Spinner Style?
Changing green yarn to red gives the same coil a cheery seasonal look without changing how you shape it. A different topper can also shift the mood of your crochet mini Christmas tree.
Adapt the coil as a crochet mini Christmas tree
The color changes the ornament’s style, while the coil method stays the same. Choose a topper that suits your display, such as the star or flower described earlier. These color uses are styling suggestions, not tested outcomes.
| Color | Described look | Possible use |
|---|---|---|
| Green | Classic | Match a traditional tree |
| Red | Cheery | Coordinate with a festive color scheme |
| White | Frosty | Suit a winter-themed display |
| Soft sage | Gentle | Coordinate with muted decor |
You can also use beads or gems if you want extra decoration, but their placement is your choice. The same spiral ornament pattern can look traditional or more subdued through color alone.
Know how a wind spinner differs
A Christmas tree wind spinner crochet pattern uses a different construction from the stiffened strip design. It is not another version of the same pattern, so keep its instructions separate from the coil steps.
The separate spinner style is worked in four rows and takes less than an hour. It uses a 4.0 mm hook and light #3 yarn, with a finished size of 2 x 4 inches excluding its tassel. One example yarn is rayon-from-bamboo Truboo.
You can make that spinner in two colors and add optional beads and a tassel. Search terms such as crochet Christmas wind spinners free pattern may refer to this separate style. If a listing uses hdc, that means half double crochet in US terms; it is not part of the strip instructions here.
Whichever style you choose, store it in a way that protects it from moisture and crushing.
How Should You Store the Ornament Between Seasons?
Keep the finished ornament dry because its glue-stiffened crochet is decorative, not washable. Moisture can affect the firm shape, so do not wash or wet-clean this item.
To remove dust, use a soft, dry brush and work gently around the coils. Avoid pressing the spiral flat as you clean it. A careful dusting is enough for routine upkeep between seasons.
Store the spiral ornament flat or hang it where it will not be crushed. If you store it flat, add tissue around the topper to protect the delicate shape. Keep the storage place dry throughout the year.
Once the ornament is clean and protected, set it aside for the next holiday season or make another color to display beside it.
Conclusion
A simple crochet strip becomes a seasonal keepsake through careful shaping and complete drying. The topper and yarn color let you make the ornament feel personal without changing the basic coil.
For your next step, gather the cotton yarn and hook, then make the corrected strip with 61 chains and 60 single crochets across. Choose a color that suits your tree, and start the strip.
FAQ
How many yards of yarn should you set aside for one ornament?
Set aside a little extra yarn, since the strip uses only a few metres but no exact yardage is specified. The amount you use can vary with your tension and the strip length. Keep enough green yarn for the strip and a small amount of golden-yellow yarn if you plan to make that topper. Avoid relying on a precise estimate.
Can you use acrylic yarn instead of cotton?
You can test acrylic, but cotton is the recommended choice for a crisp result. The strip needs to hold the stiffening mixture and form a defined coil. Acrylic performance is not specified, so make a small sample strip and test how it behaves after stiffening and drying before committing to the full piece.
Can you make the spiral larger?
Yes, a longer starting chain makes a longer strip, which can create a larger coil. No tested size formula is specified, so a longer strip may not produce a predictable finished height or width. Make a small trial coil first, then decide whether its proportions suit your display before increasing the strip length.
Do you have to add beads to the topper?
No, beads are optional decorative details, and the ornament works without them. You can also use optional gold flat-back gems, or leave the topper plain. No bead count or placement is specified, so add them only if they suit your design. Keep embellishments out of the way of the hanging loop if you include one.
How do you convert the single crochet instructions to UK terms?
Replace US single crochet, or sc, with UK double crochet, or dc. The stitch itself is the same, but the term differs between the two systems. The pattern abbreviations are otherwise written in US terms, including ch for chain, sts for stitches, MR for magic ring, and rep for repeat.
Can you hang several of the spirals as a garland?
Yes, thread several completed spirals onto twine to make a garland. Space them along the twine to suit the length you want, and secure them so they do not slide together. You can omit the ball base for this version. Keep the garland dry, since the glue-stiffened crochet is not washable.