Easy Crochet Fairy Doll Pattern for a Magical Gift
I’ll show you how to crochet a charming Crochet Fairy Doll with simple steps, helpful tips, and a magical finish perfect for gifting or play at home today.
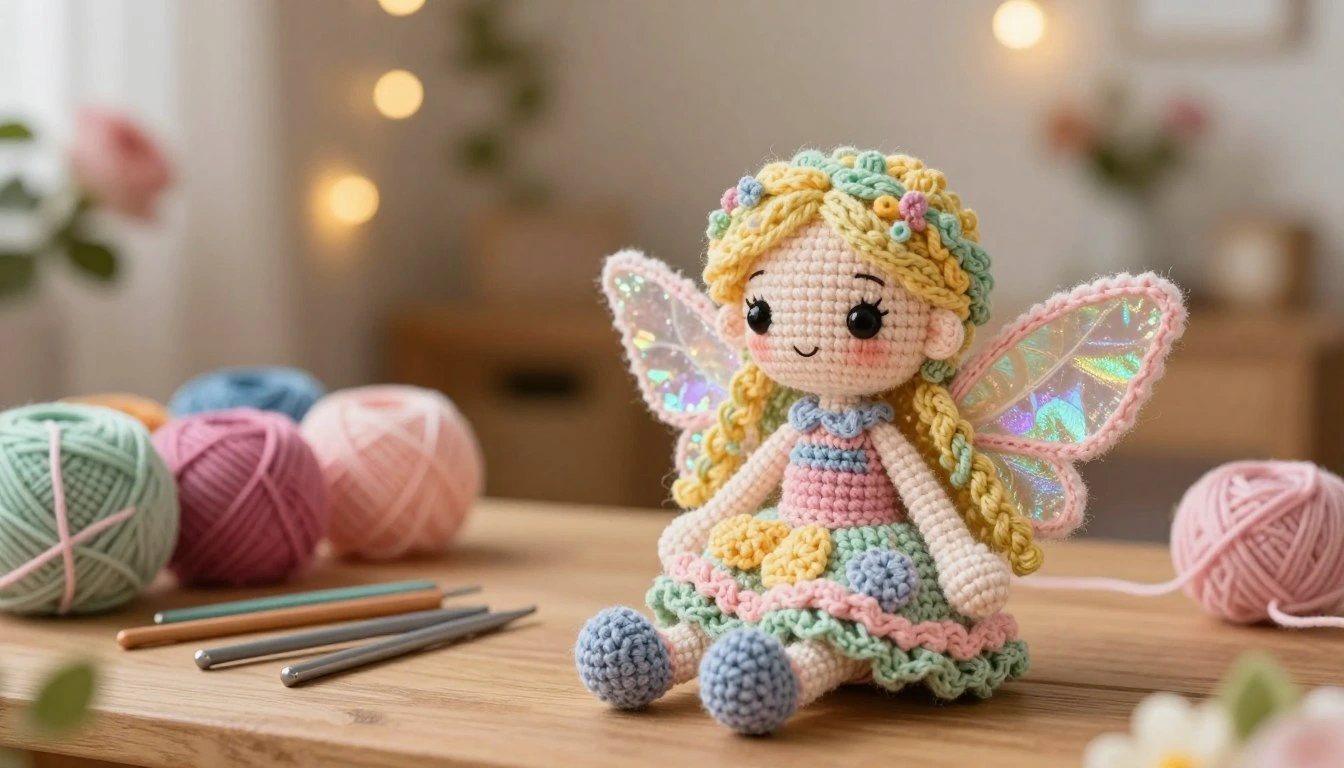
Table of Contents
Have you ever wondered if a simple ball of yarn could hold the secret to pure enchantment? Creating a handmade gift offers a special connection that store-bought items simply cannot match. I find that crafting a unique character brings joy to both the maker and the recipient.
This project serves as a wonderful introduction to making a charming Crochet Fairy Doll. Whether you want to spark imaginative play or add a whimsical piece to your collection, this guide provides every step you need.
I will walk you through the entire construction process. We will cover everything from shaping the head and body to attaching delicate limbs. You will also learn how to craft intricate clothing, soft hair, and shimmering wings to complete your project.
By following these practical instructions, you can easily finish your own crochet fairy doll. Let us begin this creative journey and bring a little bit of magic into your home today.
Gather Materials and Plan the Crochet Fairy Doll
Creating beautiful handmade crochet dolls requires careful preparation and the right selection of materials. When I start a new project, I find that having everything ready helps me stay focused and organized. Proper planning ensures that your final creation looks professional and lasts for years to come.
Choose Yarn, Hook Size, and Essential Supplies
Selecting the right foundation is vital for any project. I recommend choosing materials that are both durable and soft to the touch.
Select Soft, Washable Yarn for the Body and Clothing
For most handmade crochet dolls, I prefer using a high-quality cotton or acrylic blend. These fibers hold their shape well and are easy to clean, which is perfect for a gift. You should look for yarn that feels gentle against the skin while remaining sturdy enough to hold tight stitches.
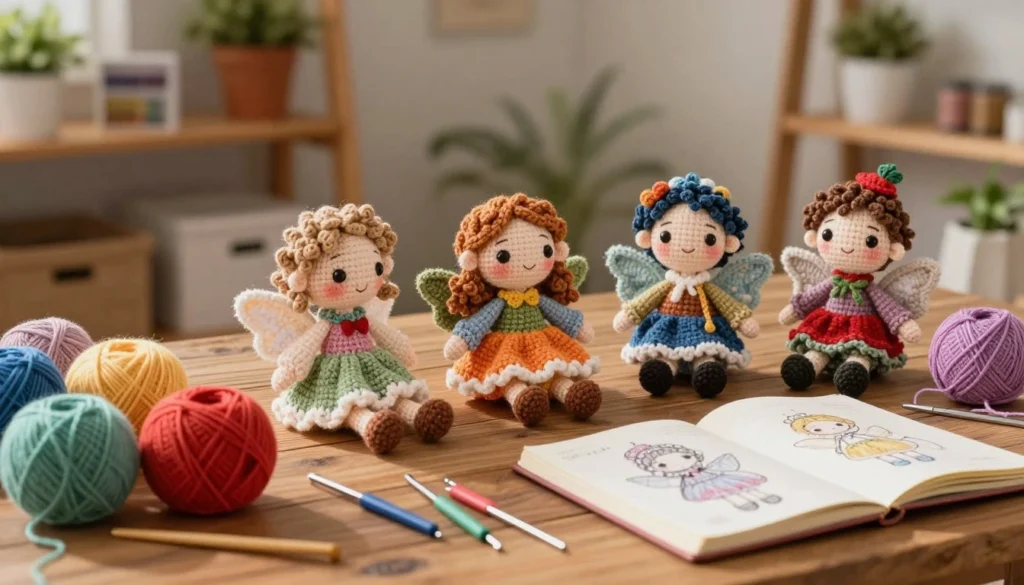
Prepare Safety Eyes, Stuffing, Embroidery Thread, and a Tapestry Needle
Having the correct tools on hand makes the assembly process much smoother. I always keep a small kit ready with these essentials:
- Safety eyes with secure washers for a professional look.
- Polyester fiberfill for soft, huggable stuffing.
- Embroidery thread in contrasting colors for facial features.
- A blunt-tipped tapestry needle for weaving in ends.
- Stitch markers to keep track of your rounds.
Understand the Finished Doll’s Size and Construction
Before you pick up your hook, it is helpful to visualize the final proportions of your doll. Understanding how the pieces fit together will save you time during the assembly phase.
Plan the Body, Head, Arms, Legs, Hair, Dress, and Wings
I suggest sketching out your design or listing each component before you begin. By planning the head, body, and accessories separately, you can ensure that every part is proportional. This methodical approach is a hallmark of high-quality handmade crochet dolls.
Check Gauge and Adjust Hook Size for Even Stitches
Your gauge determines the final size and density of your doll. I always crochet a small test swatch to see if my stitches are tight enough to prevent the stuffing from showing through. If your stitches look too loose, simply switch to a smaller hook size to achieve a cleaner, more polished finish.
Build the Head and Body with Simple Crochet Stitches
I find that the most rewarding part of this fairy doll pattern is shaping the head and body from scratch. Using basic amigurumi techniques ensures your creation looks professional and holds its shape well over time.
Shape the Head from the Magic Ring
Work Increase Rounds Without Leaving Gaps
I always start the head with a magic ring to ensure a tight, seamless center. When working your increase rounds, pull your yarn slightly tighter than usual to prevent unsightly holes from forming between stitches.
If you notice gaps appearing, try using a hook size slightly smaller than what the yarn label suggests. This simple adjustment keeps the fabric dense and prevents the stuffing from poking through.
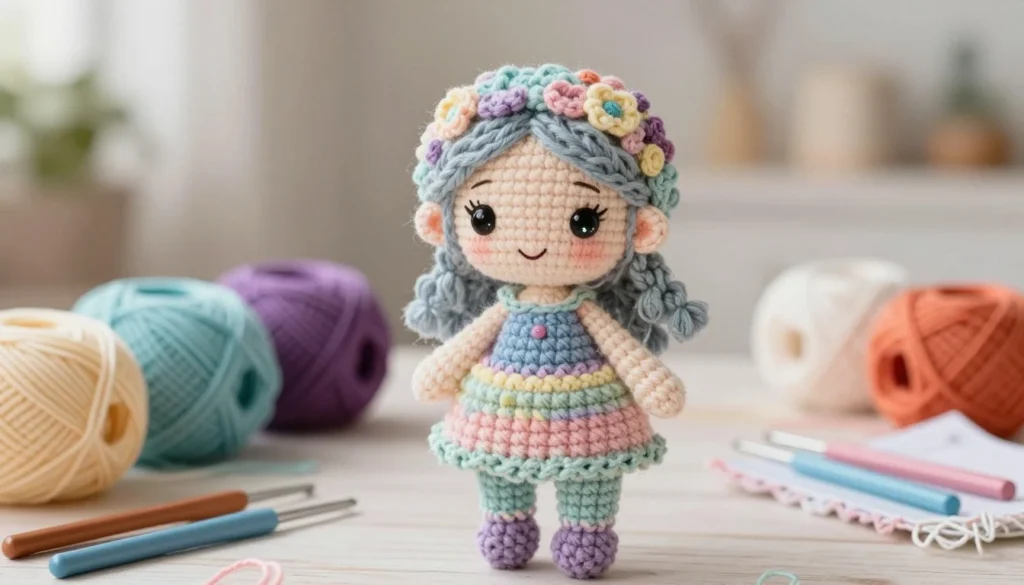
It is much easier to secure safety eyes or embroider features while the head is still open. I recommend placing your eyes between the rounds where you finished your increases for a balanced look.
Once the eyes are locked in place, you can proceed with the rest of the head construction. This step saves you from struggling to reach inside a small, finished opening later.
Crochet and Stuff the Body
Maintain Consistent Single Crochet Tension
Consistency is the secret to a smooth, uniform body shape. I focus on keeping my tension steady throughout every single crochet stitch to avoid lumpy or uneven sections.
If your tension varies, the body may look distorted or asymmetrical. Practice keeping your yarn held at the same distance from your hook to maintain a rhythmic flow.
Add Fiberfill Gradually for a Firm but Soft Shape
I prefer to add small amounts of fiberfill as I work up the body. This method allows me to pack the stuffing firmly into the corners and curves of the doll.
Avoid overstuffing, as this can stretch the stitches and reveal the inner filling. A firm but soft feel is ideal for a handmade toy that will be handled often.
Close the Body Neatly
Use Decreases and a Tapestry Needle to Finish the Opening
When you reach the final rounds, use invisible decreases to taper the body shape smoothly. Once you have only a few stitches left, cut your yarn and leave a long tail for sewing.
I use a tapestry needle to weave the yarn through the front loops of the remaining stitches. Pulling the tail tight closes the opening completely, leaving a clean and professional finish on your fairy doll pattern.
Make the Arms and Legs for a Secure Handmade Doll
Building the arms and legs is a vital step in this crochet doll tutorial to ensure your character has personality. These appendages provide the structure needed for your fairy to sit or stand gracefully. I always focus on symmetry during this phase to maintain a professional look.
Crochet Matching Arms with Tapered Ends
When working on the arms, I prefer to use a slightly smaller hook to keep the stitches tight. This prevents the stuffing from showing through the fabric as the doll is handled.
Stuff the Arms Lightly to Keep Them Flexible
You should only add a small amount of fiberfill to the arms. Keeping them lightly stuffed allows the fairy to hold poses naturally. If you overstuff them, the arms will remain rigid and stick out awkwardly.
Leave a Long Tail for Sewing
Always remember to leave a long yarn tail when you finish the final round of each arm. This tail acts as your thread for attaching the limb to the body later. It saves time and creates a cleaner finish than joining a new piece of yarn.
Form the Legs and Feet
The legs provide the foundation for your doll. I recommend working these in a continuous spiral to avoid visible seam lines.
Shape Rounded Feet with Strategic Increases and Decreases
To create a realistic foot shape, use increases at the toe area and decreases near the ankle. This subtle shaping helps the doll stand or sit with better stability. You can adjust the number of rounds if you want the feet to look larger or smaller.
Keep Both Legs the Same Length
Consistency is key when crafting the legs. I count my rows carefully for the first leg and write the number down. I then follow that exact count for the second leg to ensure they match perfectly.
| Limb Part | Technique | Purpose |
| Arms | Light Stuffing | Flexibility |
| Feet | Increases/Decreases | Shape |
| Seams | Ladder Stitch | Security |
Attach the Limbs Safely to the Body
Once all pieces are ready, it is time to join them to the torso. A secure attachment ensures your doll lasts for years of play.
Use Strong Whipstitches or Ladder Stitches at the Seams
I find that the ladder stitch is the most invisible way to join limbs. It pulls the edges together tightly without creating a bulky ridge. If you prefer more strength, a whipstitch works well for dolls intended for younger children.
Test the Doll’s Balance Before Securing the Final Stitches
Before you knot your yarn, hold the doll up to check its balance. If the legs are attached too far forward or backward, the doll will tip over. Adjust the placement until the doll sits upright, then finish your stitches to complete this part of the crochet doll tutorial.
Give the Fairy Doll a Face and Whimsical Yarn Hair
Transforming a simple crochet shape into one of those whimsical crochet dolls requires just a few thoughtful touches. I find that the face and hair are the most important parts of the design. These elements define the character and personality of your handmade gift.
Embroider a Friendly Face
Position the Eyes, Nose, and Smile Evenly
I recommend using pins to mark the placement of the eyes and mouth before you start stitching. This helps ensure that the features look symmetrical and balanced. Once you are happy with the layout, use a tapestry needle and dark yarn to create small, neat stitches.
Use Embroidery Instead of Small Loose Parts for Young Children
Safety is a top priority when making toys for little ones. I always choose embroidery over plastic safety eyes or buttons to avoid potential choking hazards. This method ensures that your whimsical crochet dolls remain soft, durable, and perfectly safe for play.
Create Secure Yarn Hair
Choose a Simple Bob, Braids, or Long Fairy Locks
The hairstyle you choose will drastically change the look of your fairy. You can create a simple bob for a modern feel or long, flowing locks for a classic magical aesthetic. Braids are also a wonderful option if you want to add texture and movement to the design.
Anchor Hair Strands Along the Head to Prevent Shedding
To keep the hair in place, I loop individual strands through the stitches of the head. I then tie them securely or use a backstitch to anchor the yarn firmly to the scalp. This technique prevents the hair from shedding during active play.
Add Gentle Details to the Expression
Use Blush-Colored Yarn or Fabric-Safe Color for Rosy Cheeks
A tiny touch of color on the cheeks adds a sweet, lifelike glow to the face. I prefer using a small amount of pink fabric-safe blush or a soft yarn thread to create these rosy accents. These subtle details truly bring your whimsical crochet dolls to life.
Design and Crochet the Fairy Dress
A magical fairy tale doll crochet project deserves a dress that captures the imagination. I find that the outfit acts as the final touch that transforms a simple stuffed figure into a whimsical character. By focusing on the construction of the bodice and skirt, you can ensure your doll looks ready for an enchanted forest adventure.
Work the Bodice and Skirt as a Coordinated Outfit
Use Color Changes to Create a Magical Fairy-Tale Look
I love using color changes to define the waistline and add visual interest to the dress. You can switch to a contrasting yarn color at the transition point between the bodice and the skirt to mimic a belt or a sash. This simple technique elevates your fairy tale doll crochet work by adding professional-looking detail.
Shape the Skirt with Increases for a Soft Flare
To achieve a beautiful, flowing skirt, you must incorporate regular increases into your stitch pattern. I typically increase in every other stitch during the first round of the skirt to create a gentle flare. This volume allows the dress to drape naturally over the doll’s legs without bunching up.
Finish the Dress with Decorative Edging
Add Scallops, Picots, or a Contrasting Crochet Trim
Decorative edging provides the perfect opportunity to add a touch of elegance to your design. I often use a simple picot stitch along the hemline to create a delicate, lace-like appearance. Alternatively, a row of small scallops can give the dress a more playful and youthful aesthetic.
Keep Embellishments Secure and Comfortable for Play
When adding beads, sequins, or extra trim, always prioritize safety and durability. I recommend sewing these items on with strong thread rather than using glue, especially if the doll is intended for children. Ensure that all edges remain soft so they do not scratch the doll’s body during movement.
Fit the Dress to the Finished Doll
Check the Neckline, Armholes, and Hem Before Weaving in Ends
Before you finalize your work, it is essential to test the fit on your doll. I check that the armholes allow for easy movement and that the neckline sits flat against the shoulders. If the fit is too tight, you may need to adjust your stitch count before securing the final yarn ends.
| Dress Feature | Technique Used | Visual Effect |
| Bodice | Single Crochet | Structured and snug |
| Skirt | Double Crochet Increases | Flowing and flared |
| Hemline | Picot Stitch | Delicate lace detail |
| Fastening | Invisible Slip Stitch | Seamless finish |
Taking the time to refine these details ensures your fairy tale doll crochet creation remains a cherished keepsake. By carefully coordinating your colors and checking the fit, you produce a high-quality garment that perfectly complements your handmade doll.
Craft Lightweight Wings and Complete the Fairy Accessories
Adding wings and accessories is the most exciting part of crochet doll making. These final touches transform a simple figure into a whimsical character ready for play or display. I find that the right details make all the difference in the final look.
Crochet or Assemble the Fairy Wings
Use Lightweight Yarn for Flexible, Wearable Wings
I recommend using a fine-weight yarn or even embroidery thread for the wings. This keeps them lightweight so they do not pull the doll backward. A flexible wing structure ensures the fairy remains easy to handle.
Shape Symmetrical Wings with Increases and Decreases
To achieve perfect symmetry, I follow a consistent pattern of increases and decreases on both sides. I count my stitches carefully to ensure each wing matches the other exactly. This balance is vital for a professional finish in my crochet doll making projects.
Attach the Wings to the Back
Reinforce the Attachment Points with Multiple Stitches
I secure the wings to the back using a sturdy yarn needle and matching thread. I pass the needle through the body multiple times to create a strong anchor. This prevents the wings from drooping or detaching over time.
Position the Wings So the Doll Can Sit or Stand
I place the wings slightly higher on the back to avoid interference with the doll’s posture. This placement allows the fairy to sit comfortably on a shelf or stand upright without tipping. Proper positioning is a key skill in successful crochet doll making.
Add Simple Magical Finishing Touches
Make a Tiny Crochet Wand, Crown, or Flower
Small accessories like a tiny wand or a flower crown add a touch of magic. I often use leftover yarn scraps to create these miniature items. They are quick to work up and add significant charm to the finished piece.
Use Sparkly Yarn Carefully Without Creating Scratchy Edges
If you choose to use metallic or sparkly yarn, be mindful of the texture. Some decorative yarns can feel rough or scratchy against the skin. I prefer to use these sparingly as accents to keep the doll soft and huggable.
Assemble, Inspect, and Personalize the Crochet Fairy Doll
Preparing your handmade creation for display or gifting involves careful inspection and thoughtful details. Whether you are keeping the doll as a keepsake or preparing a crochet fairy doll for sale, these final steps ensure your work looks professional and lasts for years.
Weave In Ends and Check Every Seam
Trim Loose Yarn Tails After Securing Them Inside the Doll
I always make sure to weave my yarn tails back and forth through the stitches on the inside of the doll. Once the ends are securely anchored, I trim them close to the fabric to keep the surface smooth. This prevents any unsightly bumps or loose threads from appearing on the exterior.
Inspect Limbs, Wings, Eyes, and Accessories for Weak Spots
Before finalizing the project, I tug gently on the arms, legs, and wings to ensure they are firmly attached. If I notice any gaps in the seams, I reinforce them with a matching strand of yarn. Checking these connection points is vital for the structural integrity of the toy.
Personalize the Fairy’s Colors and Features
Coordinate Hair, Dress, Wings, and Skin-Tone Yarn
Personalization is where your creative vision truly shines. I enjoy selecting color palettes that complement each other, such as matching the dress embroidery to the hair color. Choosing high-quality yarn in skin tones that reflect diversity makes every doll unique.
Adapt the Pattern for a Birthday, Baby Shower, or Holiday Gift
You can easily modify the design to suit specific celebrations. For a holiday theme, I might add metallic thread to the wings or use seasonal colors for the dress. These small adjustments make the doll a perfect gift for any special occasion.
| Occasion | Color Palette | Special Detail |
| Birthday | Bright Pastels | Matching Hair Bow |
| Baby Shower | Soft Neutrals | Soft Cotton Yarn |
| Holiday | Red and Green | Sparkly Wing Edging |
Follow Safety and Care Guidelines
Avoid Small Detachable Parts for Babies and Toddlers
If you intend to give the doll to a young child, safety is the top priority. I recommend using embroidered eyes instead of plastic safety eyes to eliminate choking hazards. When you offer a crochet fairy doll for sale, always include a note about the age-appropriateness of the materials used.
Recommend Gentle Spot Cleaning and Air Drying
To keep the doll looking fresh, I advise owners to use only gentle spot cleaning with a damp cloth. Never submerge the doll in a washing machine, as this can damage the stuffing and shape. Always allow the doll to air dry completely in a shaded area to prevent fading or mildew.
Conclusion
Creating handmade toys offers a rewarding way to express your artistic vision. I have guided you through the entire process, from selecting quality yarn to adding the final whimsical details that define your project.
Interest in this craft remains high, with recent data showing 903 searches for fairy patterns on Pinterest. You can join this creative community by crafting your own cute crochet fairy dolls today.
Focusing on even stitches and secure seams ensures your work lasts for years. I encourage you to experiment with vibrant colors and unique accessories to give each piece a distinct personality.
These cute crochet fairy dolls make wonderful gifts for loved ones. Proper care and safe embellishments keep your handmade treasures in excellent condition. I hope you enjoy the process of bringing these magical characters to life with your own hands.
FAQ
Is this project suitable for those new to crochet doll making?
Absolutely! I designed this guide to be accessible for intermediate beginners. If you are comfortable with the magic ring, single crochet, and basic increases and decreases, you can definitely master the art of crochet doll making. I recommend starting with a light-colored cotton yarn so you can easily see your stitch definition as you work.
What are the best yarn brands to use for cute crochet fairy dolls?
For the best results, I personally use Lion Brand 24/7 Cotton or Lily Sugar’n Cream. These brands offer a wide range of colors and a sturdy texture that is perfect for creating cute crochet fairy dolls that hold their shape well and don’t get “fuzzy” over time.
How can I customize the look of these whimsical crochet dolls?
Making whimsical crochet dolls is all about the details. You can personalize your fairy by changing the hair texture—try using a boucle yarn for curly hair—or by adding tiny embroidered flowers to her dress. I often swap the wing shapes from rounded to pointed to create different “species” of fairies.
Can I create a crochet fairy doll for sale at craft fairs?
Yes, you can! When preparing a crochet fairy doll for sale, I suggest focusing on high-quality finishing and unique color palettes. Buyers love handmade items that feel special, so adding a small “handmade with love” tag and ensuring all seams are perfectly secure will help your work stand out in a crowded market.
What makes a fairy tale doll crochet project different from standard amigurumi?
A fairy tale doll crochet project usually focuses more on delicate, ethereal details. Unlike chunky amigurumi animals, these dolls often feature slimmer limbs, elaborate clothing like petal skirts, and iconic accessories like wings and wands to evoke a sense of magic and folklore.